
Japanese indigo seeds
lat.: Persicaria tinctoria
€4.00
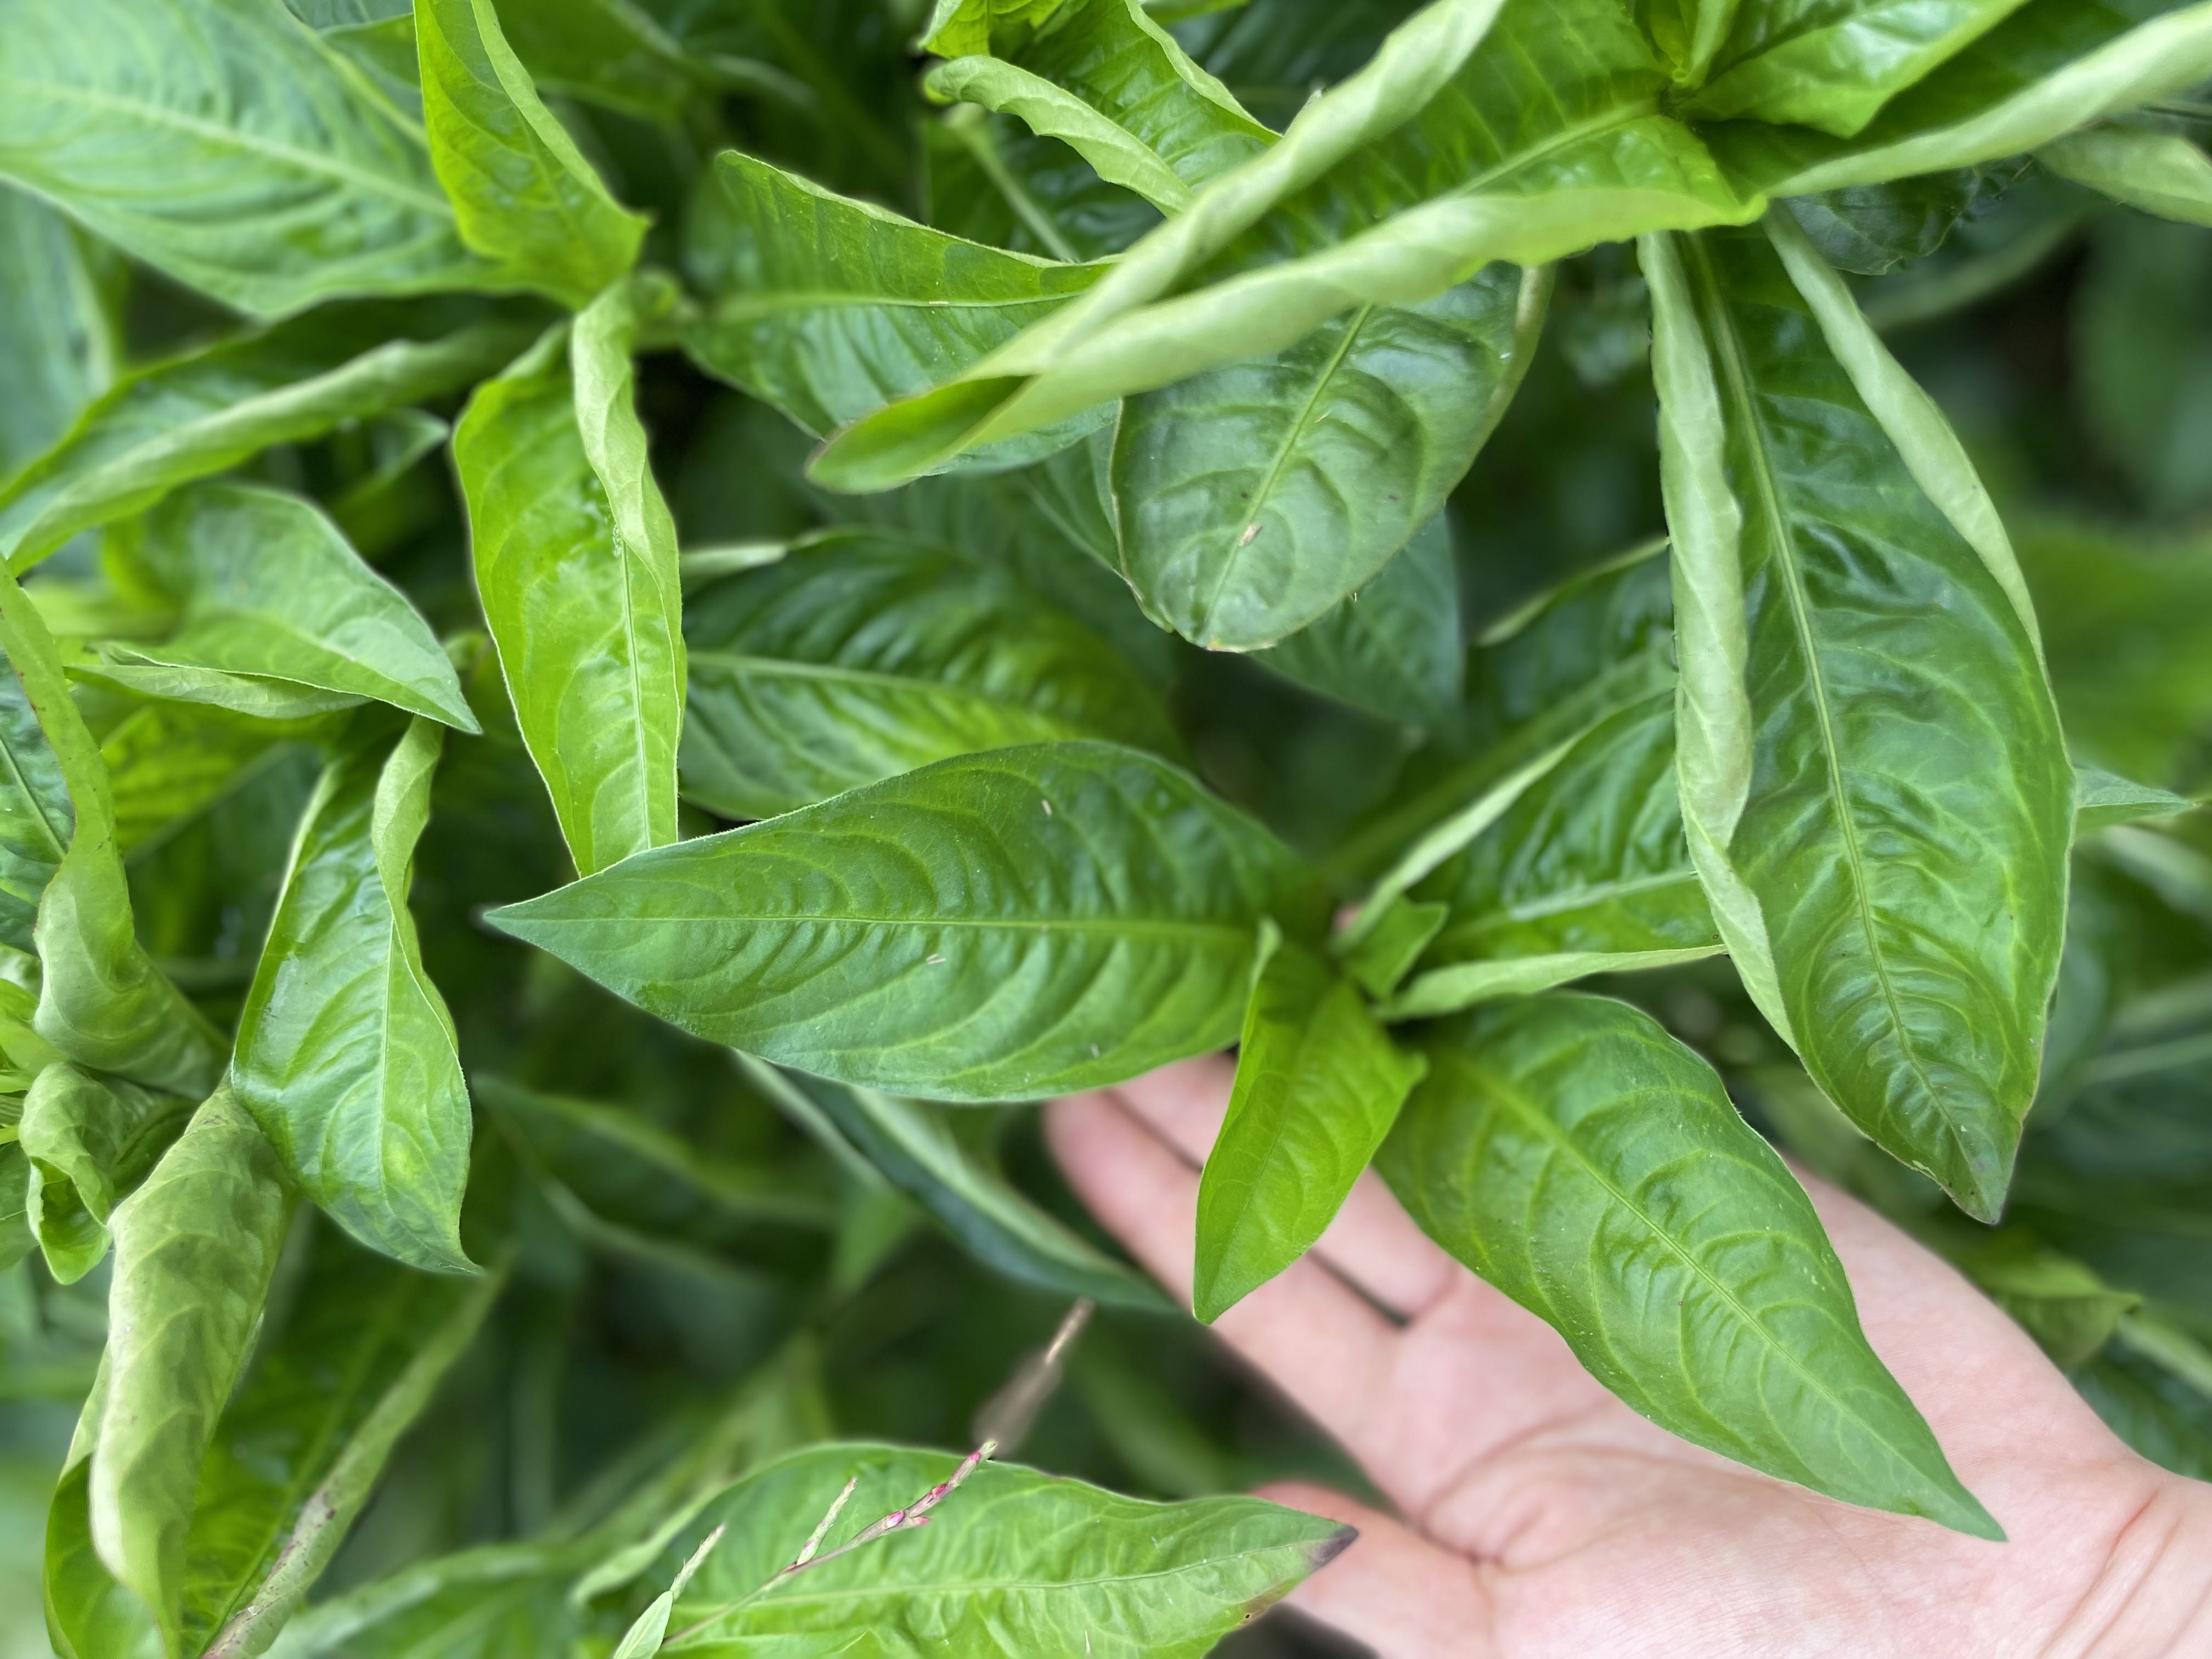
Introduce beautiful shades of traditional Japanese blue color to your projects with Japanese Indigo seeds (Persicaria tinctoria). This classic plant, once so often used in Japan for its signature blue, is now a favorite plant among dyers in Europe and North America for its brilliant blue hues and easy-growing nature. Japanese Indigo is a fantastic choice for natural dyers of all levels, creating deep, stunning blues that work beautifully as a standalone dye or layered with other colors to produce unique shades. This plant is easy to grow in a sunny garden bed, bringing rich blues to your creations.
Name: Dyer's knotweed
Latin name: Persicaria tinctoria
Other names: Japanese indigo
Type: vat dye
Part of the plant used: leaves
Main colorants: indigotin
Main colors: blue
Purpose: natural dye for textiles, wood, leather, candles, and other natural materials. It can be used for making botanical inks, pastels, watercolors, printing paste, etc.
Additional information: please note that indigo is a vat dye, which means that it is different from our usual natural dyes and has to be prepared differently. Leaves have to be harvested at the right time, and there are many ways to proceed from here - create indigo pigment, use in a quick leaves-salt method, dry for making sukumo or extract color, and proceed as usual with indigo pigment.
Our garden: these seeds are grown by my family in a small town in Lithuania. We do not use any chemicals and we love our plants!
Important: in some countries, there are various regulations about importing seeds so please check with your local agriculture department or other responsible institution before purchasing seeds.
Growing Japanese Indigo (Persicaria tinctoria) is relatively easy and rewarding for natural dyers. Here’s a step-by-step guide:
1. Starting Seeds Indoors
When: Begin seeds indoors 4-6 weeks before the last expected frost date. Japanese indigo is sensitive to frost, so starting indoors is recommended for climates with shorter growing seasons.
How: Sow seeds on the surface of seed-starting soil, lightly covering them with soil. Keep them warm (around 70–75°F / 21–24°C) and moist until they germinate, usually in about 1-2 weeks. You can create a mini greenhouse to minimize watering - simply cover your pots with a transparent lid.
2. Transplanting
Timing: Once seedlings have at least two sets of true leaves and outdoor temperatures consistently stay above 50°F (10°C), they’re ready for transplanting.
Location: Choose a sunny spot with well-drained soil. Japanese indigo prefers a pH of around 6–7.
Spacing: Space plants about 12–18 inches apart, as they can grow 2–3 feet tall.
3. Watering and Care
Watering: Japanese indigo prefers consistently moist soil but not waterlogged. Regular watering is essential, especially in dry conditions. You will easily see when indigo is thirsty as the leaves begin to wilt.
Fertilization: A balanced, organic fertilizer can be applied once or twice during the growing season, but Japanese indigo generally doesn’t require heavy feeding.
4. Harvesting
When: Harvest leaves when the plants are mature (they turn blue when damaged), typically late summer to early fall, before the first frost. Leaves can be collected multiple times per season if plants are healthy and the weather is warm.
Method: Use scissors or secateurs to trim branches with leaves, leaving a few inches of stem to allow for regrowth. Remove leaves from stems for dyeing.
5. Processing for Dyeing
Japanese indigo leaves can be used fresh or dried to create various shades of blue. The traditional Japanese method uses a fermentation process to create sukumo but there are many other ways for those who wish to get quicker results.
With care, Japanese indigo can be a beautiful addition to a dyer’s garden, bringing you lots of experience through the growing season.