
Safety and Equipment for Natural Dyeing
Like any craft, natural dyeing requires dedicated equipment, ranging from essential tools to items tailored to individual preferences. The following list includes everything I use, along with additional notes, with the hope that it proves useful to beginners and those looking to expand their natural dyeing scale.
The approach to natural dyeing is highly personal. If you're simply dyeing fibers for enjoyment, you don’t have to acquire all these supplies and specialized equipment. However, for those planning to work professionally or incorporate natural dyeing into existing business, investing in high-quality items can enhance efficiency.
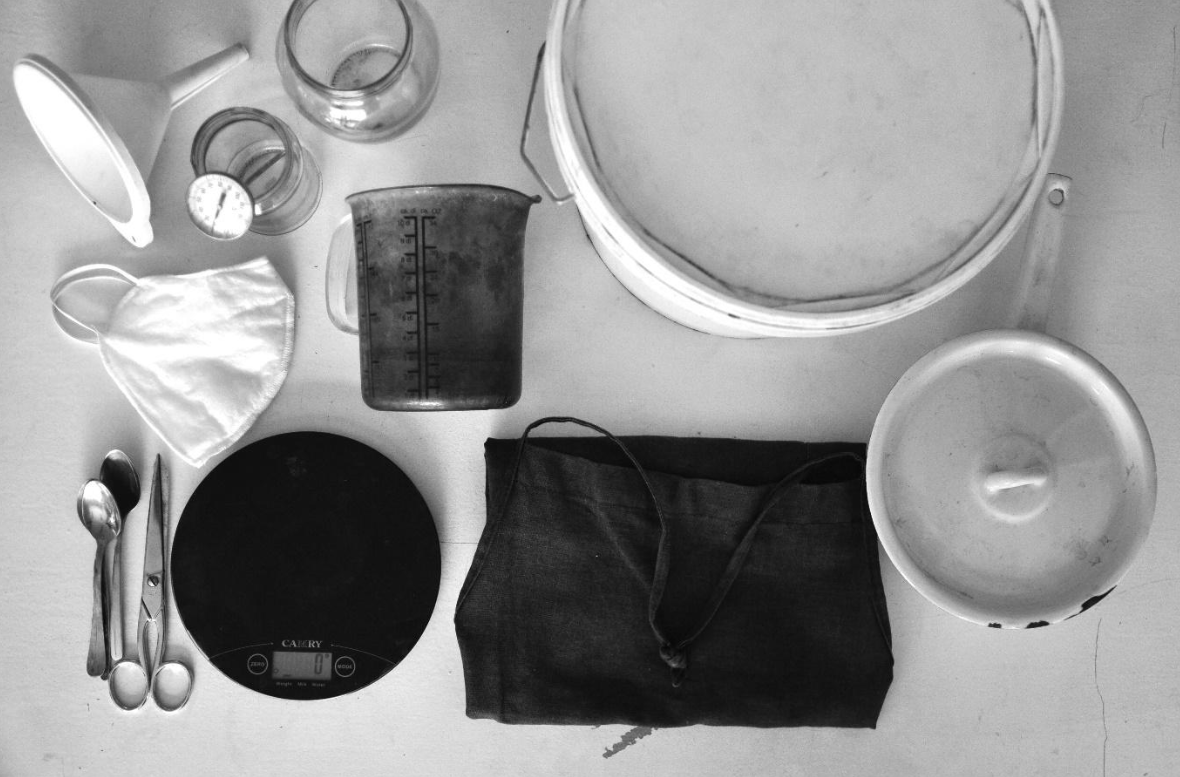
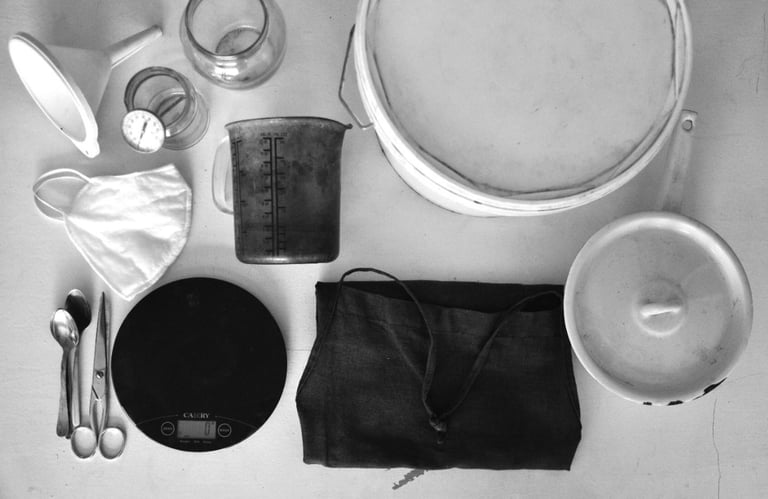
LIST OF ITEMS
Natural dyeing often aligns with sustainability and environmental respect. I encourage you to source materials as sustainably as possible, considering second-hand items, and opting for multipurpose, durable materials. Start by checking your storage room or repurposing old kitchen supplies. Explore various markets, second-hand shops, or inquire with friends and family members – natural dyers can find value in items others no longer use.
ESSENTIALS:
Good Quality Pots With Lids. Stainless steel is the best of the best. Second choice would be good unscratched enamel pots. Be cautious with enamel, as chipping may occur, leading to rust that can affect colors. Other materials like iron, aluminum, or copper can also be used, but they may influence colors or react differently.
Heat Source. Whether it's your kitchen stove or a safe outdoor fireplace, ensure it meets your needs. In a studio setup, consider gas or electric stoves, available in various sizes. Verify the suitability of your gas stove for indoor use if necessary.
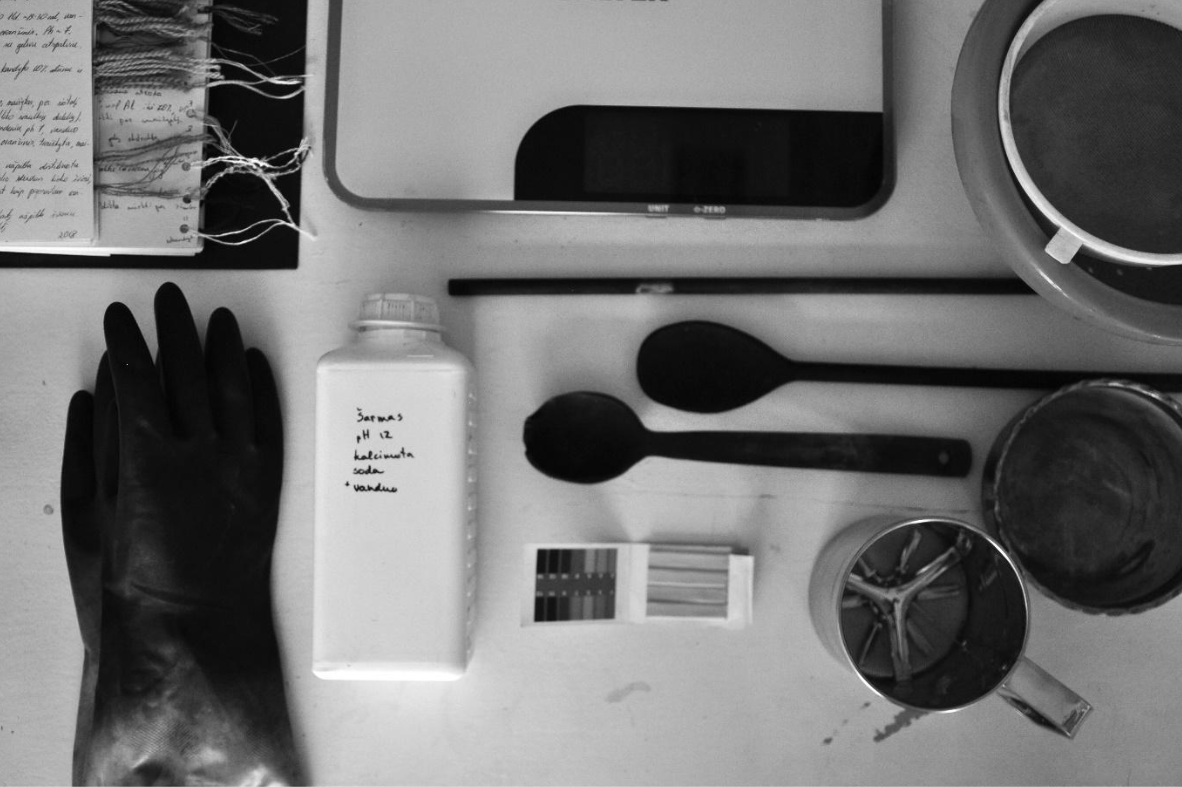
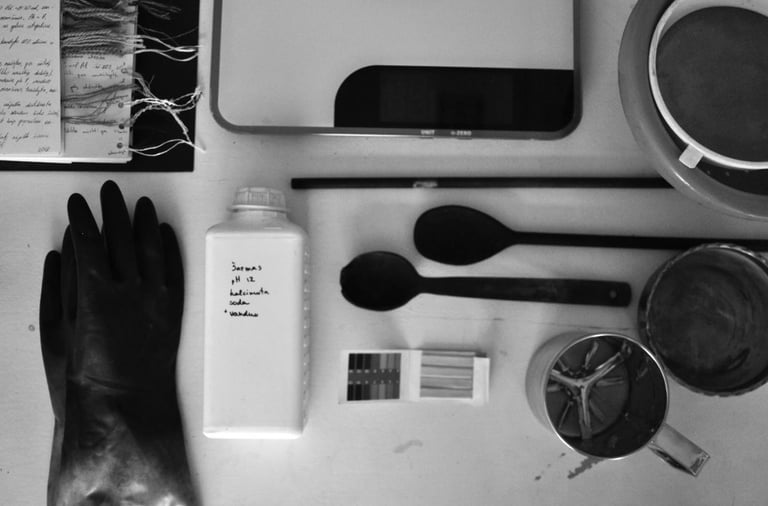
Scales. For weighing natural dyes and lighter items, a small kitchen scale suffices. For weighing larger items such as yarns and fabrics I use larger scales, up to 15 kg.
Stirring Sticks. Choose from wooden, plastic, or stainless steel sticks, ensuring a smooth surface to prevent yarn or fleece from sticking. I often use bamboo sticks sold in garden supply shops.
Spoons.I use an endless amount of spoons! Maintain a clean and dry set of spoons, as a dirty spoon can significantly impact colors. For example, measuring iron sulfate and then using the same spoon (uncleaned) in a madder solution may transform bright red into purple.
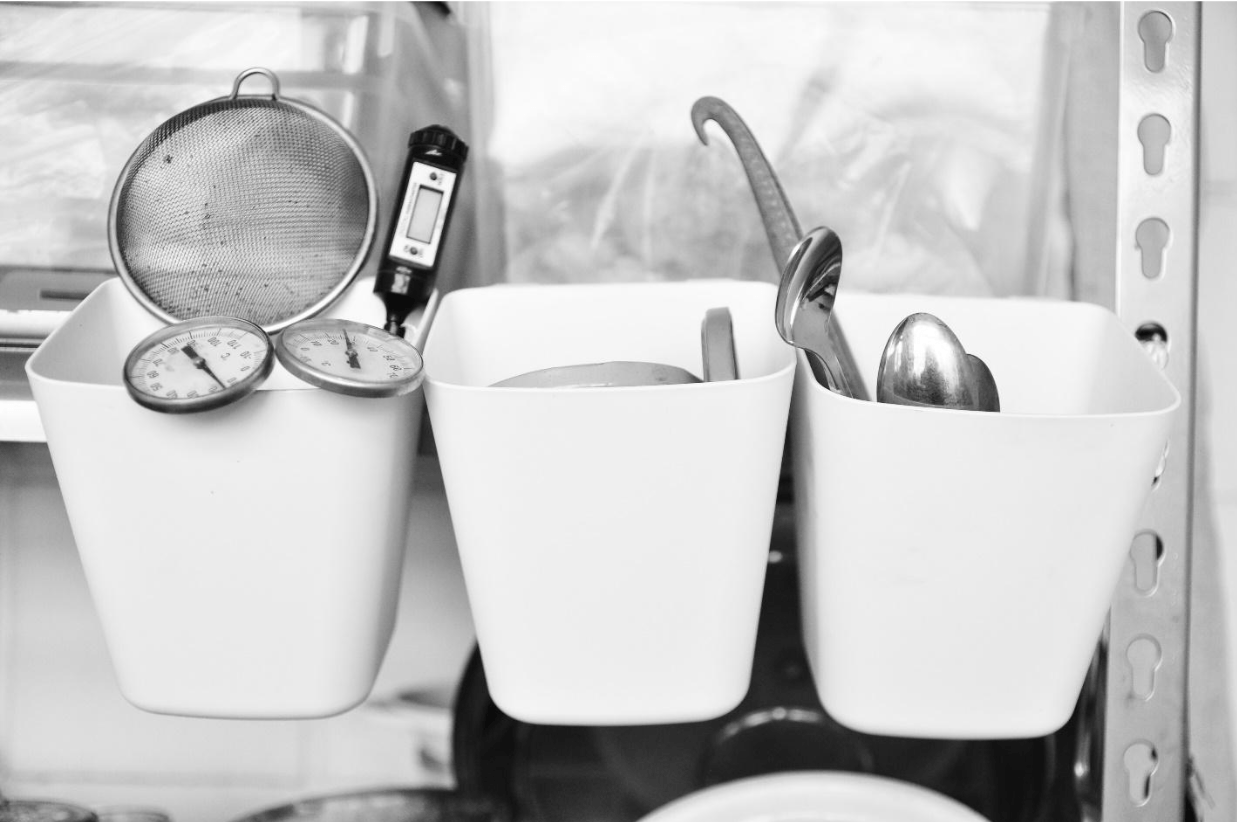
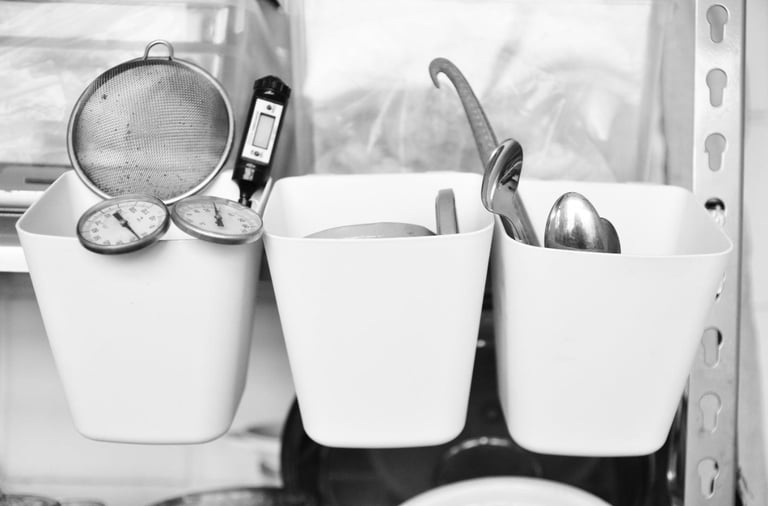
Various Small Containers. Just like with spoons, I have and use endless amounts of small containers for the same reason - to keep them always handy, clean, and dry. These containers can be up to 1 liter in size, either white or transparent for better visibility. I primarily use glass jars and plastic containers from various foods. These containers are ideal for measuring, dissolving, and mixing various ingredients before adding them to the main pot. Additionally, I use them to make and store smaller amounts of pigments, dyes, paints, pastes, and more.
Various Plastic Buckets with Handles and Tight Lids. If you're just starting out, you can probably find such buckets at home. For those planning to work on a larger scale, my biggest recommendation is to get several identical buckets with handles and flat, tight lids in 2-3 sizes. I have them in 20 liters and 10 liters, making it easy to determine the exact quantity. When not in use, they can be nested, taking up as much space as one bucket would. These versatile buckets serve multiple purposes, including cold dyeing, fiber soaking, mordanting, washing, storing various liquids, straining dyes, and more. The flat lids also come in handy for drying pigments, collecting water drops, and often as trays for wet items.
Liquid Measuring Cup with a Handle (Up to 2 Liters). This tool is not only for measuring liquids but also comes in handy when transferring liquids between containers. Given the size of my pots and buckets (20-30 liters), lifting such weighty objects is not practical. To avoid strain on your back, consider transferring liquids in smaller amounts. It's a simple way to take care of yourself.
Thermometer. Quite an important tool at the beginning or when working with very specific dyes and recipes. However, over the years, I've learned to feel the right temperature, so I don't use a thermometer very often now.
pH Strips. Essential when working with indigo and optional when working with other dyes. They are very useful if you want to test how various dyes react to different pH levels or if you are following specific recipes.
OTHER ITEMS
Large plastic tubs or buckets in 50, 80, or 100 liters. I use them to wash, soak or mordant large amounts of fibers.
Stainless steel or plastic sieves to strain dye liquids. Sieves made from other metals may rust over time and affect your dyes.
Pieces of fabric to insert inside a sieve to collect tiny plant particles.
Small funnel to transfer liquids in smaller containers.
Secateurs, scissors, and knife to cut various plants in smaller pieces.
Mortar and pestle to crush various pigments and other things.
Several smaller bowls to soak or hold wet fibers.
Drying rack or another suitable tool/place to dry fibers. A high and narrow foldable drying rack is a real space saver!
PROTECTION
Good apron with pockets. It would be good to have one that protects from liquids at least a little bit. The ones I use are made of impregnated linen.
Glasses and face mask to protect from various dusts and powders.
Gloves. Good quality work gloves are essential to keep your hands dry, clean, and protected from various mordants, additives, and other materials. Additionally, they provide some protection from heat if needed. In my experience, thin gloves, such as medical or dishwashing gloves, are too weak and single-use.
STORAGE
Boxes with lids. A variety of boxes with tight lids is great for efficient organization. I like to dedicate each box to specific items, making it easy to find what is needed. For instance, I have separate boxes for cleaning supplies, katazome technique, batik technique, mordanted textile, scoured textile, and more.
CLEANING
Keep several sponges and cleaning rags in an easily accessible place—accidents happen!
Ensure you have a few clean towels on hand.
Soap for hands.
Your favorite cleaning agents for tables, pots, and other equipment.
Citric acid works wonders for cleaning iron sulfate from various surfaces.
Washing soda or regular soda is handy for cleaning pots, spoons, jars, and other items. I keep jars of soda ash and citric acid with lids that have holes near my sink so I can easily sprinkle them on surfaces when needed.
ADDITIONAL ITEMS AND UPGRADES
Fire extinguisher.
A clock on the wall is helpful for checking the time during processes when your hands are wet and you can't hold your phone.
Consider adding an easily removable hose extension to the sink, mine is about 2.5 meters long, allowing easy filling of all buckets and pots with water.
A mirror is handy for checking if your face is not covered with indigo or other dyes before leaving the room.
Maintain a stash of small samples of various fibers ready to test the dyes when you feel that sudden inspiration. This can include yarn treated with different mordants and various fiber samples.
Stainless steel or similar shelf for storage. I chose this type of shelf because it won't deform around steam from pots, and wet items can be placed there to dry. I've had it for more than 5 years, and it is still perfect for storing and drying all my pots, jars, and boxes.
Looks like I’ve described pretty much all items I use for natural dyeing and I will update this list if I find something more. There are various other useful items, such as heating mats, immersion heaters and other things but I don’t have them so I can’t provide a “tested and proven” type of information. If you didn’t understand something, feel that I forgot important things, or have other thoughts about studio setup, please feel free to send me a message to hello@forestsandmeadows.com !
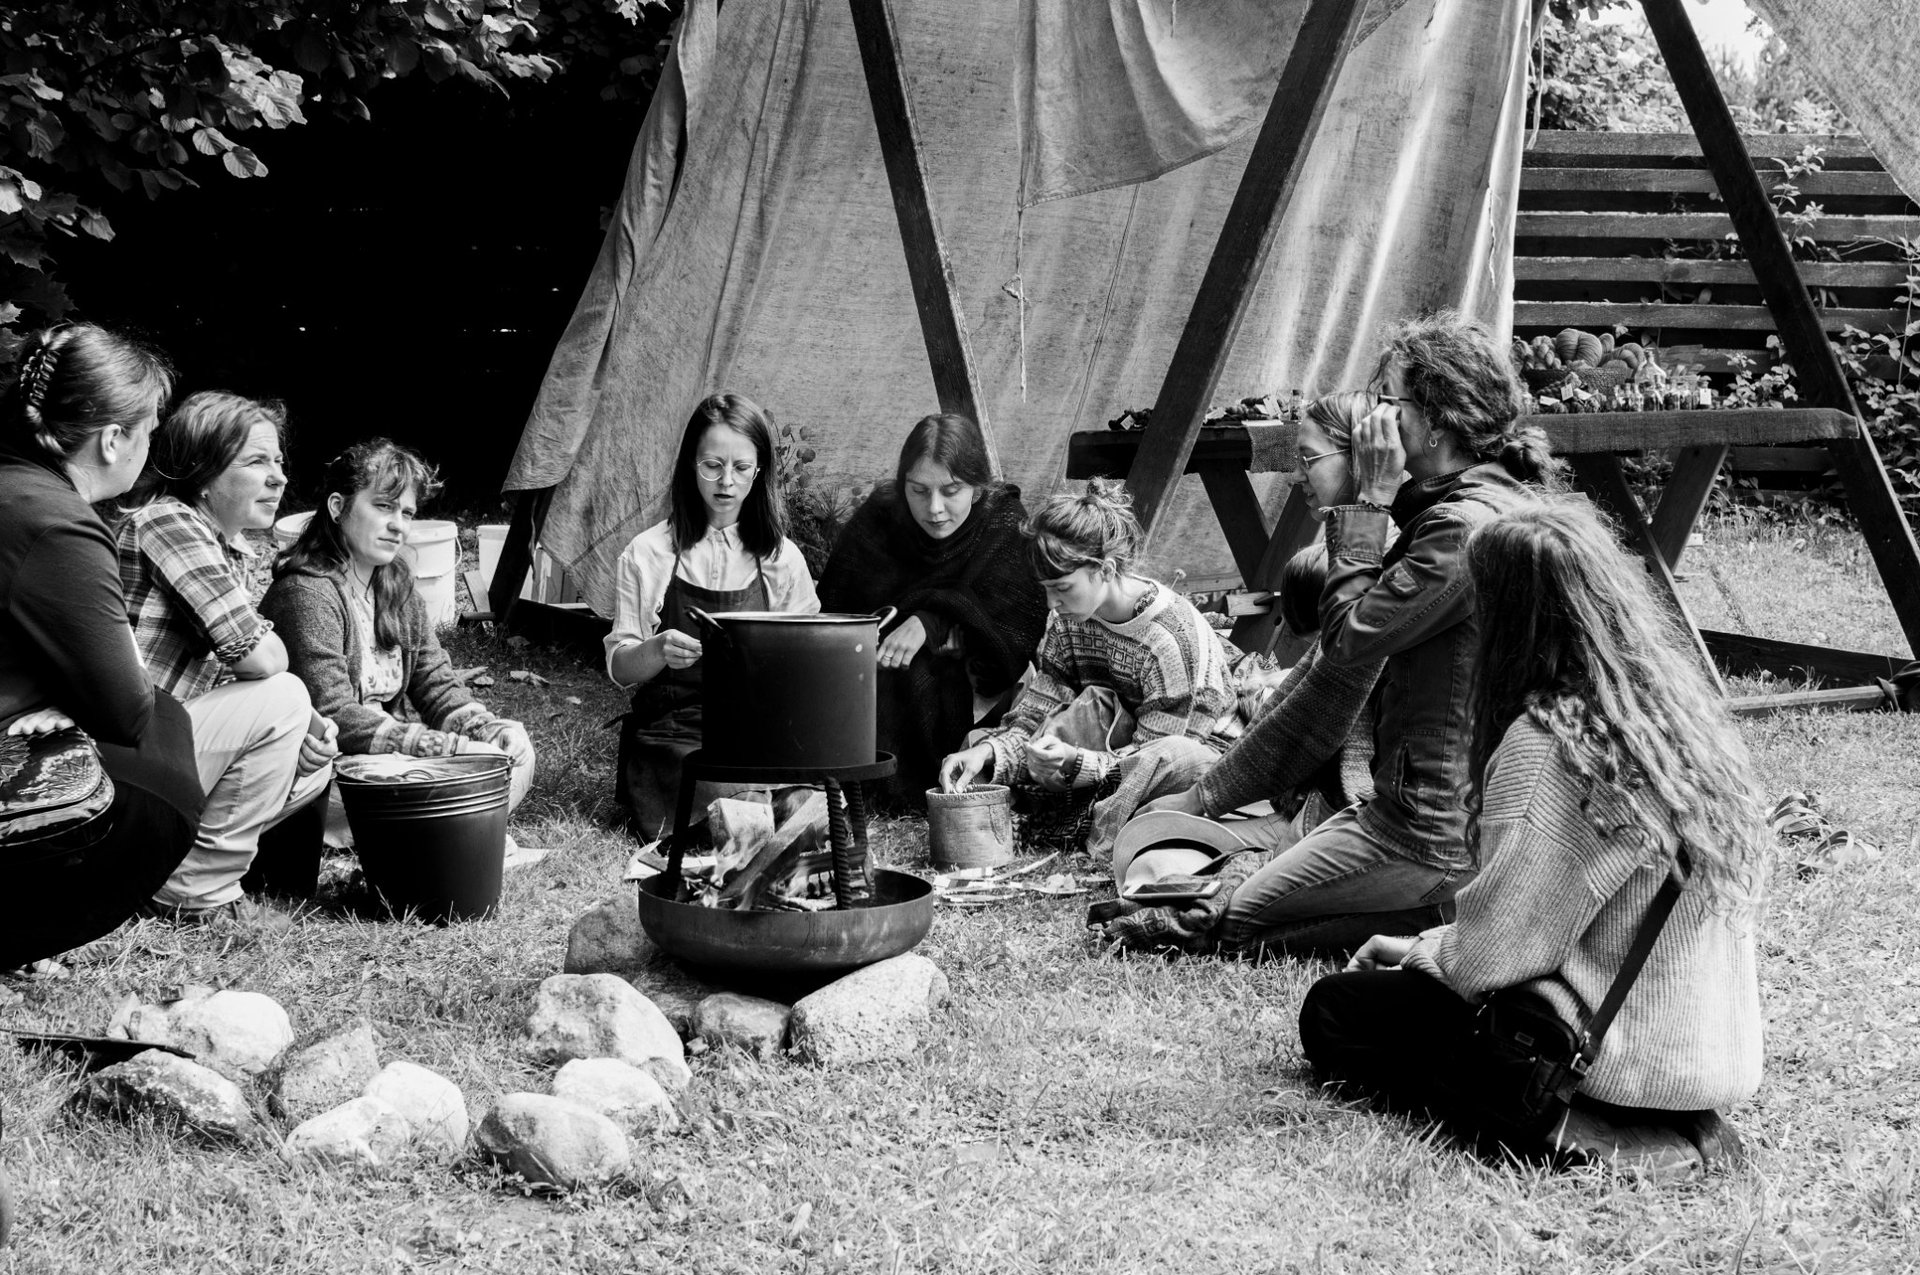
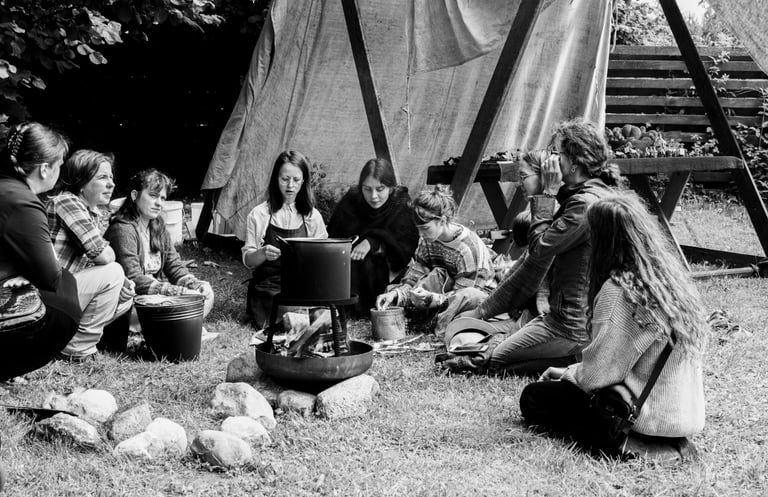
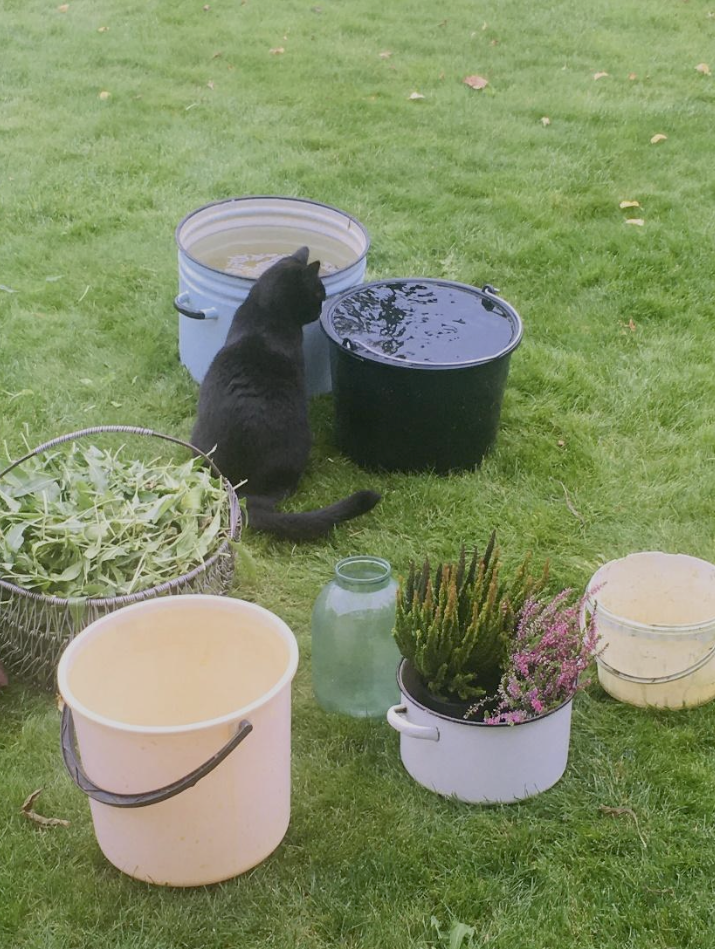
A moment from natural dyeing class.
Photo: Nikolaj Platov.
SAFETY
While the title “natural dyeing” suggests that everything is safe and sound, I would like to remind you that not all natural things are safe to eat, drink, ingest, or touch without protection. In the list above, I’ve included recommended items and I would advise you to wear them.
Always know your plants - do not harvest, collect, or cook unknown plants as they might be endangered, poisonous or toxic.
Do not introduce invasive or endangered plant or insect species in your garden or wildlife. Consult your local authorities if you have any doubts.
Always know your ingredients, mordants, and additives. Do not use unfamiliar powders.
Know your basic chemical reactions and don’t experiment in unfamiliar areas. For example, remember that when acid reacts with alkaline the liquid can bubble and expand a lot. Also, add powders to water, not vice versa.
Do not leave children and pets unattended around your natural dyeing area.
Keep your supplies closed and clearly marked.
Do not mix food and natural dyeing supplies. Keep your utensils and equipment, such as pots, spoons, or dishes, clearly marked and make sure your family members understand those markings.
If you are working in your kitchen, then do not prepare food at the same time as dyeing. Yes, some natural dyes (like coffee beans or black tea) actually can be consumed and can be safe.
Make sure all your eclectic appliances are working well. Do not use them if you have any doubts.

© Forests & Meadows 2024
Vilnius, Lithuania
LT-08200
hello@forestsandmeadows.com