
Fiery red shades: rediscovering old natural dyeing recipes
My country, Lithuania, has a rich textile history that spans many textile techniques. Unfortunately, natural dyeing isn’t one of them. Or maybe it wasn’t well documented at its peak, and slowly (almost) disappeared from our traditional textiles after the introduction of synthetic dyes. I’ve been trying to increase my knowledge and piece together our old natural dyeing traditions bit by bit. Here, I’m sharing one recipe that caught my attention, revealed older generations' approach to natural dyes, and led to various thoughtful and meaningful results.
SUPPLIES
As always, I used the same natural dyeing supplies that we offer in our shop. Below is a list of ingredients which you can use to try this wonderful recipe:
other extracts for further experiments
RELATED ARTICLES
If you are new to natural dyeing, I would recommend starting with these articles that cover the basics of scouring and mordanting.
ORIGINAL RECIPE
“Dyeing red with onion skins. When dyed with onion skins alone, the textile turns yellow. However, to achieve a red color, additional purchased red dye is used. The onion skins are covered with boiling water, and after adding at least a handful of salt, they are soaked for at least a week. Afterward, the mixture is heated on the fire and boiled for about half an hour. Following that, it is strained through a sieve. The solution is then placed back on the fire, and store-bought red dye is added. The foam is scraped off, and the wool is introduced into the mixture. All other work is scooping, cooling, washing, and drying.”
After reading the first sentence of the recipe, I felt an initial surge of excitement, hoping to uncover an ancient Lithuanian plant dyeing secret. However, my enthusiasm waned, and a tinge of disappointment crept in as I continued reading. The inclusion of purchased red synthetic dyes saddened me initially, but I came to understand that, in the past, people might not have known how to produce red shades with local plants or simply couldn't access them. They worked with natural dyes likely out of necessity, and the addition of synthetic alternatives was deemed acceptable. The main goal was to achieve the desired red color to be used in intricate weavings or other crafts.
However, in Lithuania, there are only a handful of old recipes, especially the ones that mention achieving a permanent red color. Intrigued by this rarity, I delved into this particular recipe, determined to uncover a way to use it. I redefined the notion of "purchased dyes" by opting for natural alternatives that align with my preferences - specifically, I chose the extract of madder. So, I am sharing my interpretation.


NATURAL DYEING WITH ONION SKINS AND MADDER EXTRACT
Ingredients:
Mordanted textile fibers
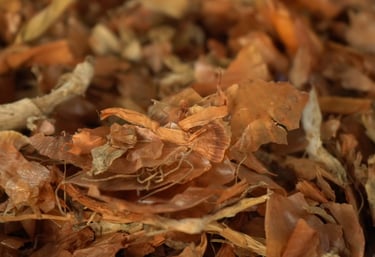
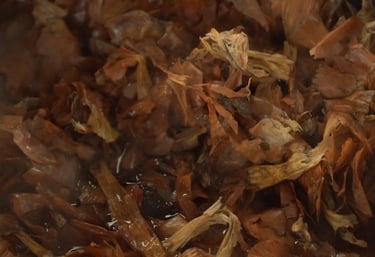
90% WOF onion skins
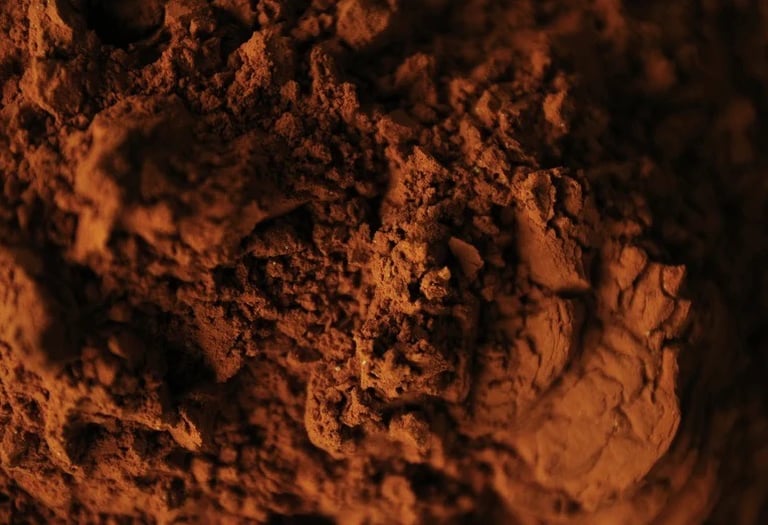
8% WOF madder extract
4-6 liters of water for each 100 g of fiber
Dyeing process:
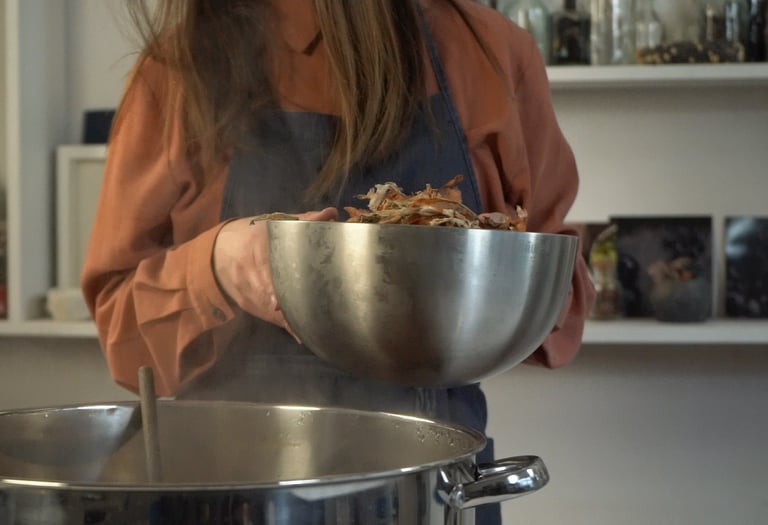
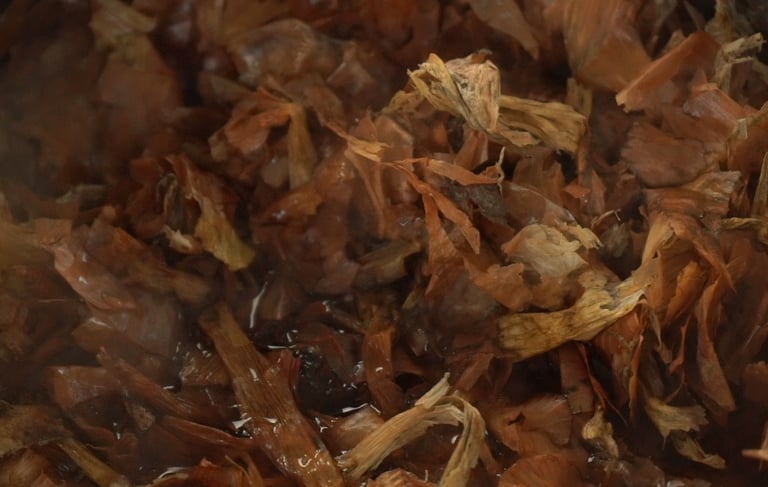
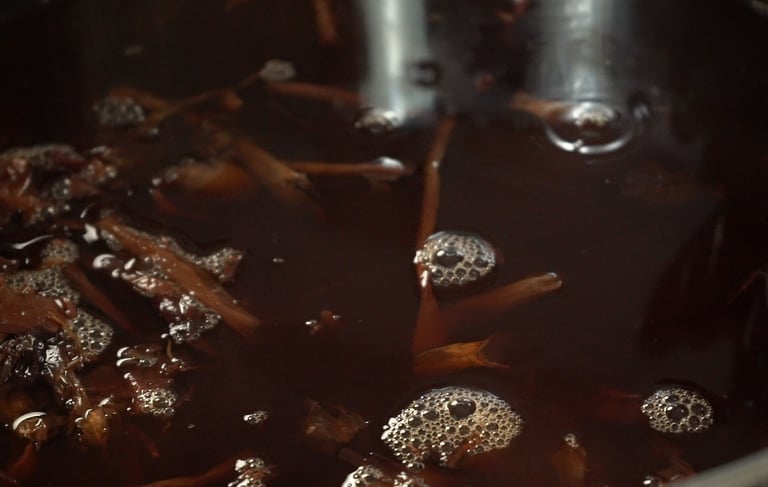
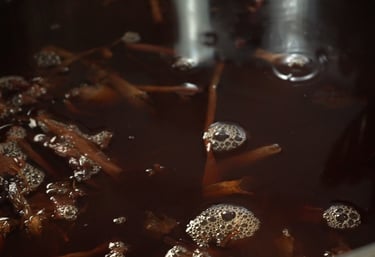
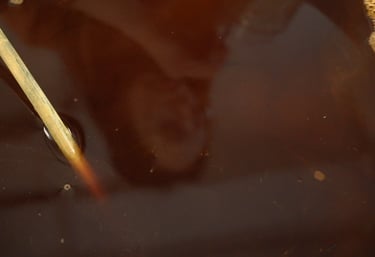
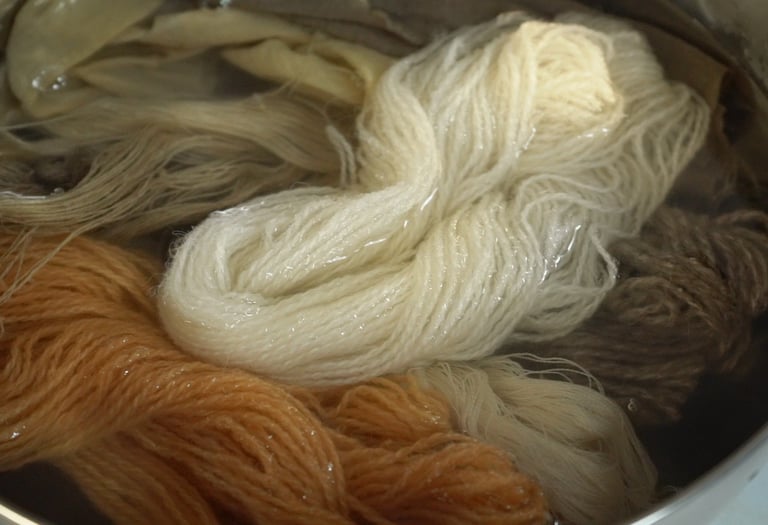
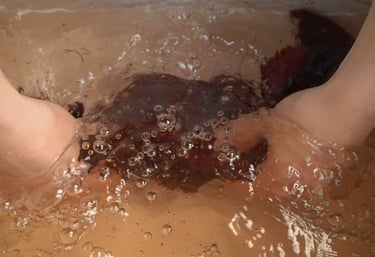
Cover onion skins with boiling water and stir well. Optional: add salt and let it soak for 5-7 days, stirring occasionally.
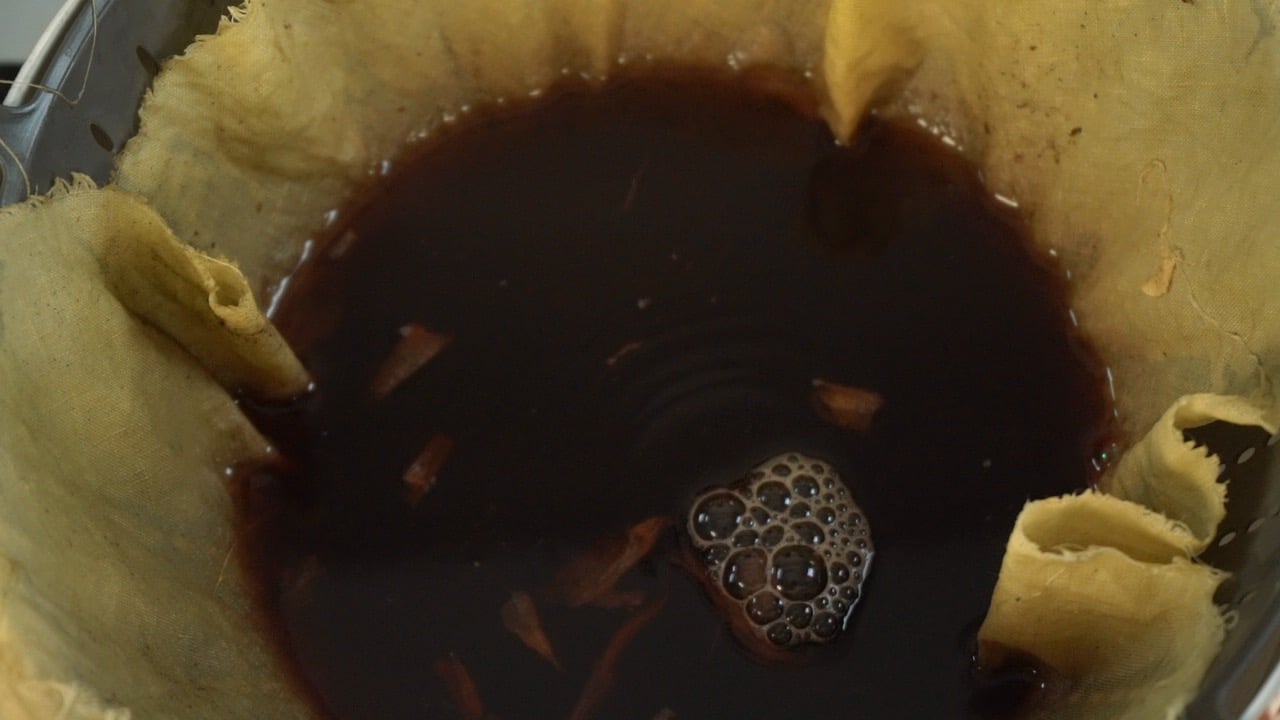
Raise the temperature to 70-85°C and simmer for 30 minutes. Let it cool. If you opt not to soak onion skins for several days, simmer for 1 hour. Strain through a fine cloth to keep small particles out of the dye bath.
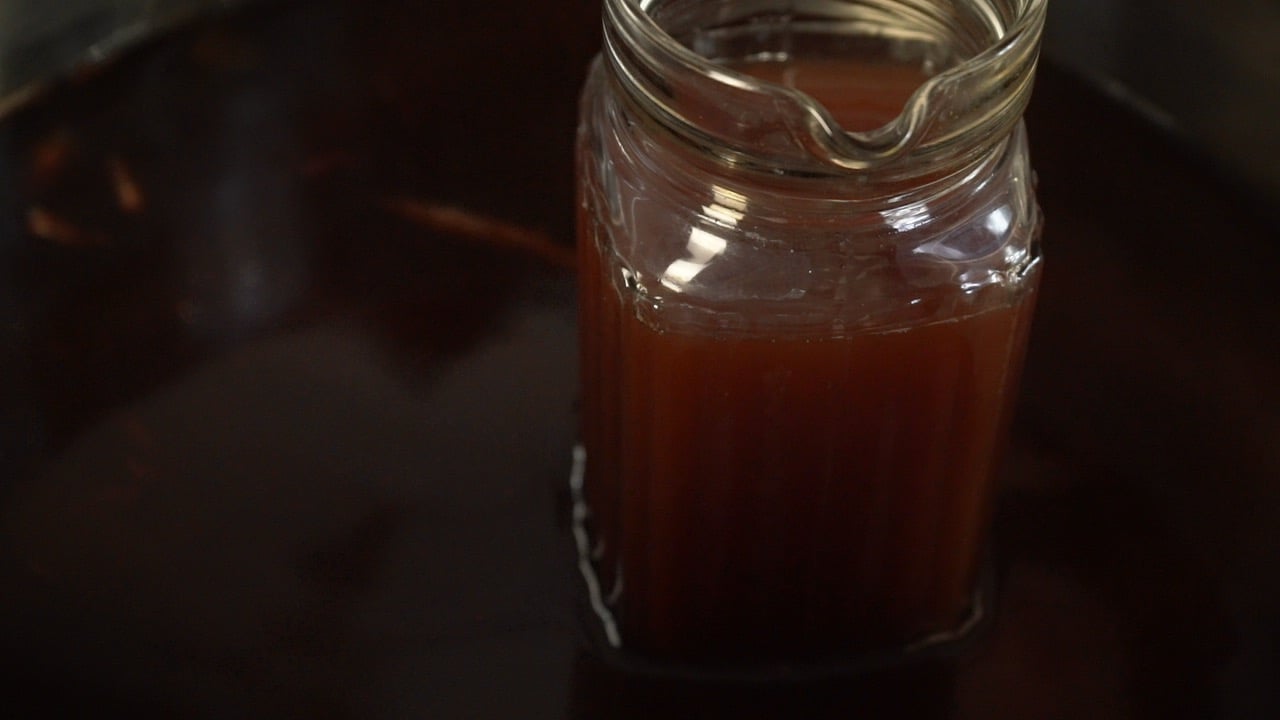
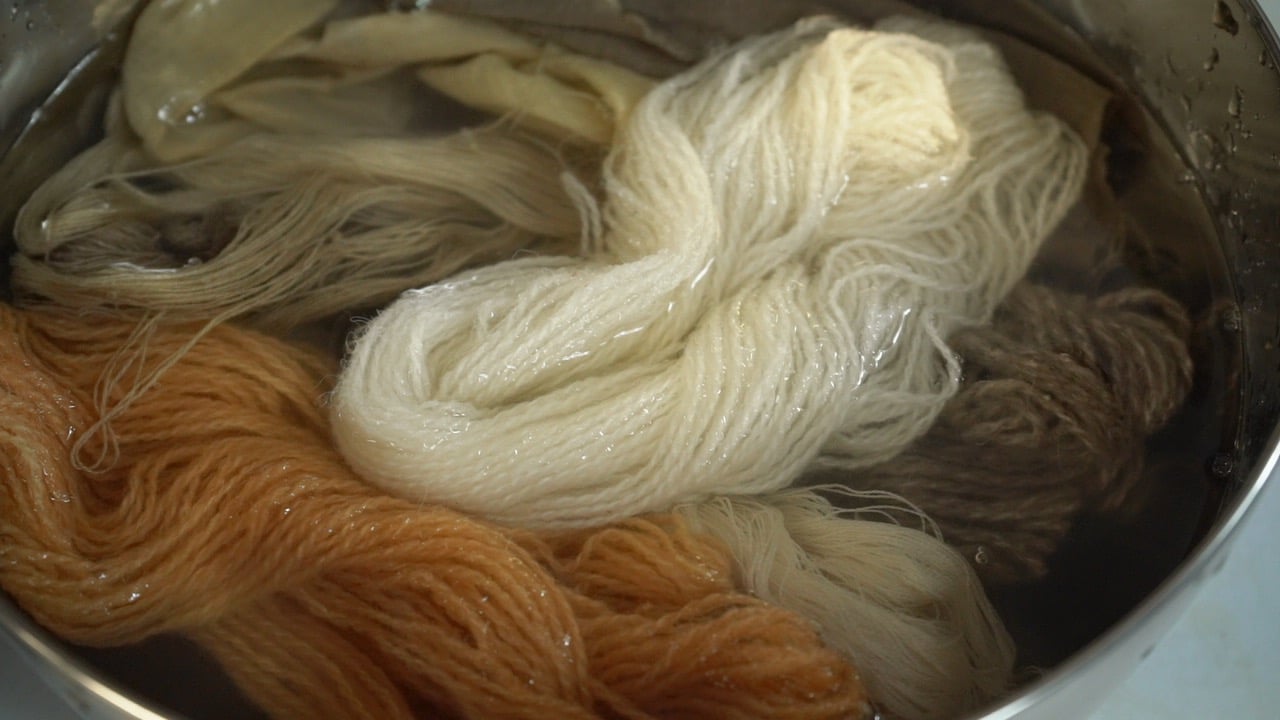
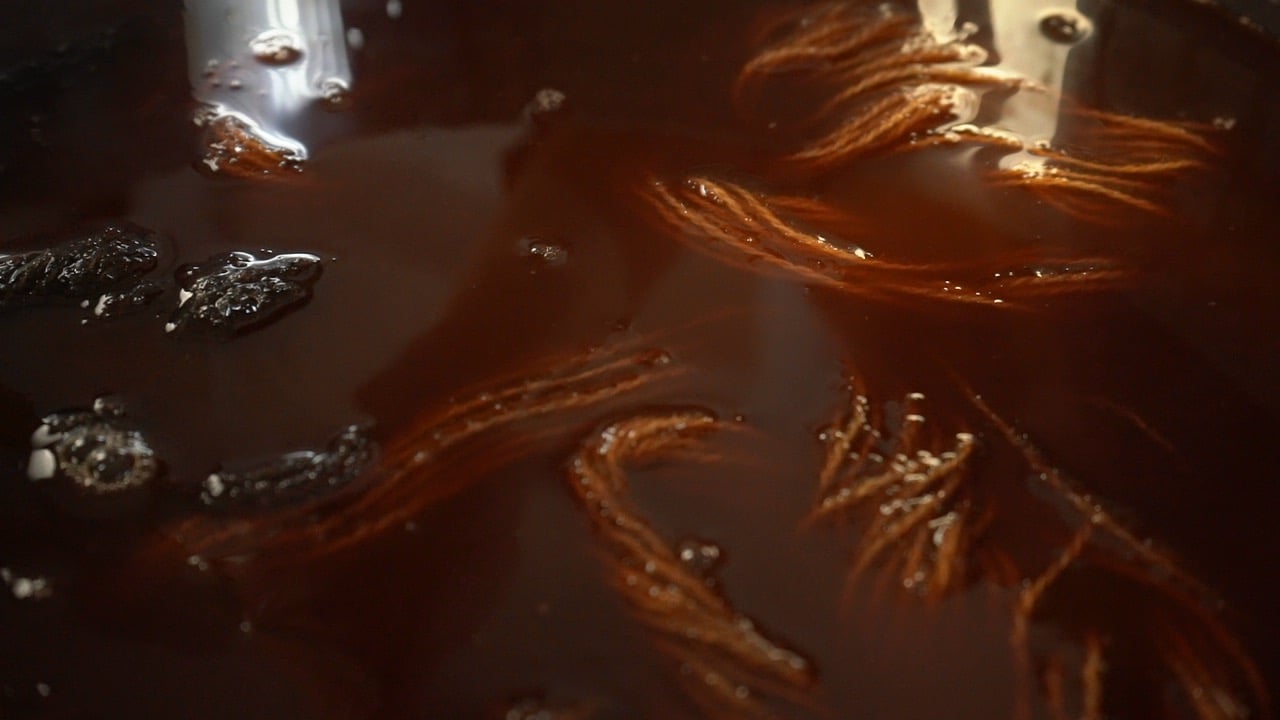
Dissolve the madder extract powder in a small amount of warm water. Stir thoroughly to ensure that all extract is dissolved and add to the onion solution. Stir well and make sure there are no small lumps of extract and that it is all dissolved.
Soak mordanted fibers in water for at least 30-60 minutes, then add them to the dye solution.
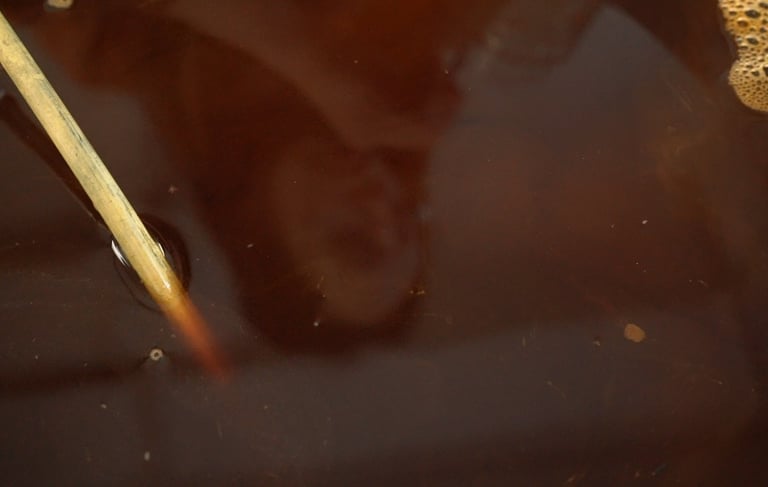
Slowly raise the temperature to 50-60°C, keep for 1 hour, and occasionally stir carefully. Allow it to cool.
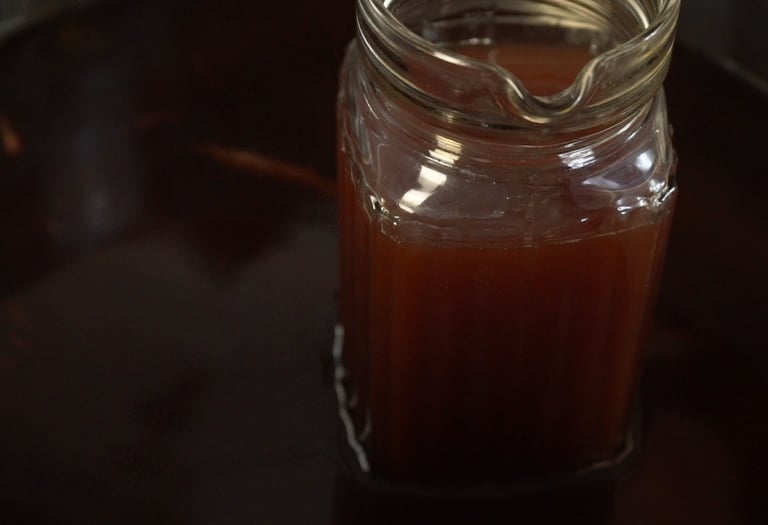
Typically, fibers initially develop a dark orange shade, with red tones appearing after 40-60 minutes.
Optional: after dyeing, leave the fibers to soak in dyes for 3-4 days to develop deep dark red shades.
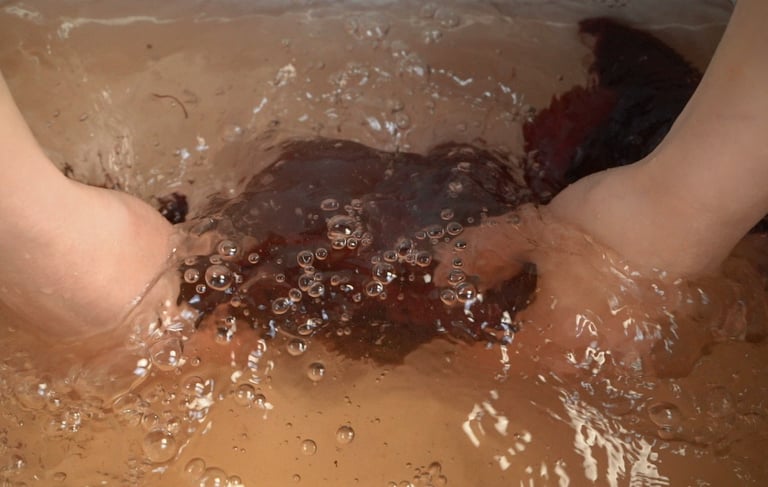
Remove the fibers after dyeing, gently squeeze, and hang them to dry. You may leave the fibers for several days for the colorants to settle; this process is known as "air curing."
Wash dyed fibers in room temperature water, changing the water until it is clean and clear.
Additional notes and tips:
I want to emphasize that salt doesn't function as a mordant or color fixative for natural dyes, and I sincerely hope this recipe doesn't lead you to believe otherwise. I believe salt was used in this recipe due to the several days of soaking onion skins. Based on my limited experience in vegetable fermentation using salty water, I think that salt is used here to prevent mold or other unwanted processes.
Instead of soaking, you can simmer onion skins for 45-60 minutes, let them cool, and proceed to the following steps. I've tried both methods, and as of now, I haven't noticed any significant differences in colors.
While I opted for madder extract, I encourage you to explore other dyestuffs and extracts. They don't have to be red. Experiment with combining onion skins with rhubarb, mulberry, gallnut, or other extracts to broaden your color palette.
After dyeing your initial batch of fibers, you can use this solution to dye the second or even third batch, with each subsequent batch resulting in lighter colors.
For a broader color palette, experiment with additional pH modifiers such as citric acid, cream of tartar, soda ash, or chalk. You can add them to your dye pot in small amounts before introducing fibers.
Modify colors after dyeing (before washing). Prepare a weak solution of your chosen additive (citric acid or soda ash), immerse wet fibers, and keep for 10-30 minutes. Observe color changes. Acidic water may bring out orange shades, while an alkaline solution may bring out deep red, maroon or brown tones. After modification, wash fibers in water.
To expand your palette further, experiment with post-mordanting using iron sulfate. Make a 2% iron solution, immerse wet fibers, and keep for 2-20 minutes. Observe color changes. After modification, wash fibers in water.

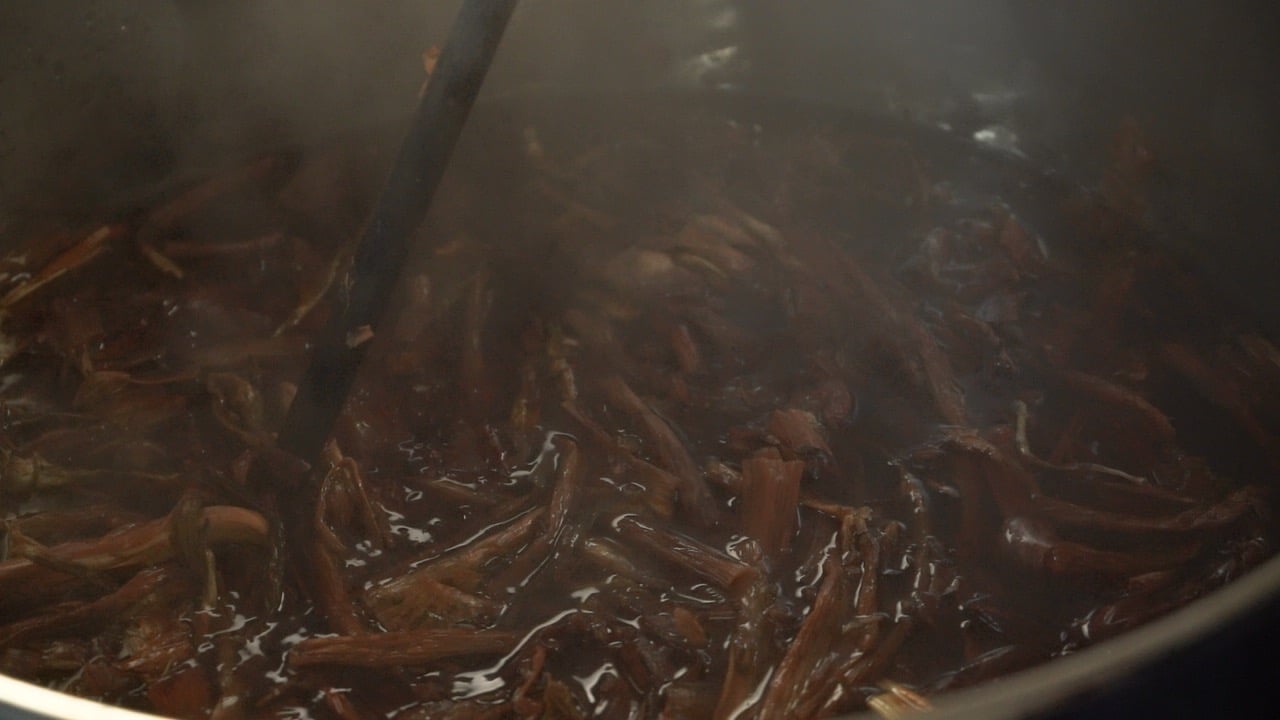
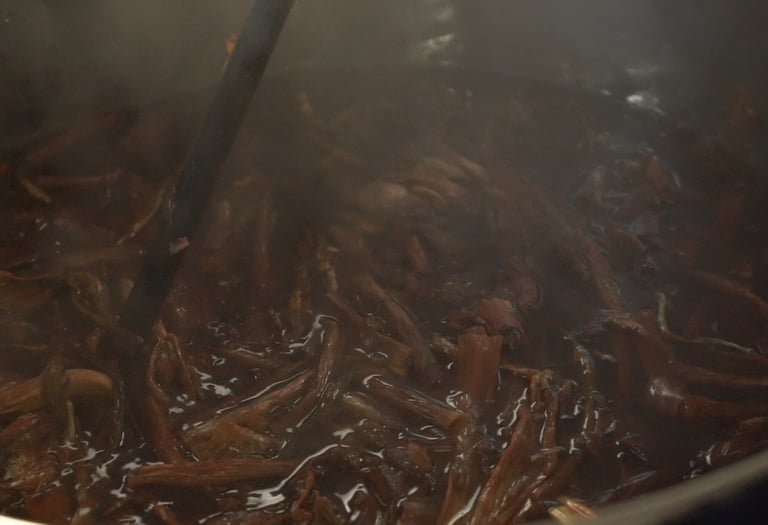
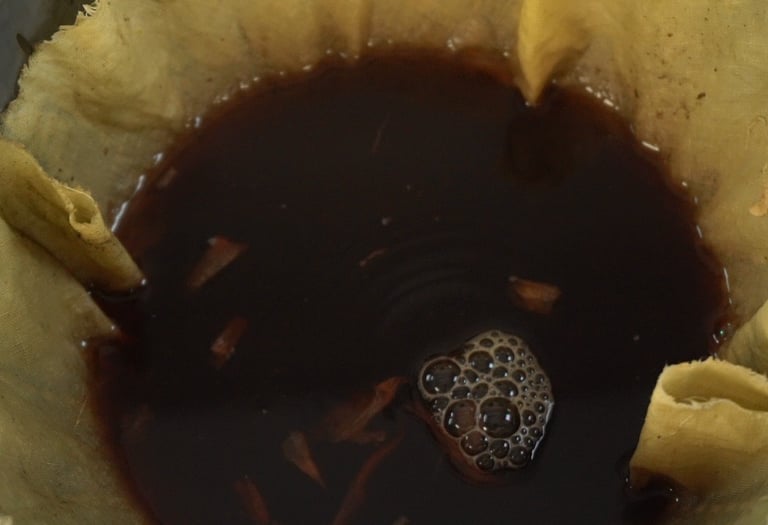
Illustrations for preparing a solution of onion skins: adding to the hot water, simmering, straining through a cloth.
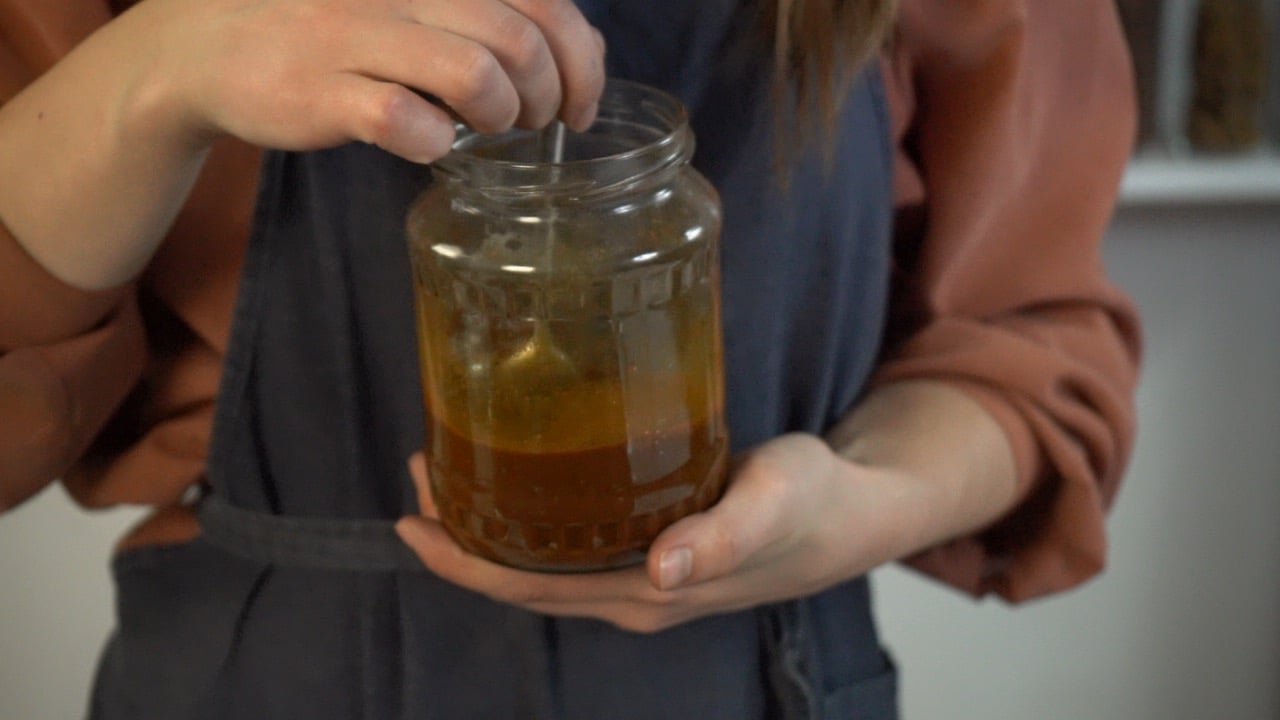
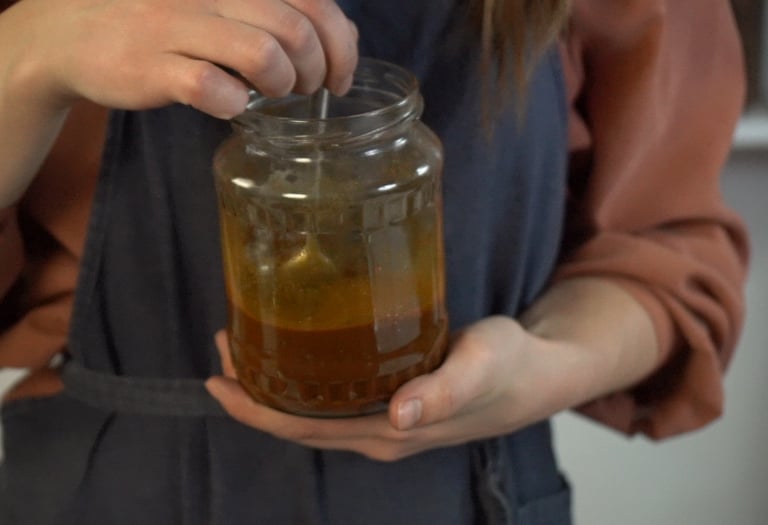
Illustrations of dissolving madder extract in water and adding to the onion solution.
Illustrations of the rest of the dyeing process: soaking mordanted fibers in water, dyeing, drying, and washing.
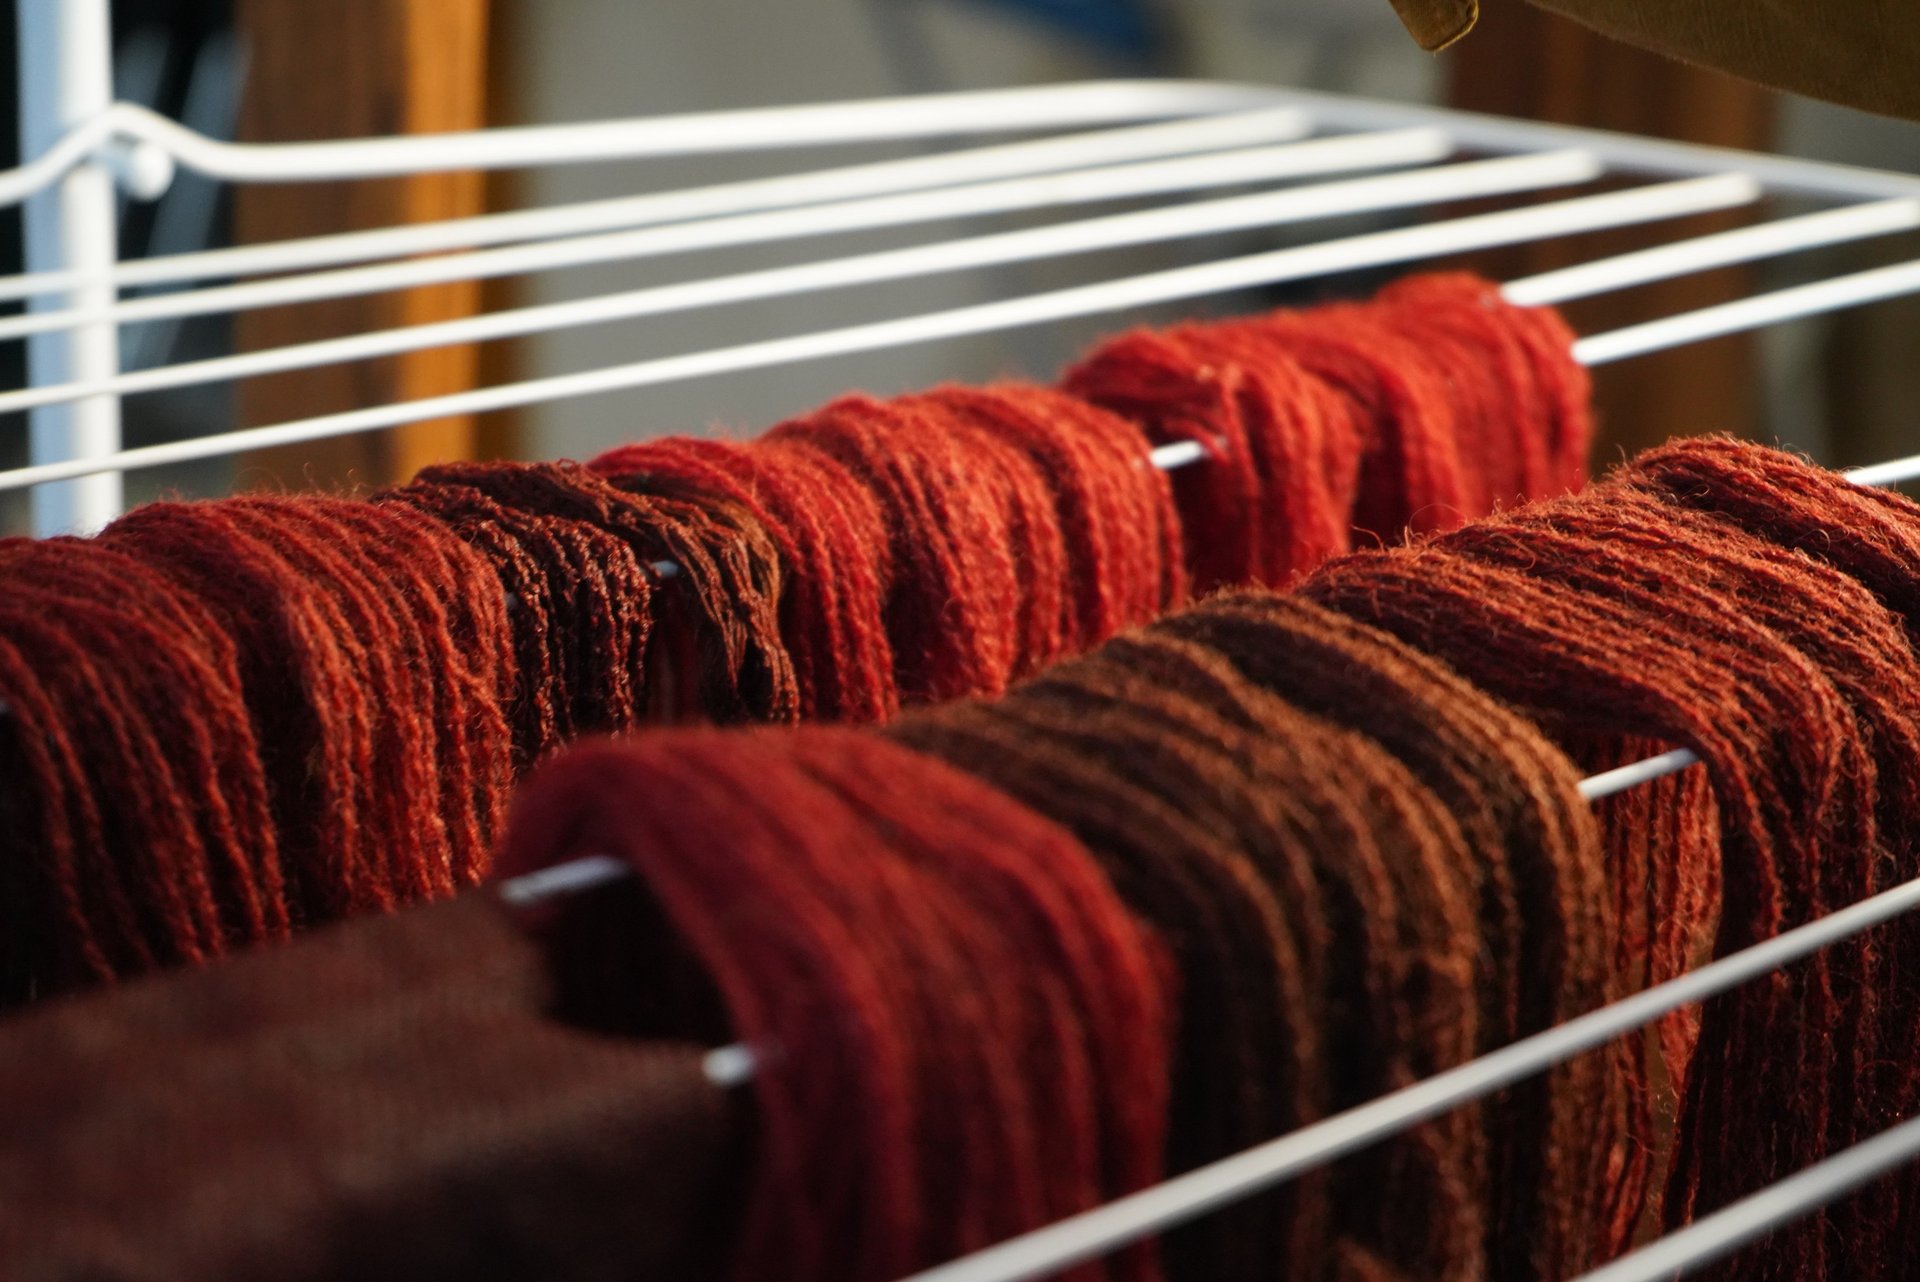
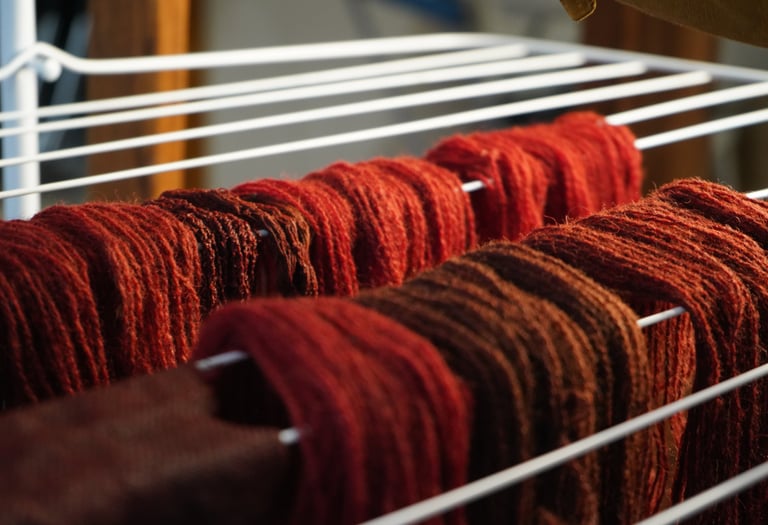
RESULTS
For the purpose of this article, I've taken various fibers and different wools treated with various mordants and dyed them all together in the same solution. I prefer doing this when testing new plants or recipes because it's an excellent way to explore the diverse possibilities one recipe can produce and observe how different fibers or mordants react. I'm particularly excited to share these results with you!
One change I would consider is dividing the solution into two parts, using one for wool and another for cellulose. Through my experiences, I've noticed that wool tends to come out brighter than cellulose. Cellulose, being more challenging to dye, often requires longer simmering and soaking times to develop vibrant colors so I feel that wool fibers take up colorants faster and therefore there's less dye left for cellulose. I've primarily worked with wool, so I hadn't considered separating fibers before, but I'm planning to do this in the future to showcase even better results.
Below are the photos of my results with descriptions of fibers and mordants.
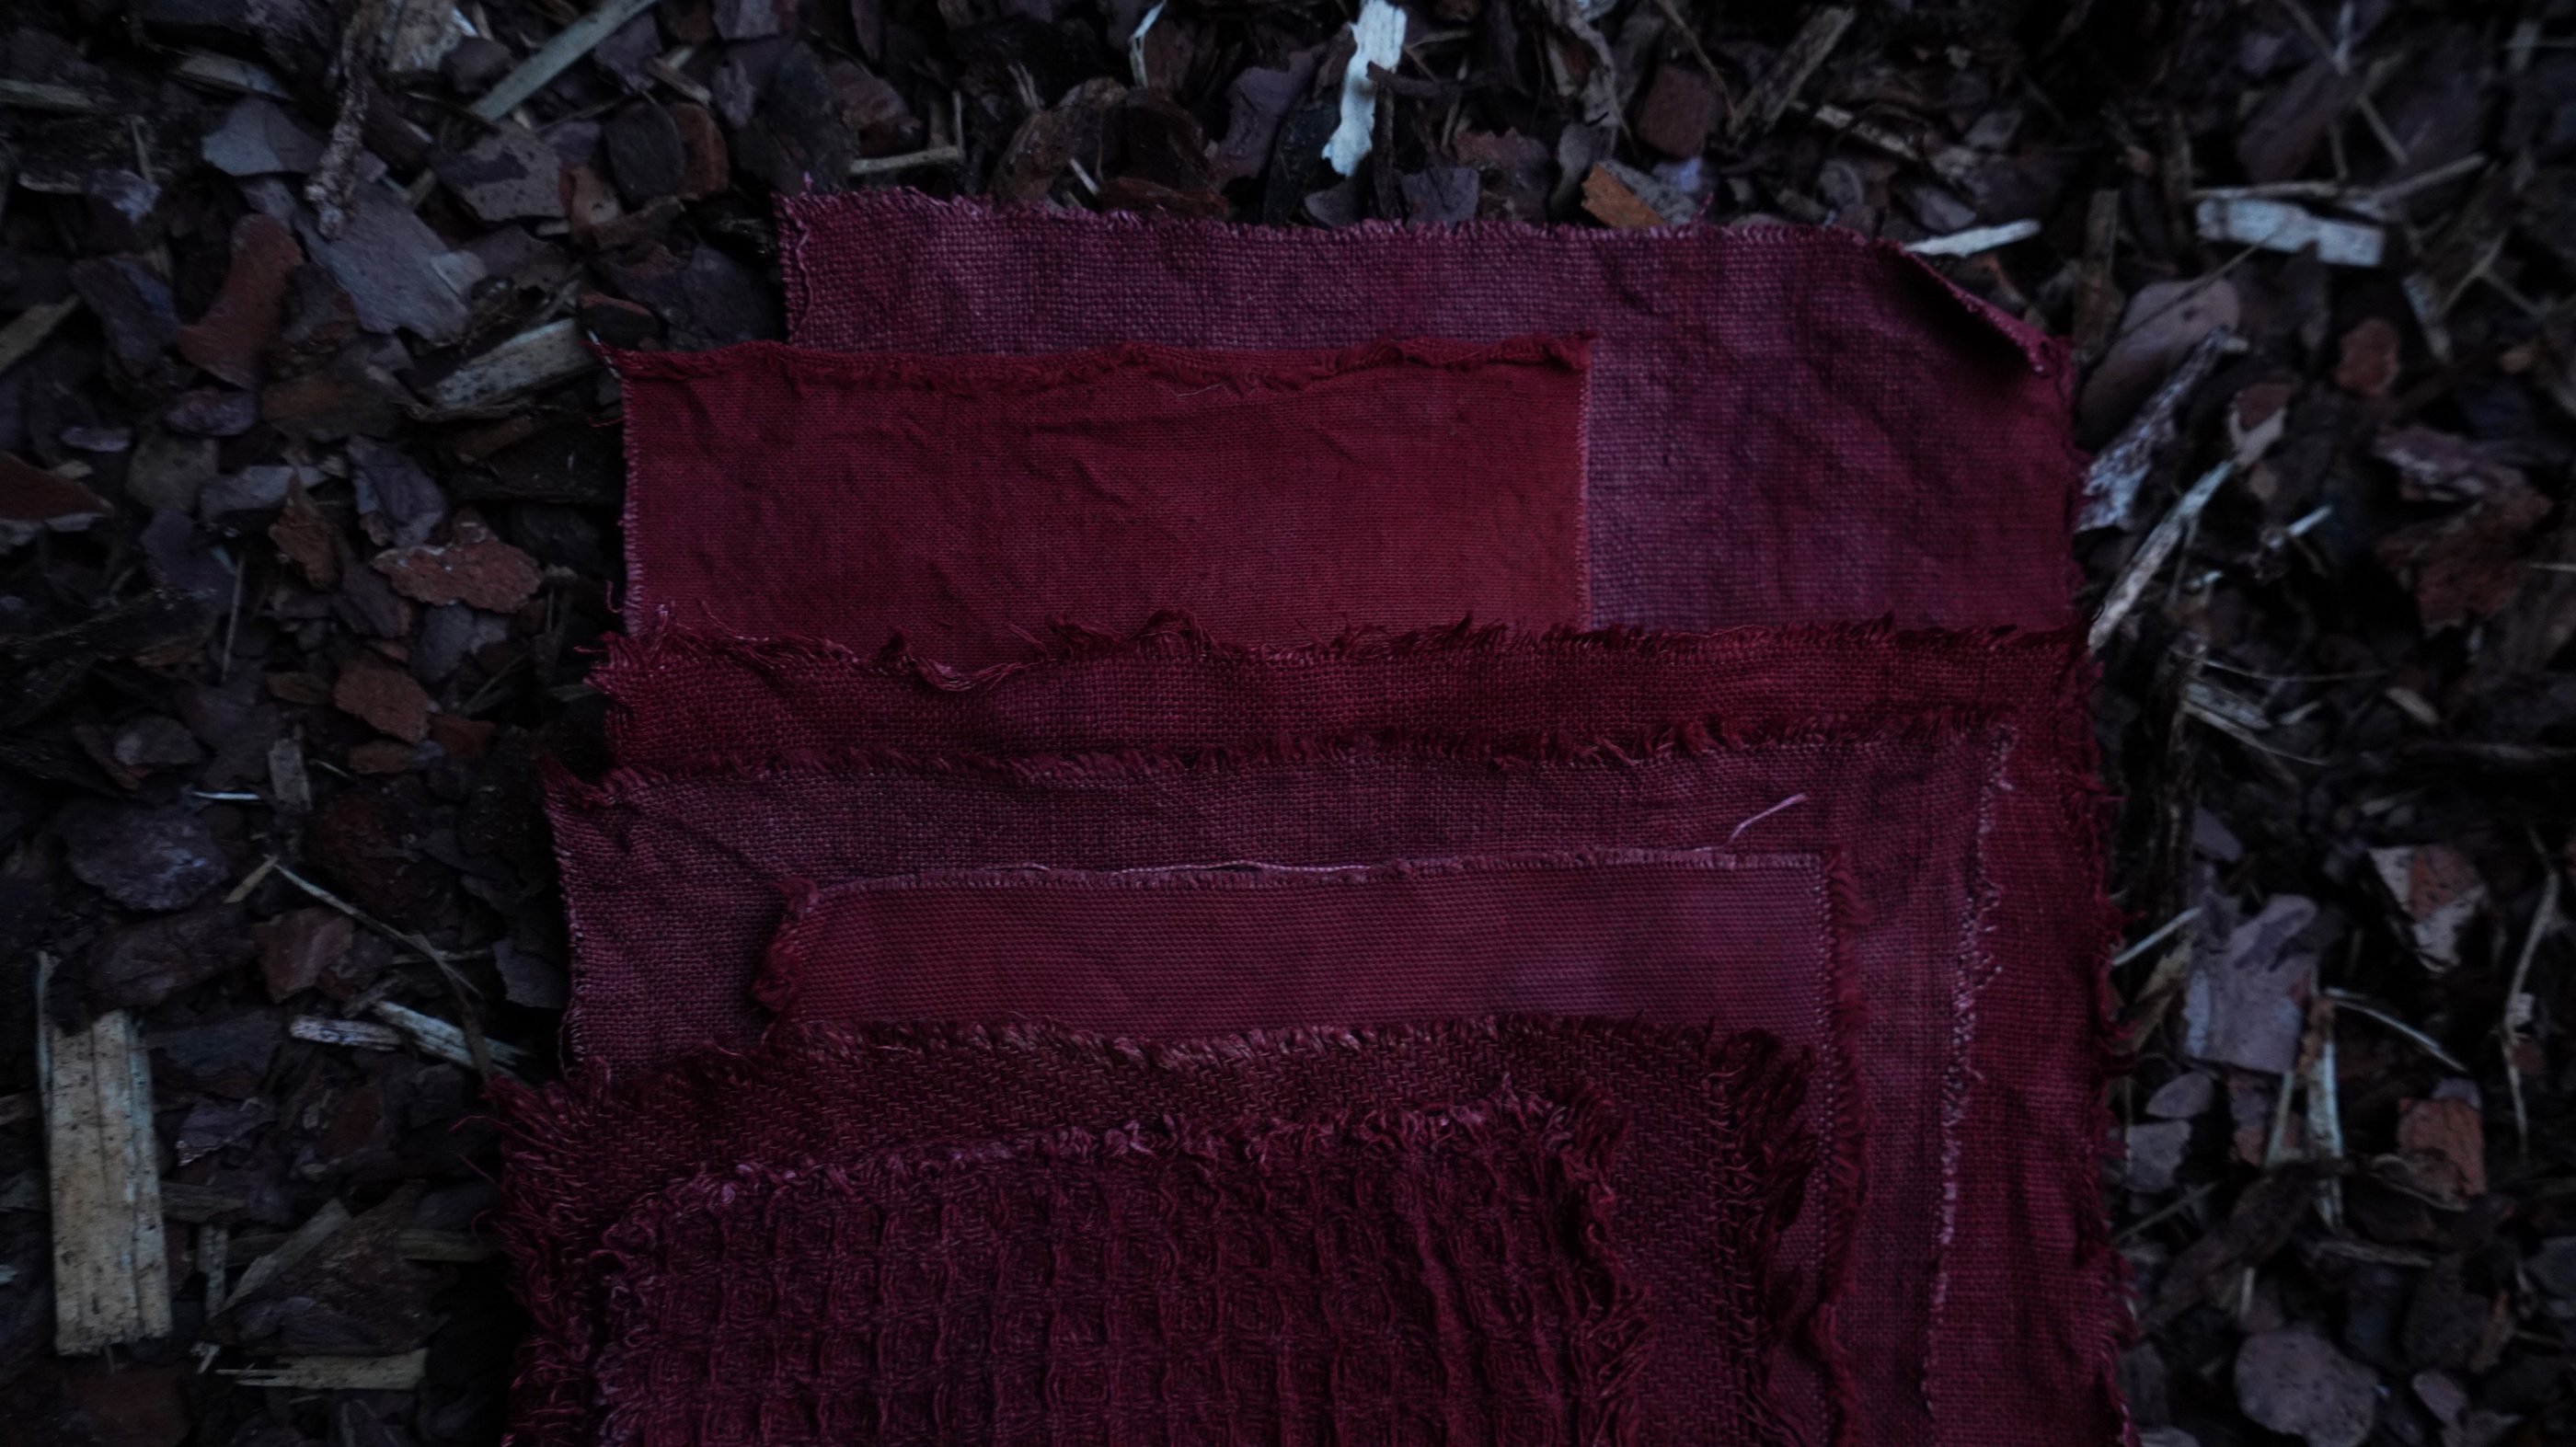
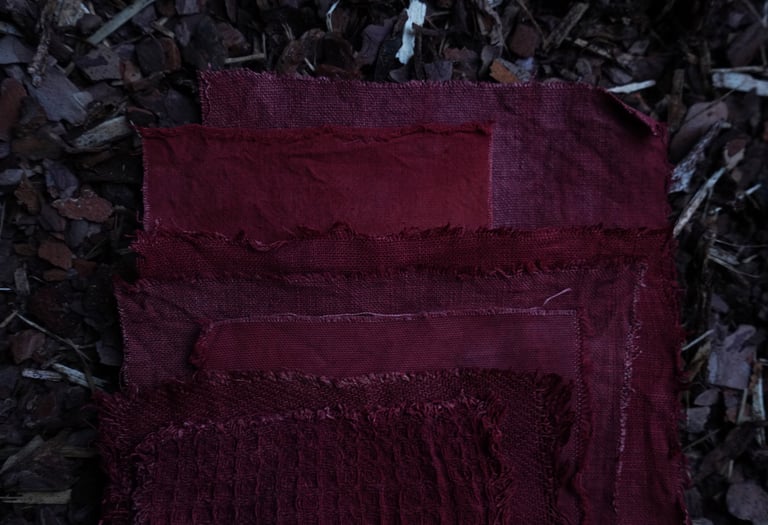
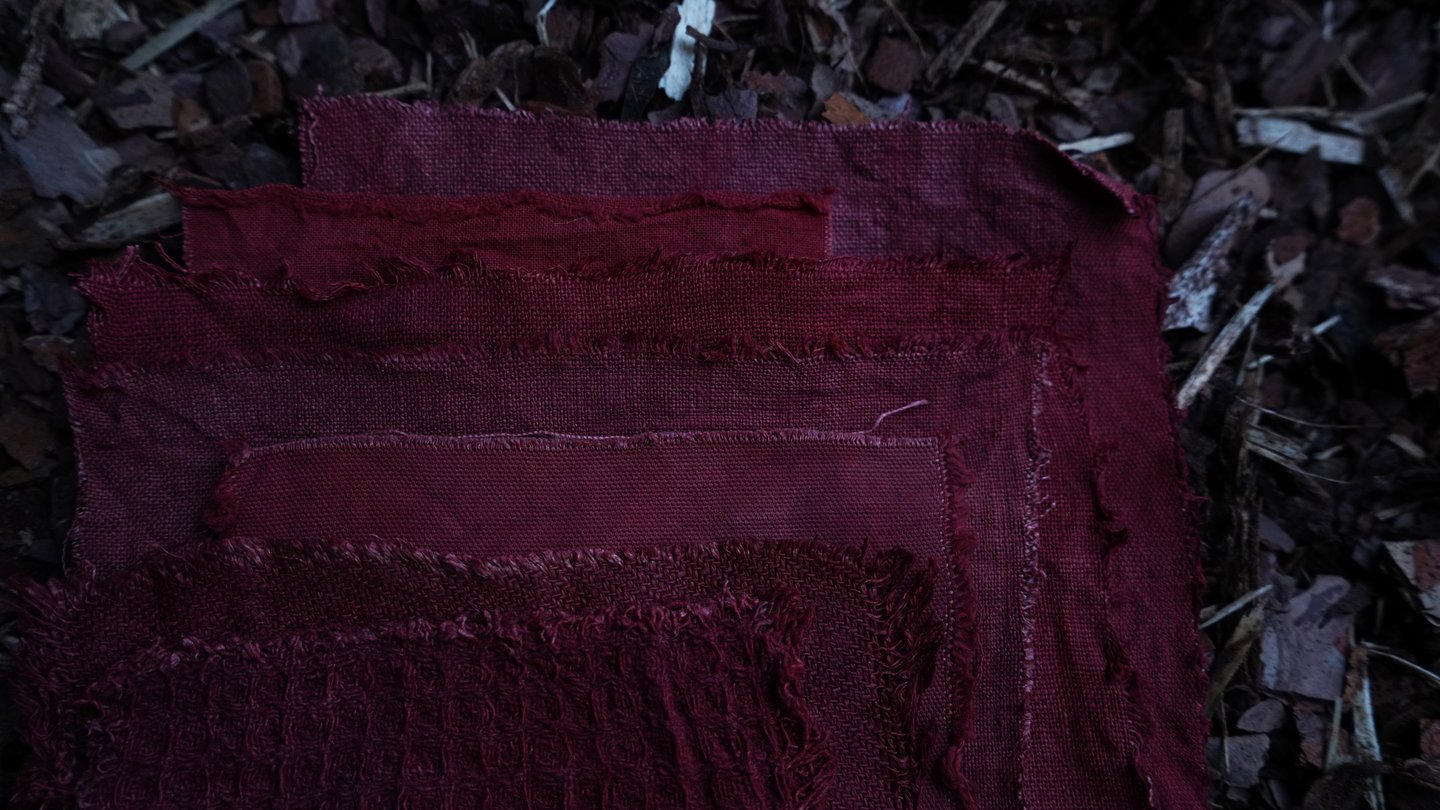
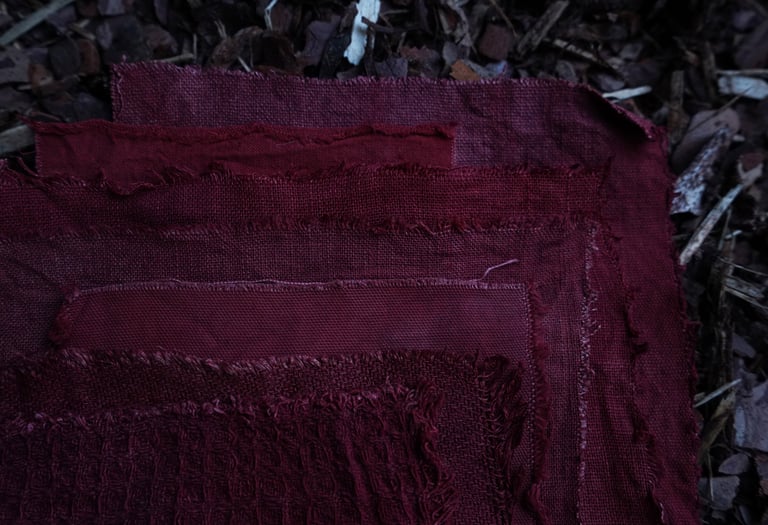
All fabrics were mordanted together with 10% myrobalan extract and 5% aluminum acetate. From top to bottom: 100% natural grey linen, 100% white lightweight cotton, 100% white linen, 100% natural linen (lighter than the linen in the top), 100% white cotton (heavier than the cotton above), 100% natural grey twill linen, probably 100% linen - a mix of two natural grey shades.
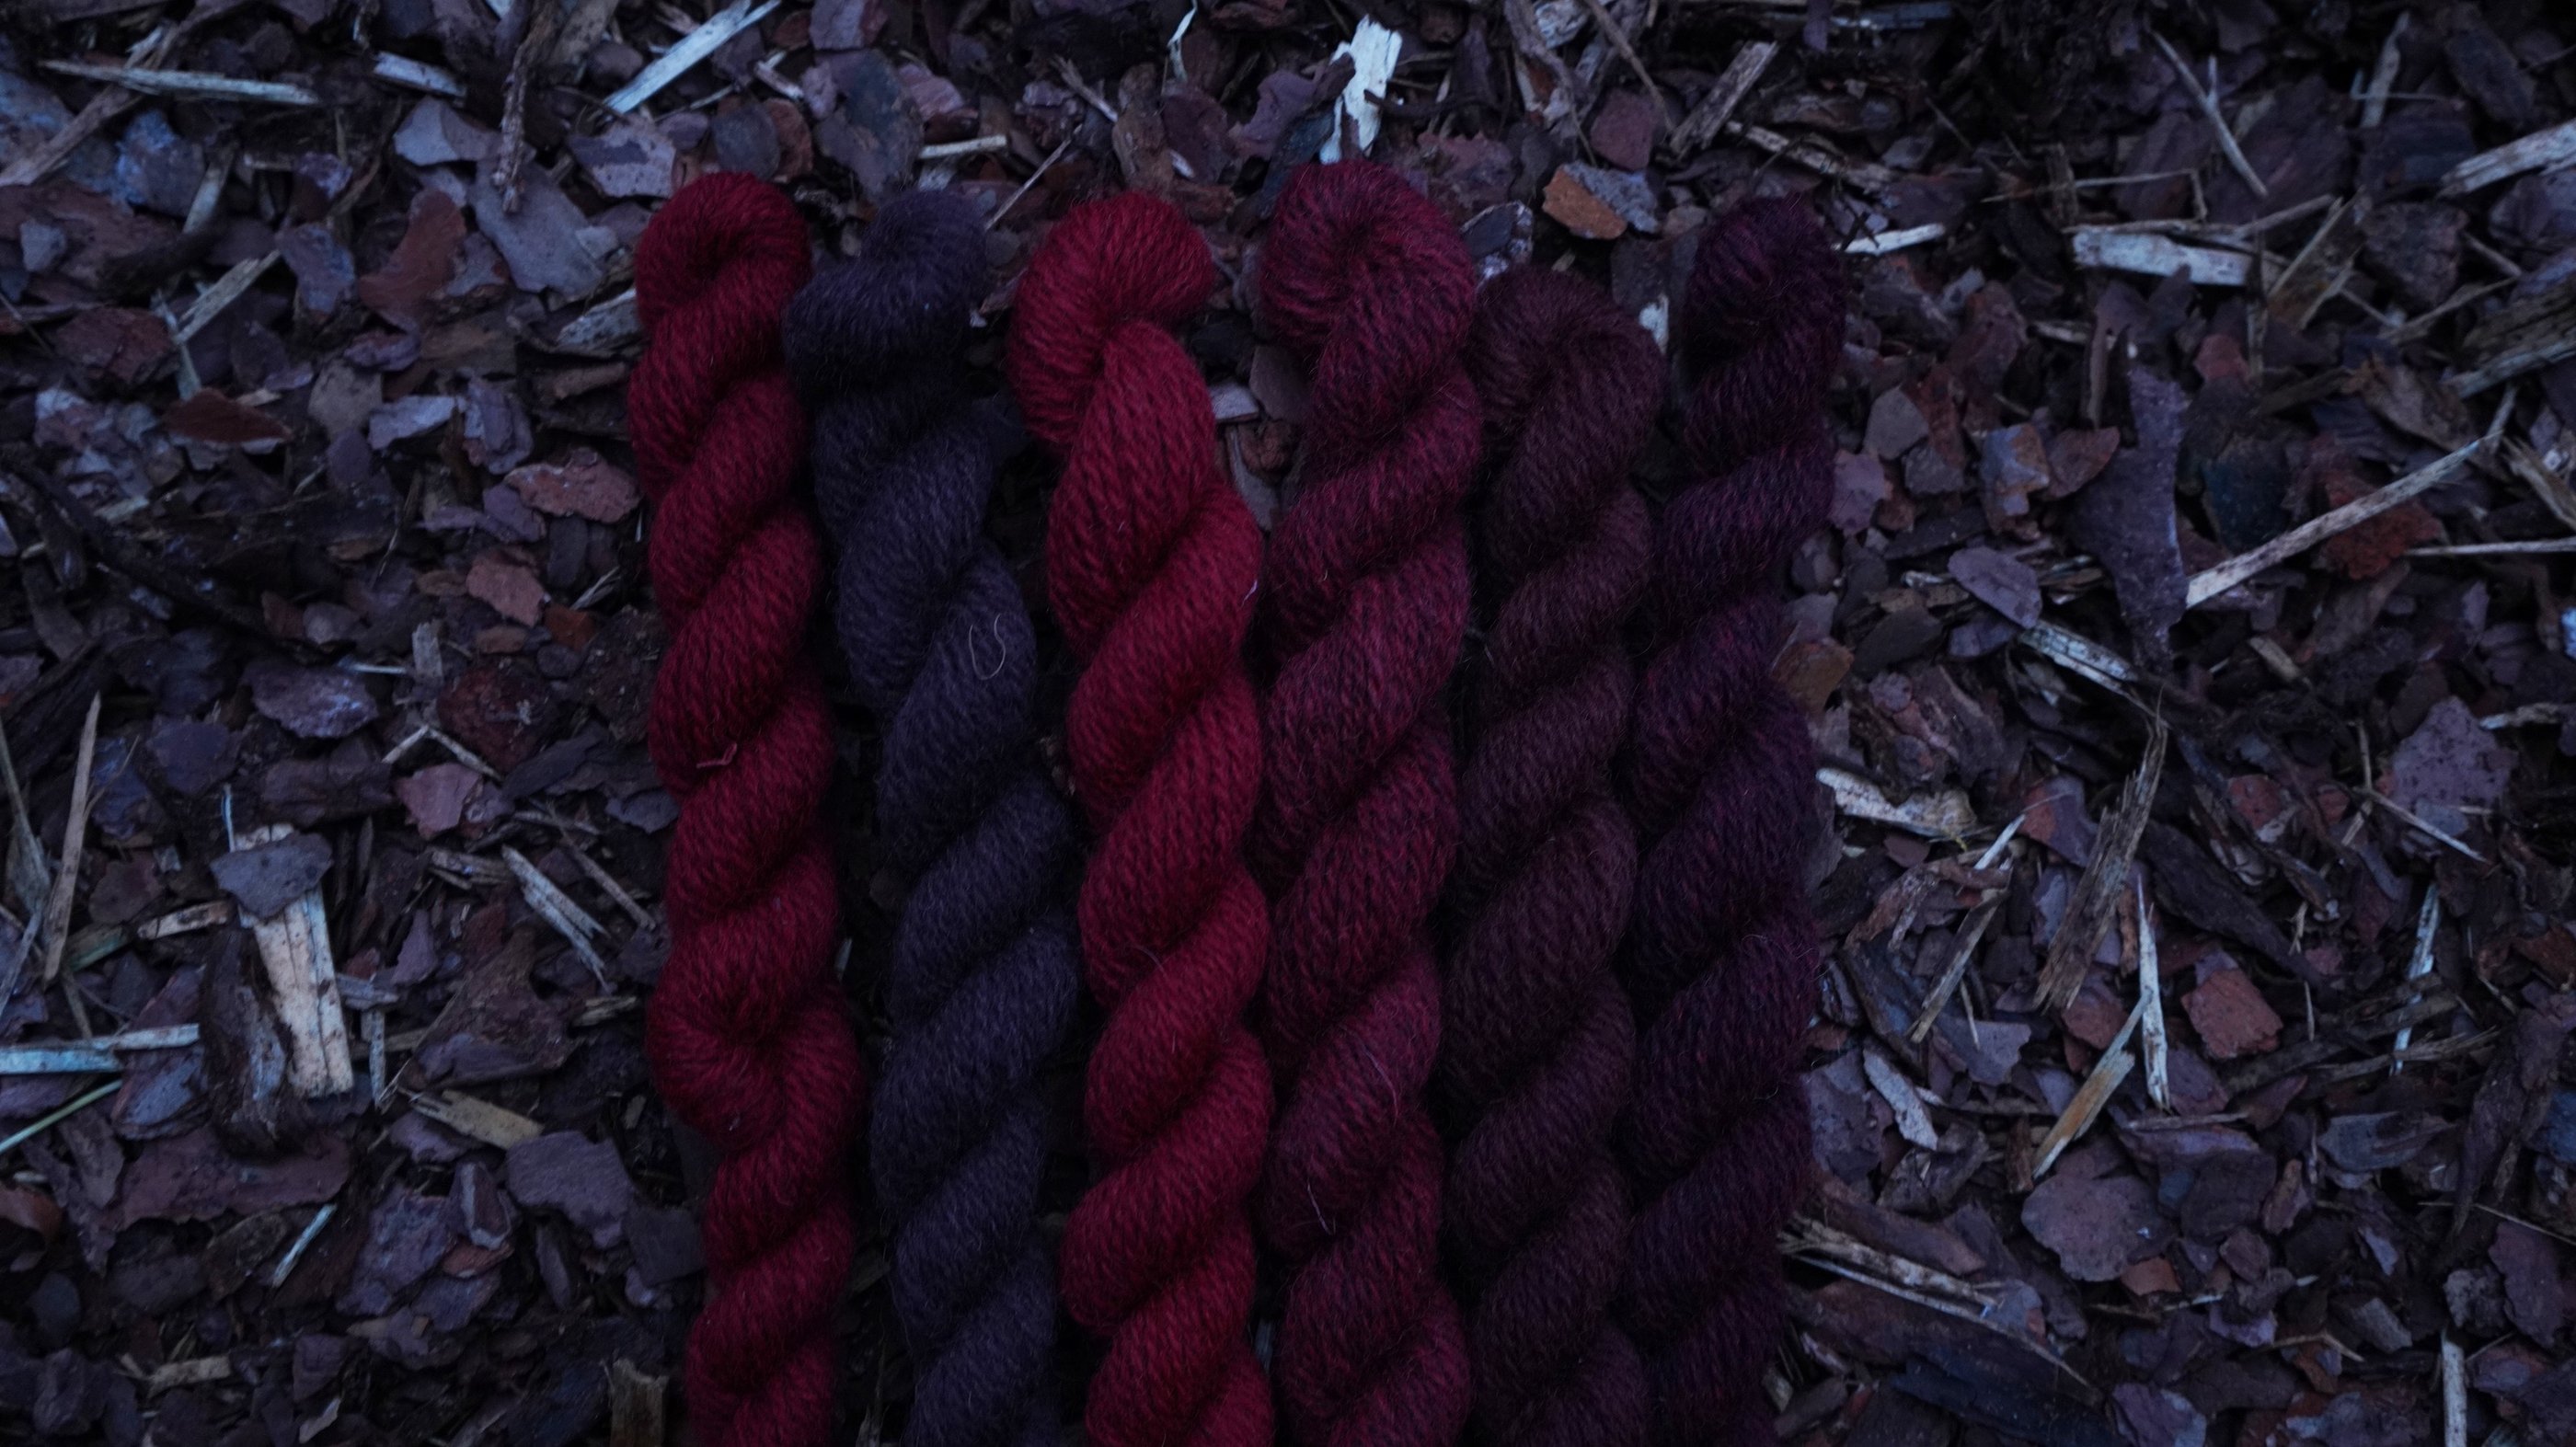
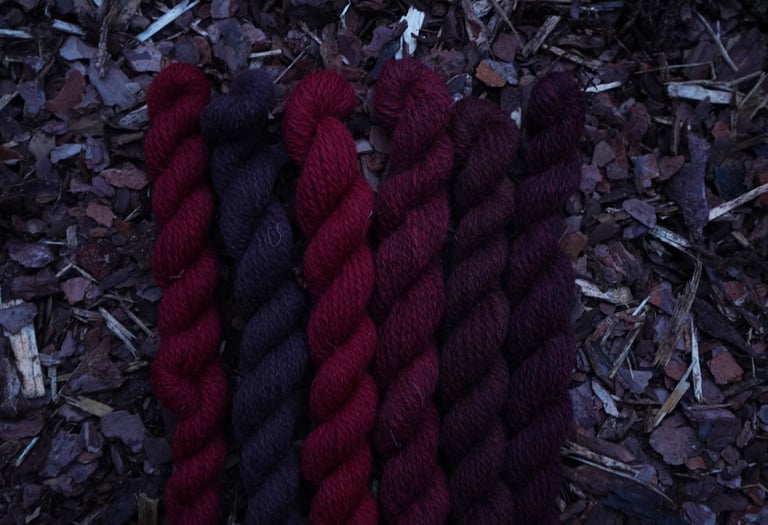
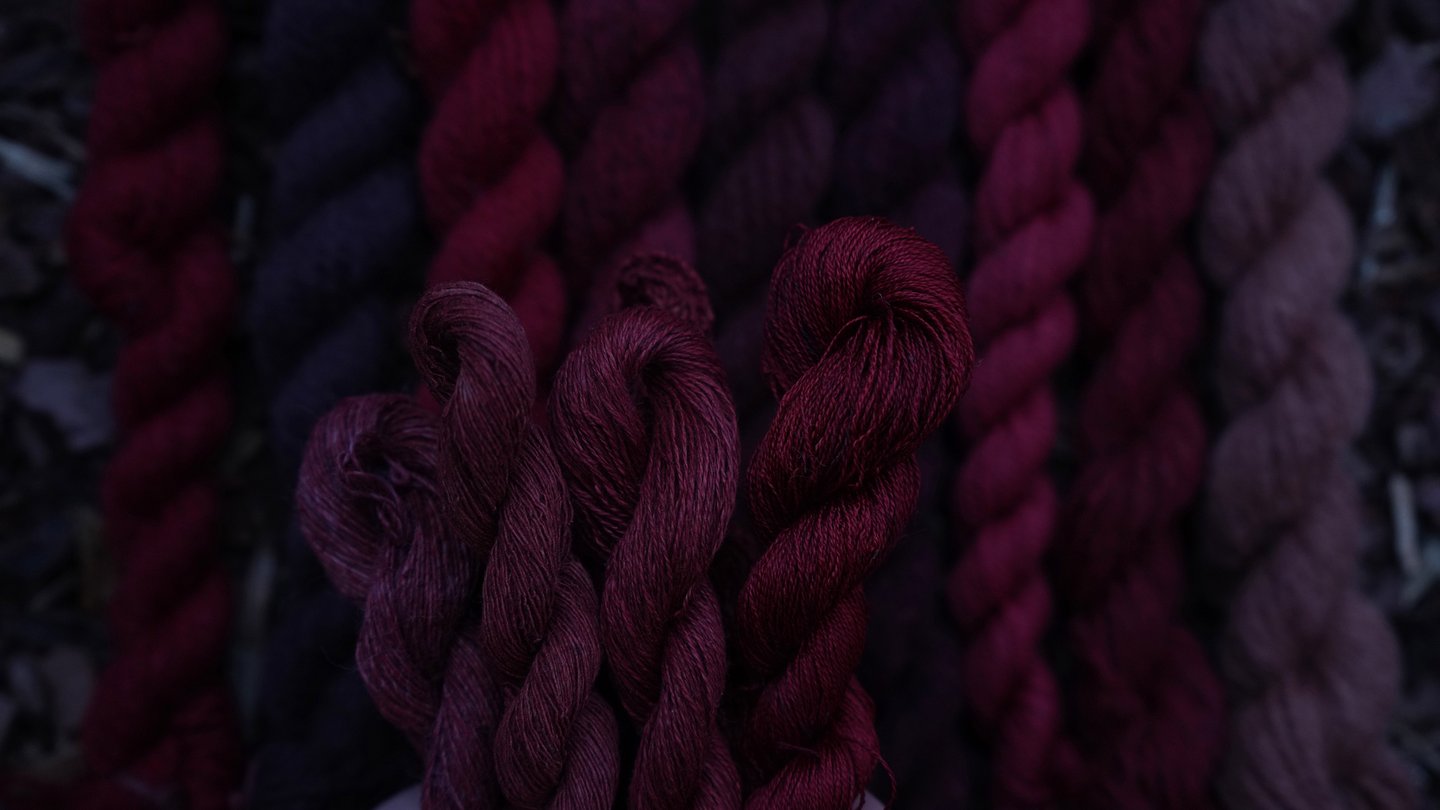
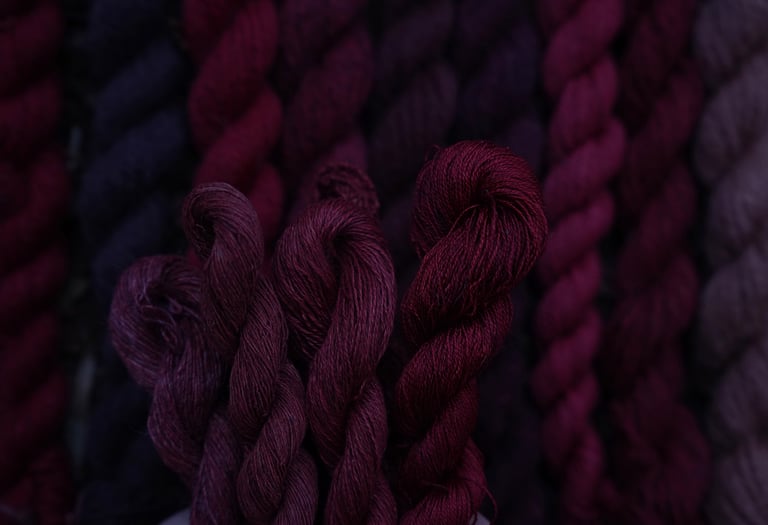
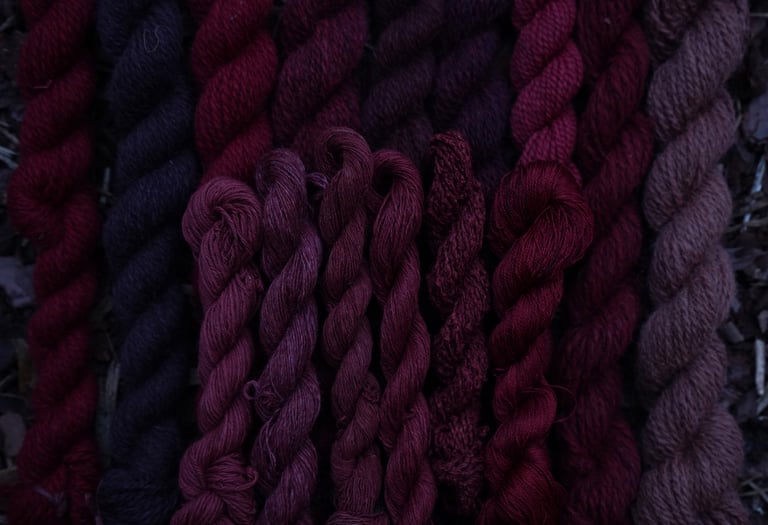
All yarn is the same type of 100% wool. From left to right: white wool mordanted with 4% copper sulfate + 3% cream of tartar, white wool mordanted with 3% iron sulfate, white wool mordanted with 12% alum, light grey wool mordanted with 12% alum, medium grey wool mordanted with 12% alum, dark grey wool mordanted with 12% alum. As you might have noticed, it is possible to achieve a variety of wonderful colors simply by using different naturally colored wool.
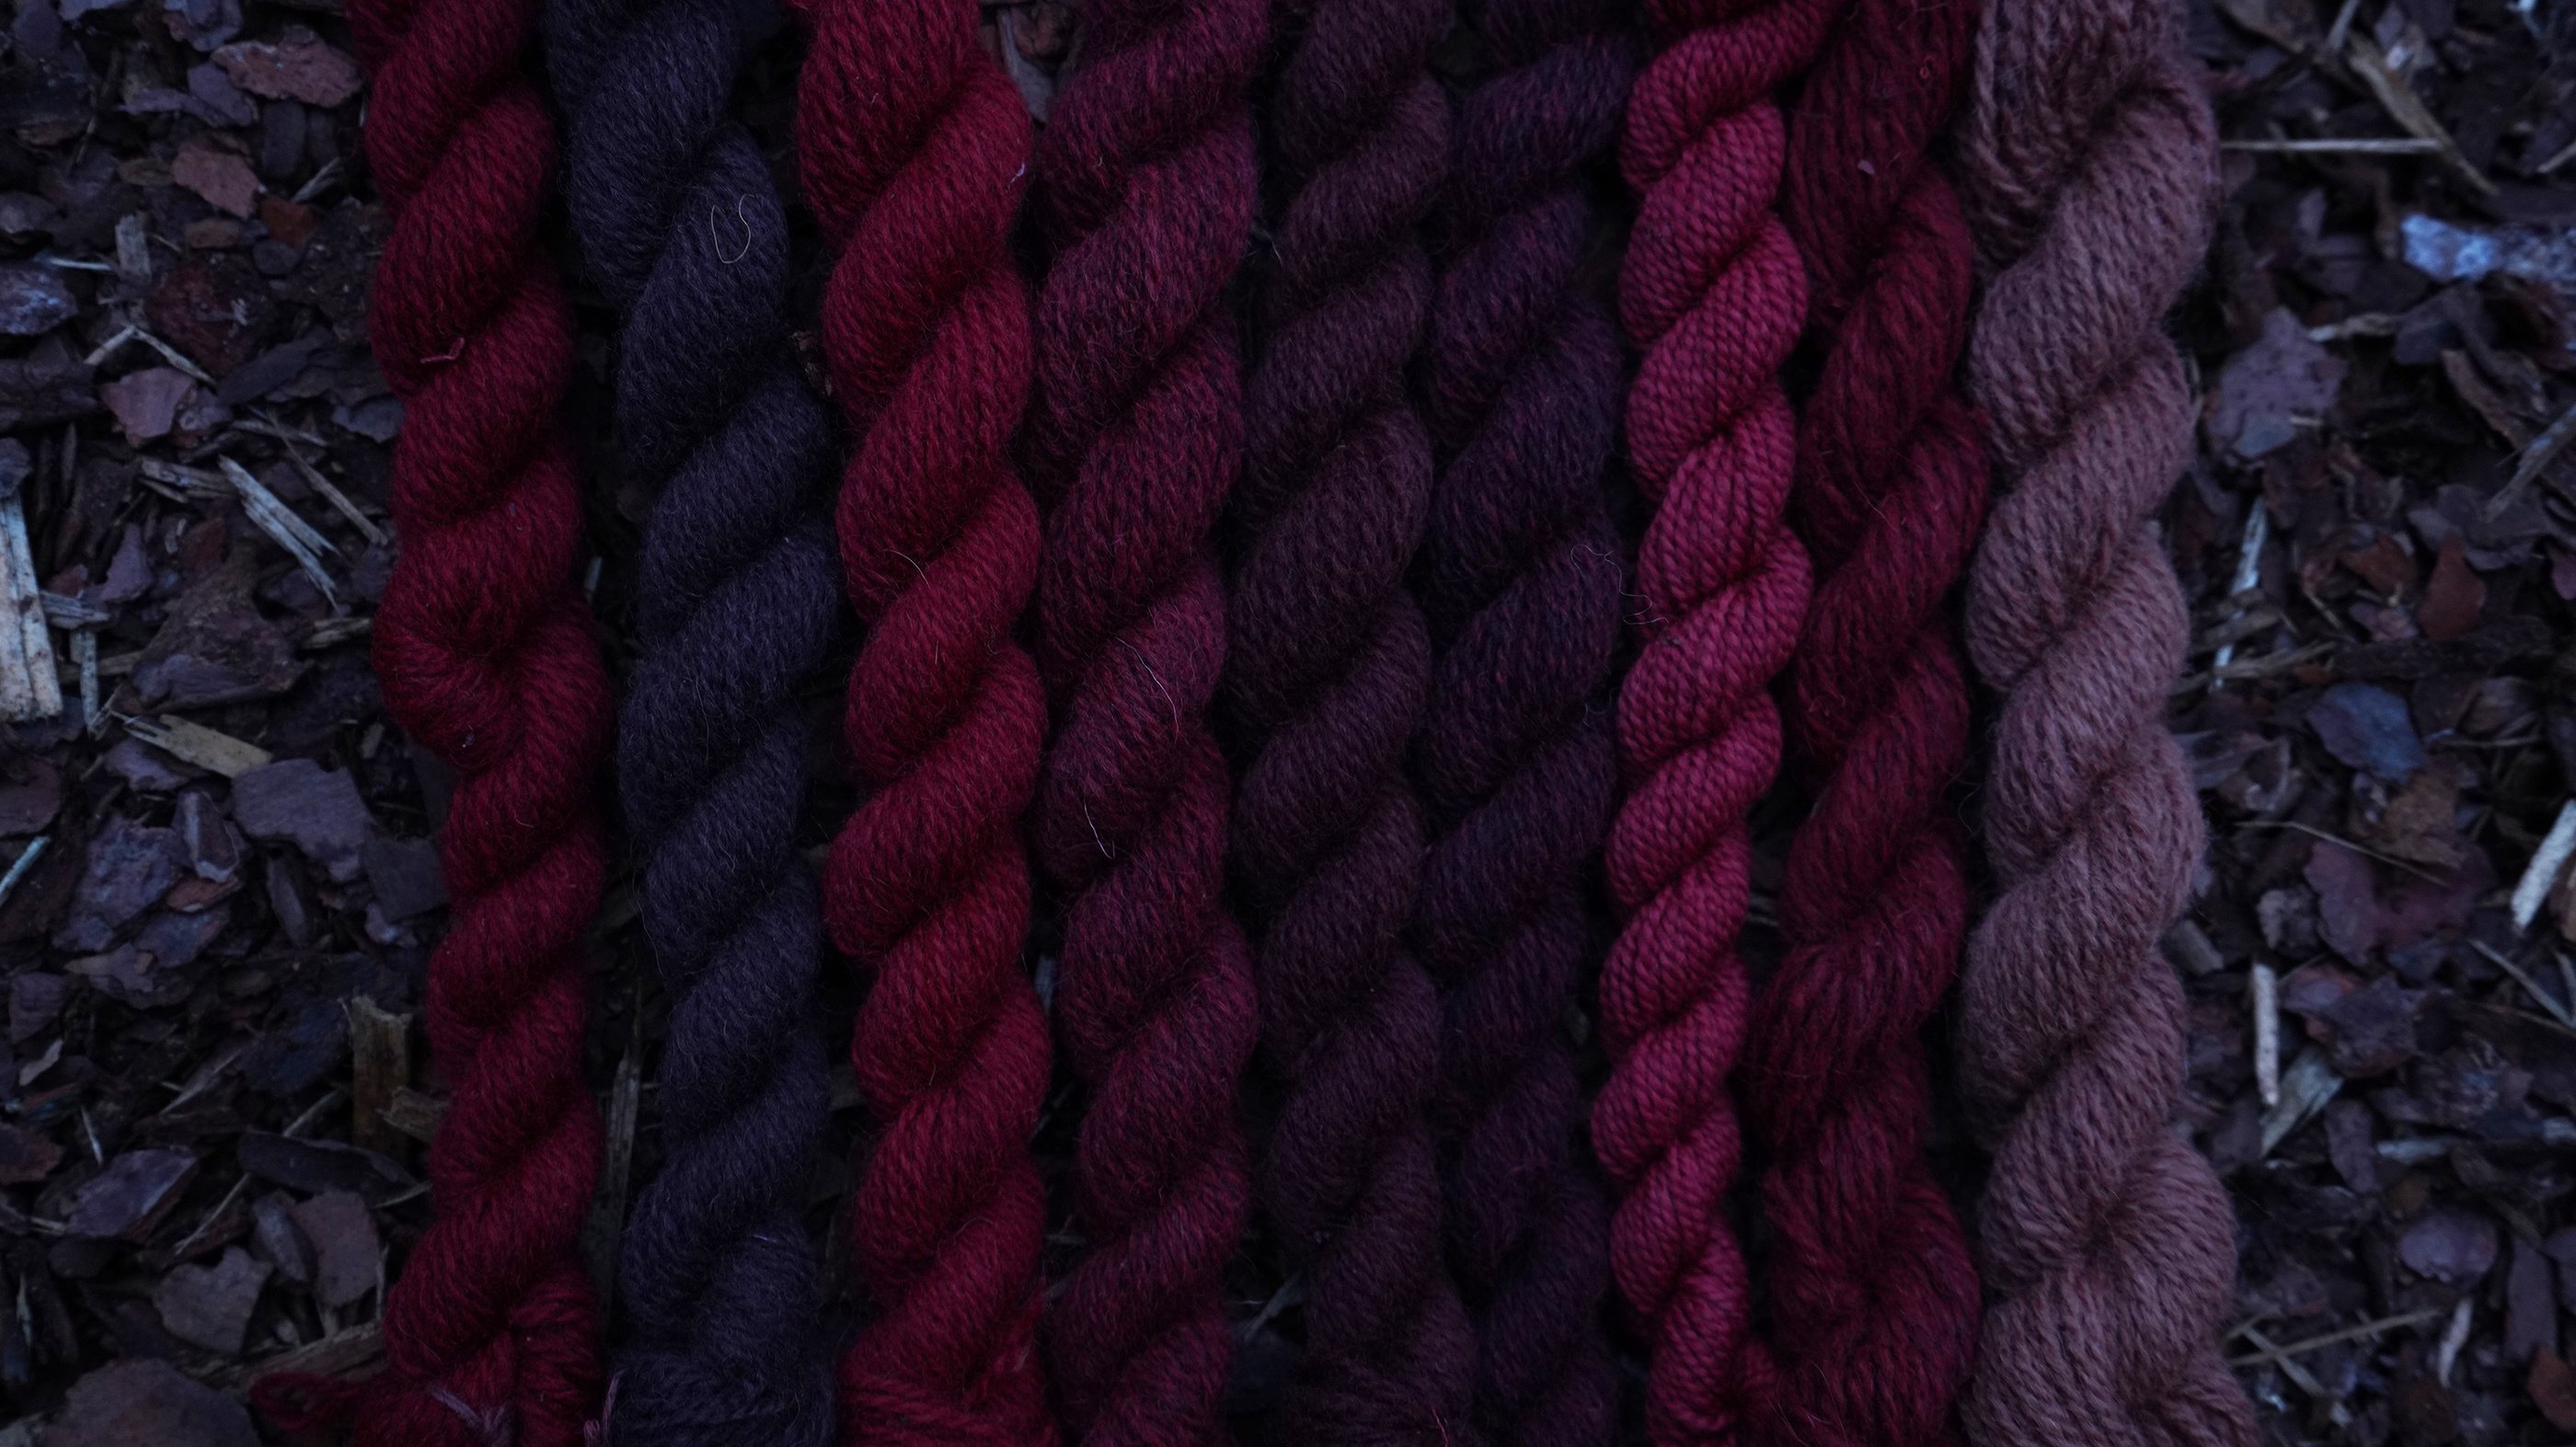
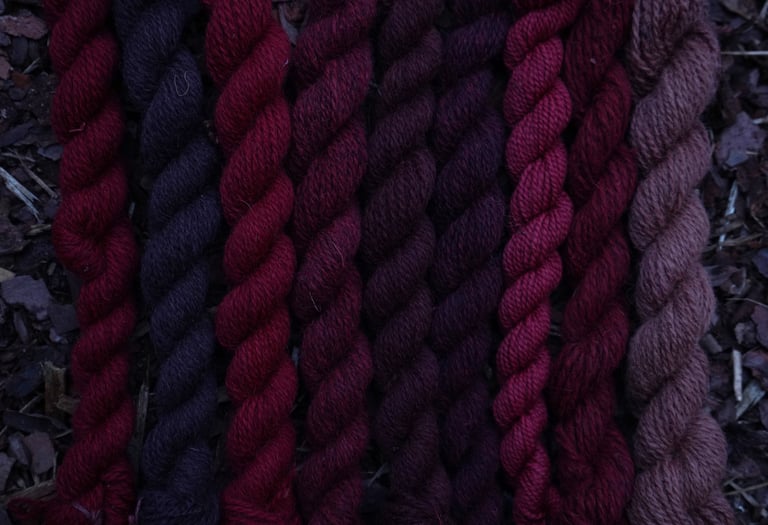
From left to right: first 6 skeins are the same from a photo above, then 100% white merino mordanted with 12% alum, a blend of wool and hemp mordanted with 12% alum, white wool mordanted with 10% myrobalan extract.
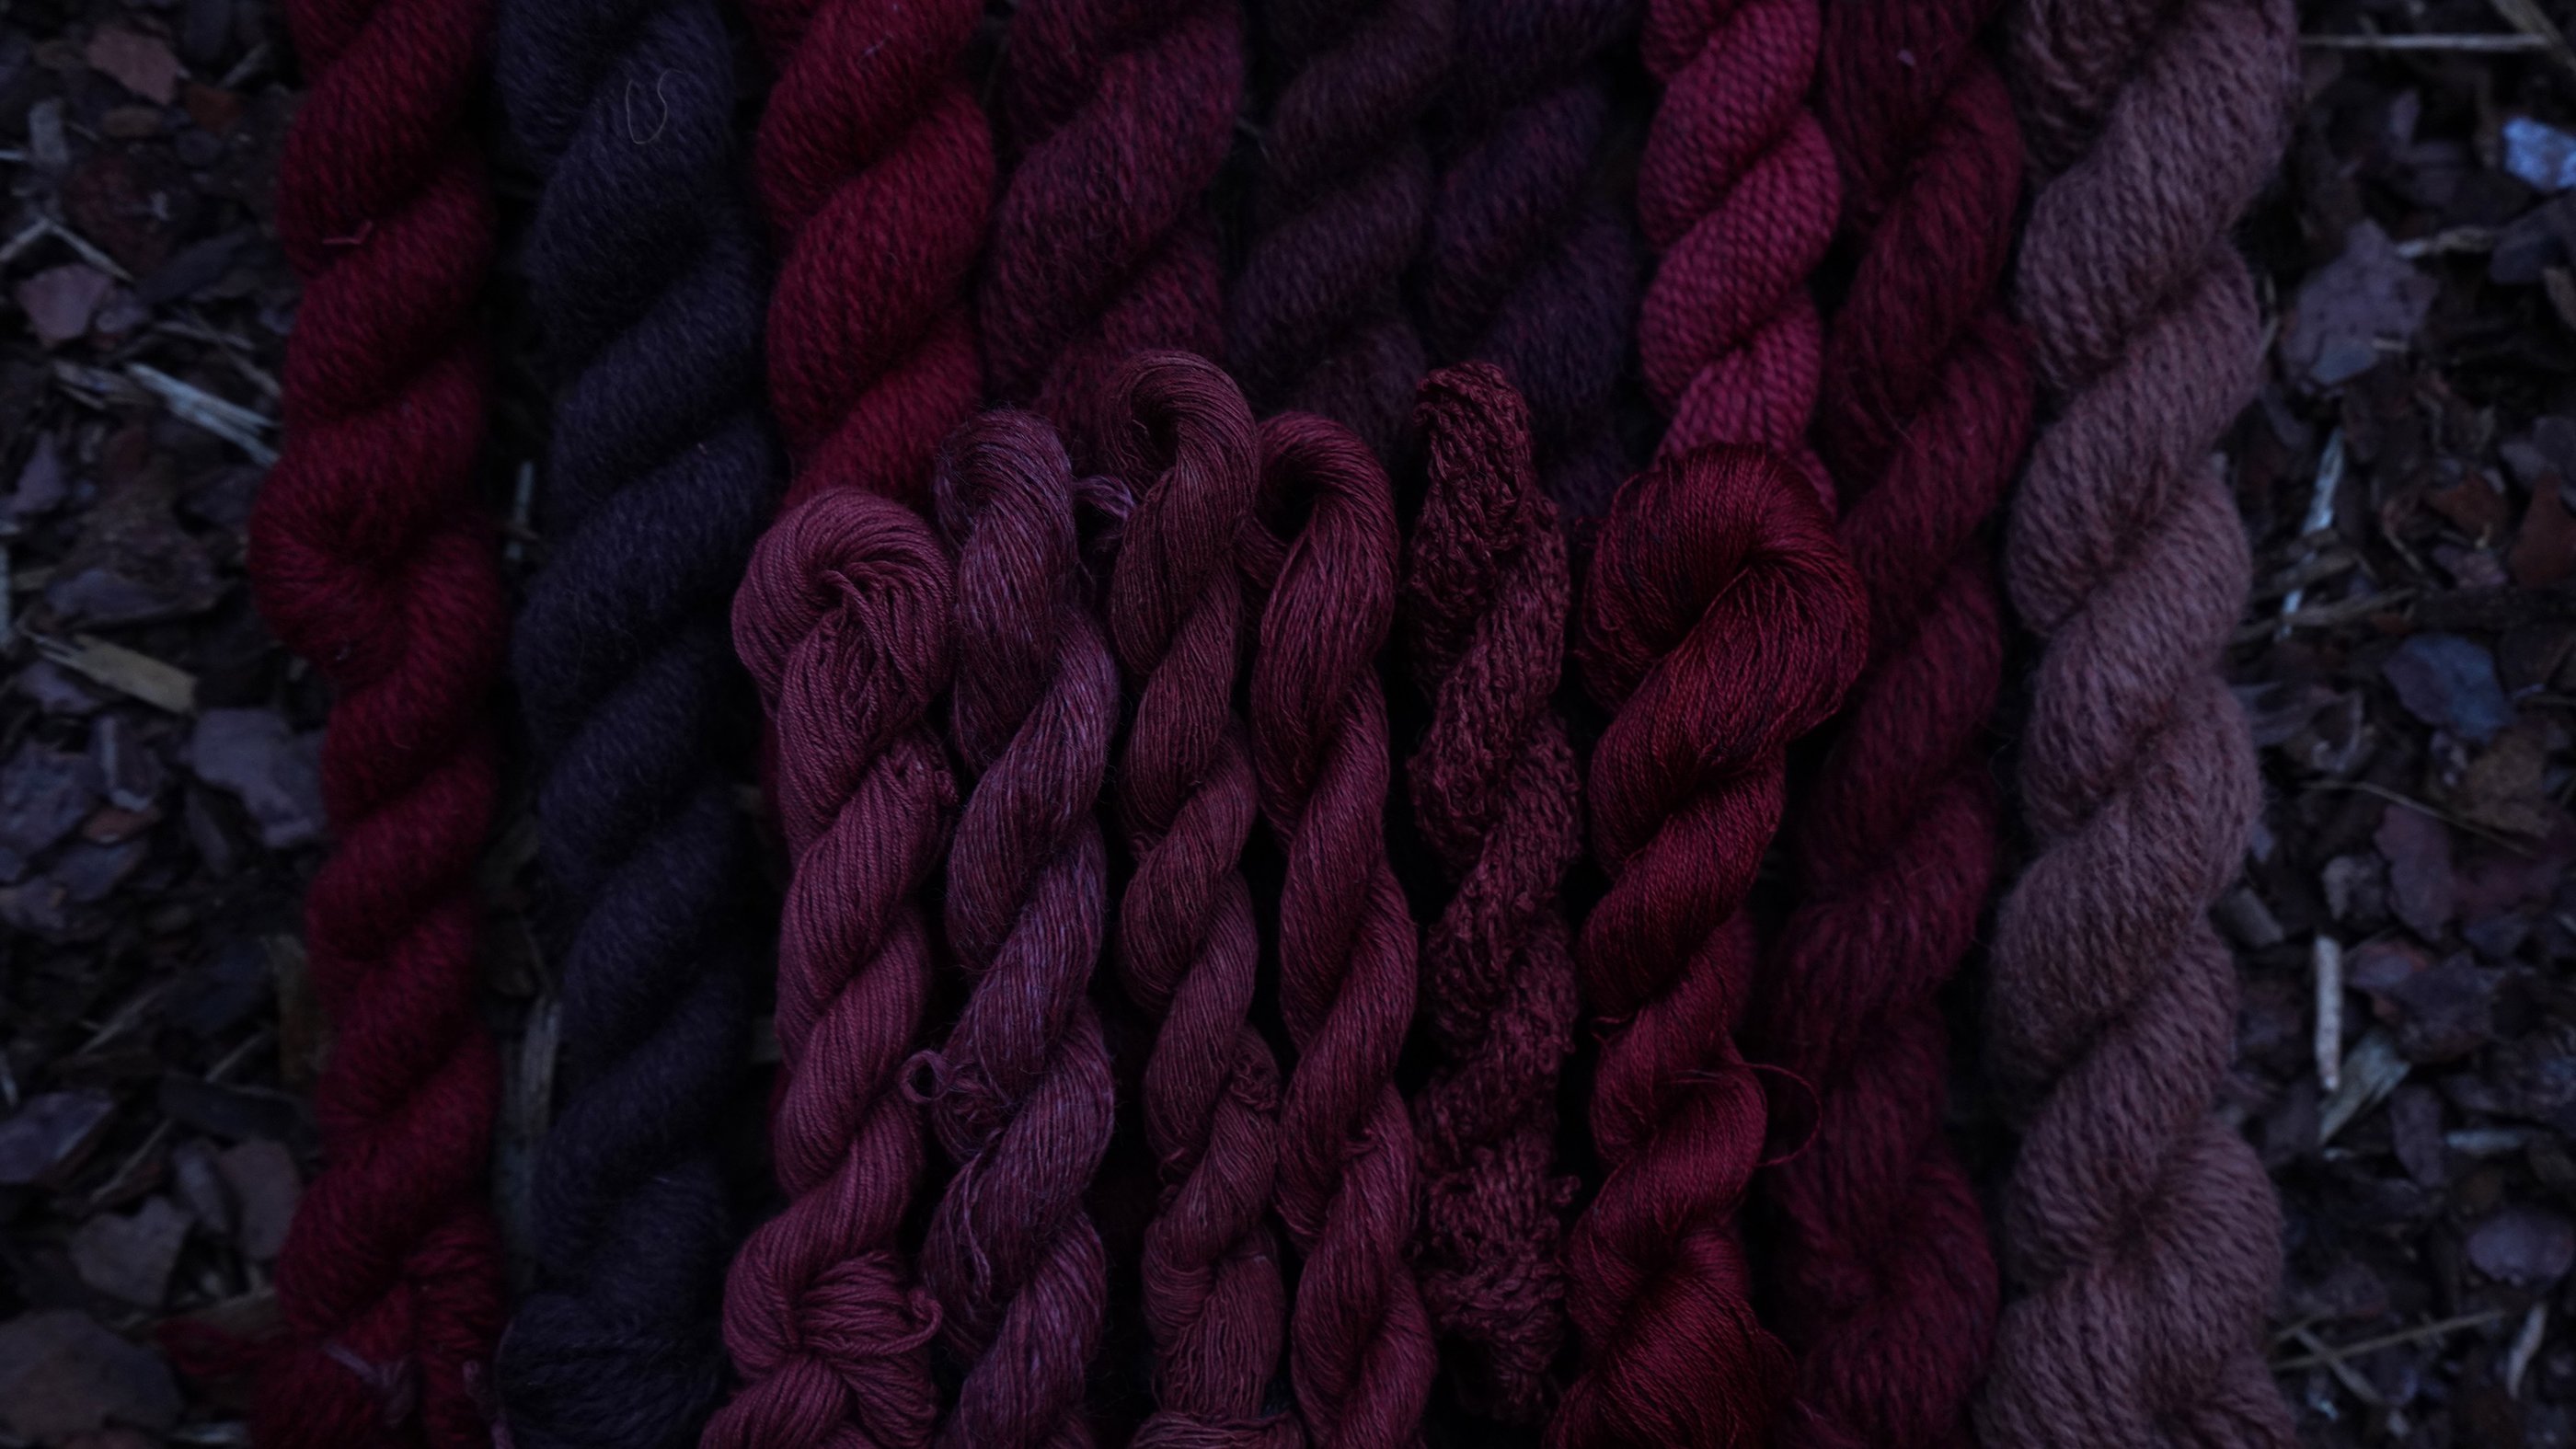
Front row, from left to right: 100% white cotton, 100% natural grey vintage linen, possibly handspun, a blend of cotton and hemp, 100% white linen, 100% natural grey boucle linen, all mordanted together with 10% myrobalan extract and 5% aluminum acetate. The last skein is 100% silk mordanted with 15% alum.
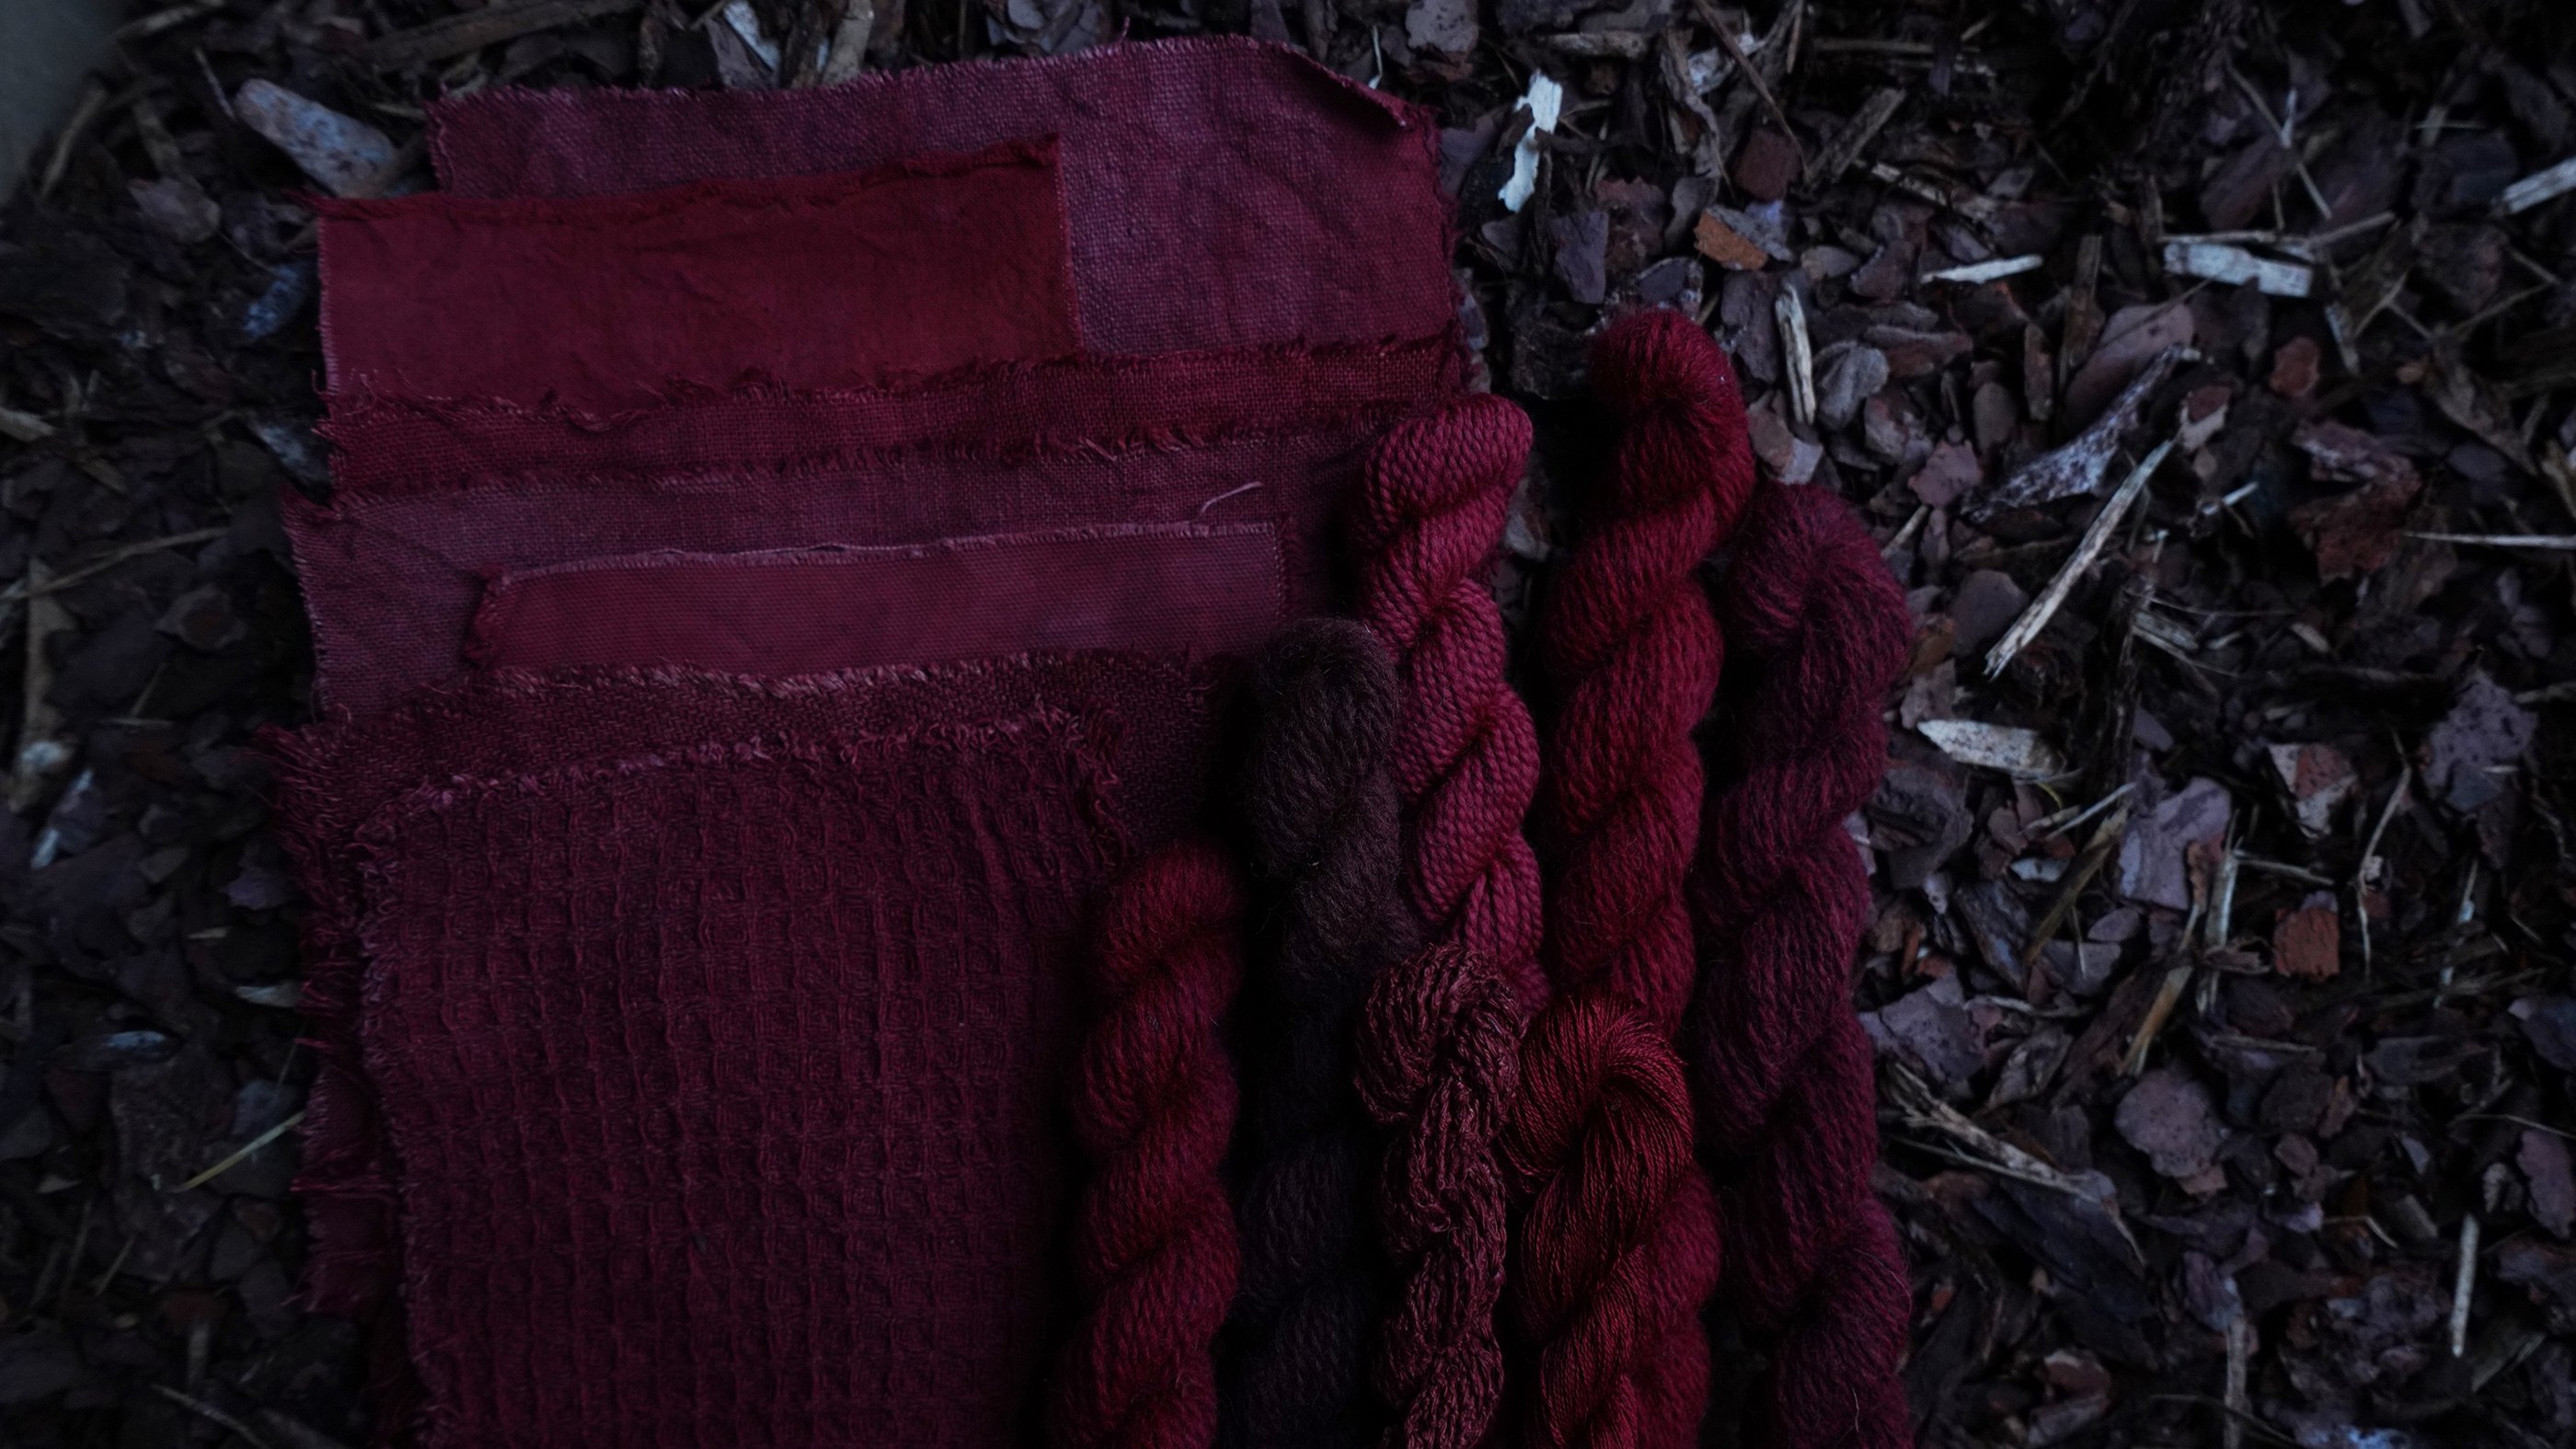
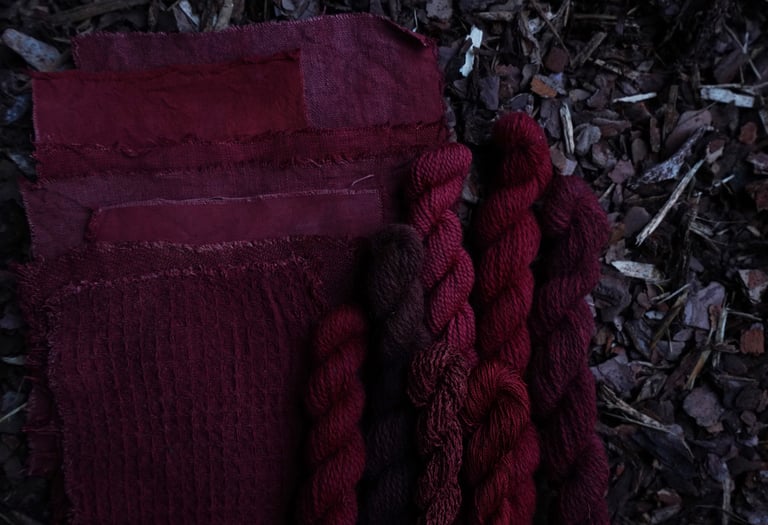
Fabrics and some of the yarn in the same photo for comparison.
© Forests & Meadows 2024
Vilnius, Lithuania
LT-08200
hello@forestsandmeadows.com