
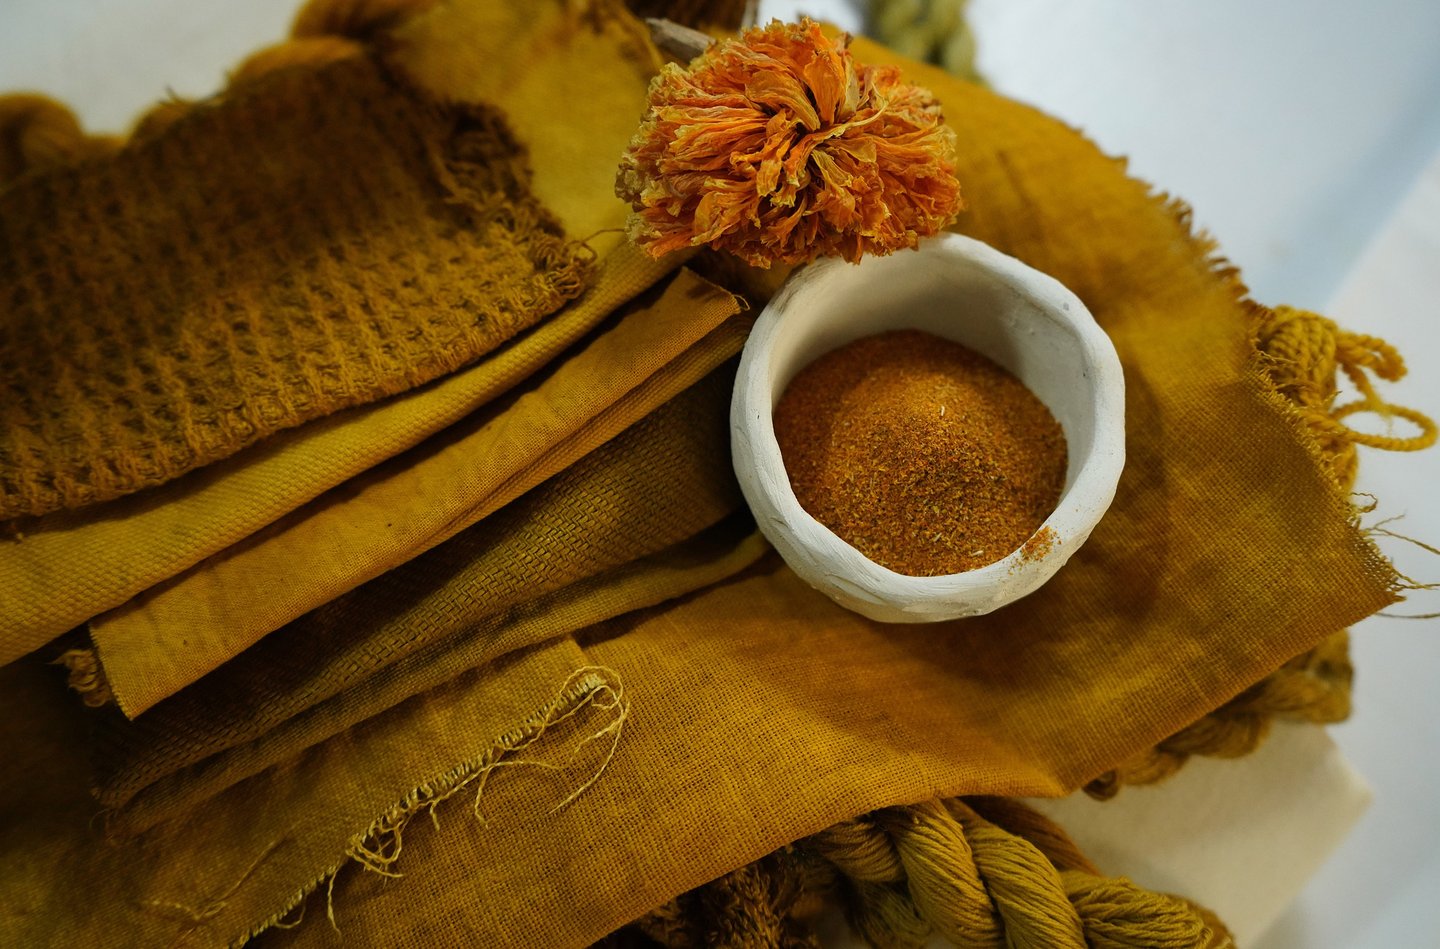
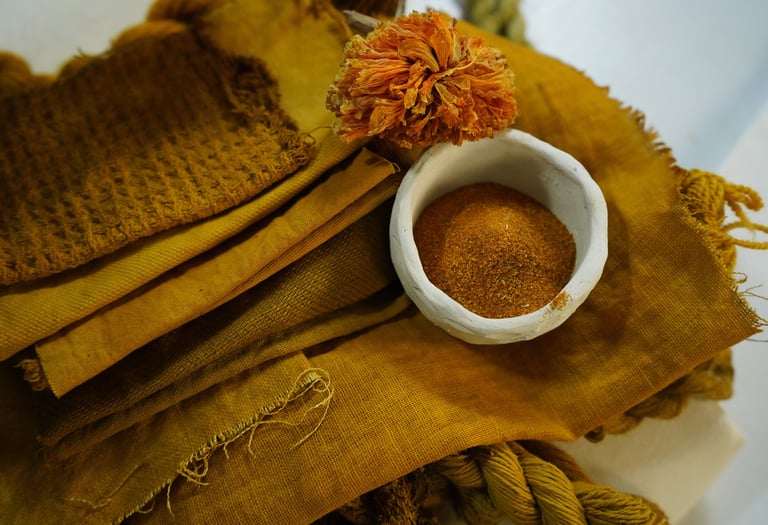
Natural dyeing with marigold
Marigold flowers (Latin: Tagetes spp.) stand out as one of the most vivid and effortlessly achievable natural dyes. Originating from Central America, these blossoms have played a significant role in diverse cultures, from the Aztecs to India. Beyond their enchanting appearance, marigold flowers are renowned for their exceptional dyeing qualities. Their widespread presence worldwide is a testament not only to their dyeing prowess but also to the cultural significance they hold, particularly in India, where these wonderful flowers have become an integral part of tradition and beauty.
What makes marigolds truly special is their remarkable dyeing prowess, making them an excellent choice for beginners. The dyeing process is straightforward, yielding a spectrum of vivid shades, from radiant yellows to warm oranges and extending to earthy browns or olive greens.
SUPPLIES
As always, I used the same natural dyeing supplies that we offer in our shop. Below is a list of ingredients which you can use to try this wonderful recipe:
RELATED ARTICLES
If you are new to natural dyeing, I would recommend starting with these articles that cover the basics of scouring and mordanting.
Safety and equipment
GENERAL INFORMATION
Name: marigold
Latin name: Tagetes spp. (Tagetes erecta, Tagetes patula, Tagetes tenuifolia, Tagetes lucida and others)
Type: mordant dye
Part of the plant used: petals
Main colorants: various flavonoids such as quercetagetin, patuletin, etc.
Main colors: yellow
Other colors: honey, mustard, orange, rust, cayenne, brown, moss green
Purpose: natural dye for textiles, leather, wood, candles, and other natural materials. Can be used for making botanical inks, pastels, watercolors, printing paste, etc.
NATURAL DYEING WITH MARIGOLD PETALS
Ingredients:
Mordanted textile fibers
20-30% WOF dried marigold petals for yellow shades or 40-50% WOF marigolds for deep orange shades
4-6 liters of water for each 100 g of fibers
Dyeing process:
Add marigolds to the dyeing pot filled with water, and stir well.
Raise temperature to 70-85°C and simmer for 30-40 minutes. Let it cool. You may simmer longer and in higher temperatures for darker colors, such as deep orange or brown.
Strain through a fine cloth to keep small particles out of the dye bath.
Fibers should be soaked in water for at least 30 minutes before adding to the dye solution. Use pre-mordanted fibers.
Add wet fibers to the dye solution and simmer for 40-60 minutes depending on the shade you want. Leave to cool.
After dyeing, take out the fibers, gently squeeze and hang them to dry. You may leave the fibers for several days to let the colorants settle in. This process is called “air curing”.
Wash dyed fibers in room temperature water. Keep changing water until it is clean and clear.
NATURAL DYEING WITH MARIGOLD EXTRACT
Ingredients:
Mordanted textile fibers
5-10% WOF marigold extract
4-6 liters of water for each 100 g of fiber
Dyeing process:
Dissolve the extract powder in a small amount of warm water. Stir very well to ensure that all extract is dissolved and add to your dye pot. Stir well and make sure there are no small lumps of extract and that it is all dissolved.
Fibers should be soaked in water for at least 30 minutes before adding to the dye solution. Use pre-mordanted fibers.
Add wet fibers to the dye and simmer for 40-60 minutes depending on the shade you want. Leave to cool.
After dyeing, take out the fibers, gently squeeze hang them to dry. You may leave the fibers for several days to let the colorants settle in. This process
is called “air curing”.
Wash dyed fibers in room temperature water. Keep changing water until it is clean and clear.
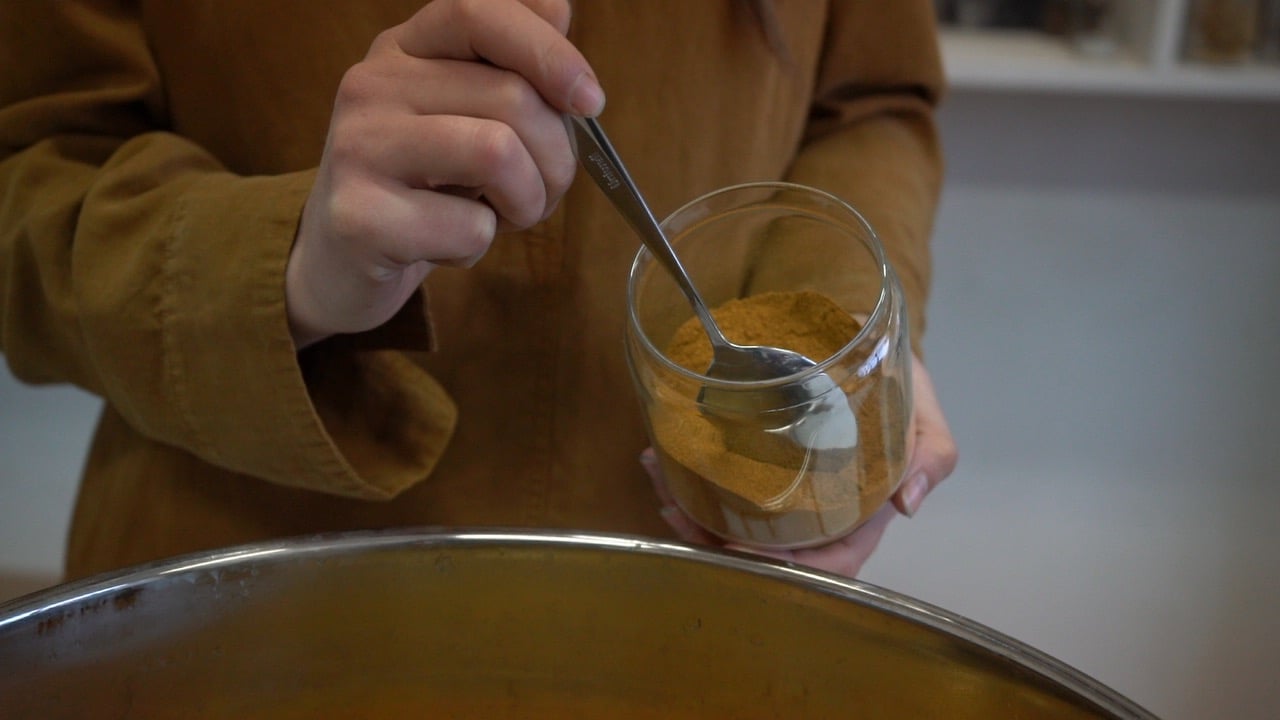
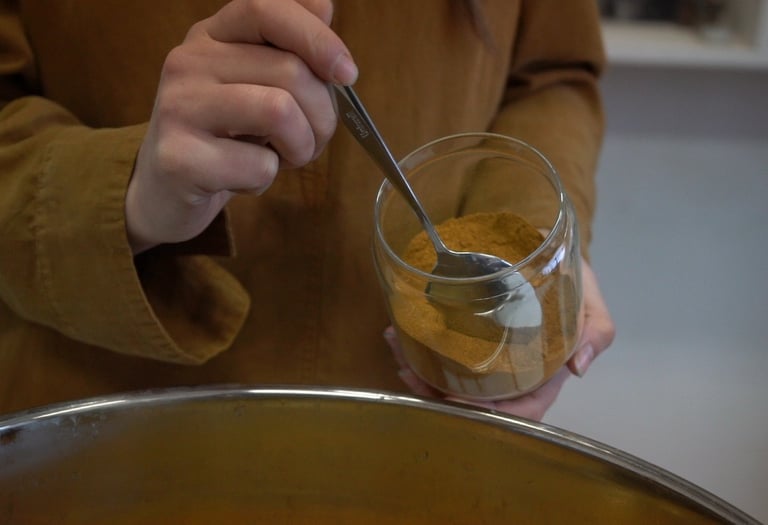
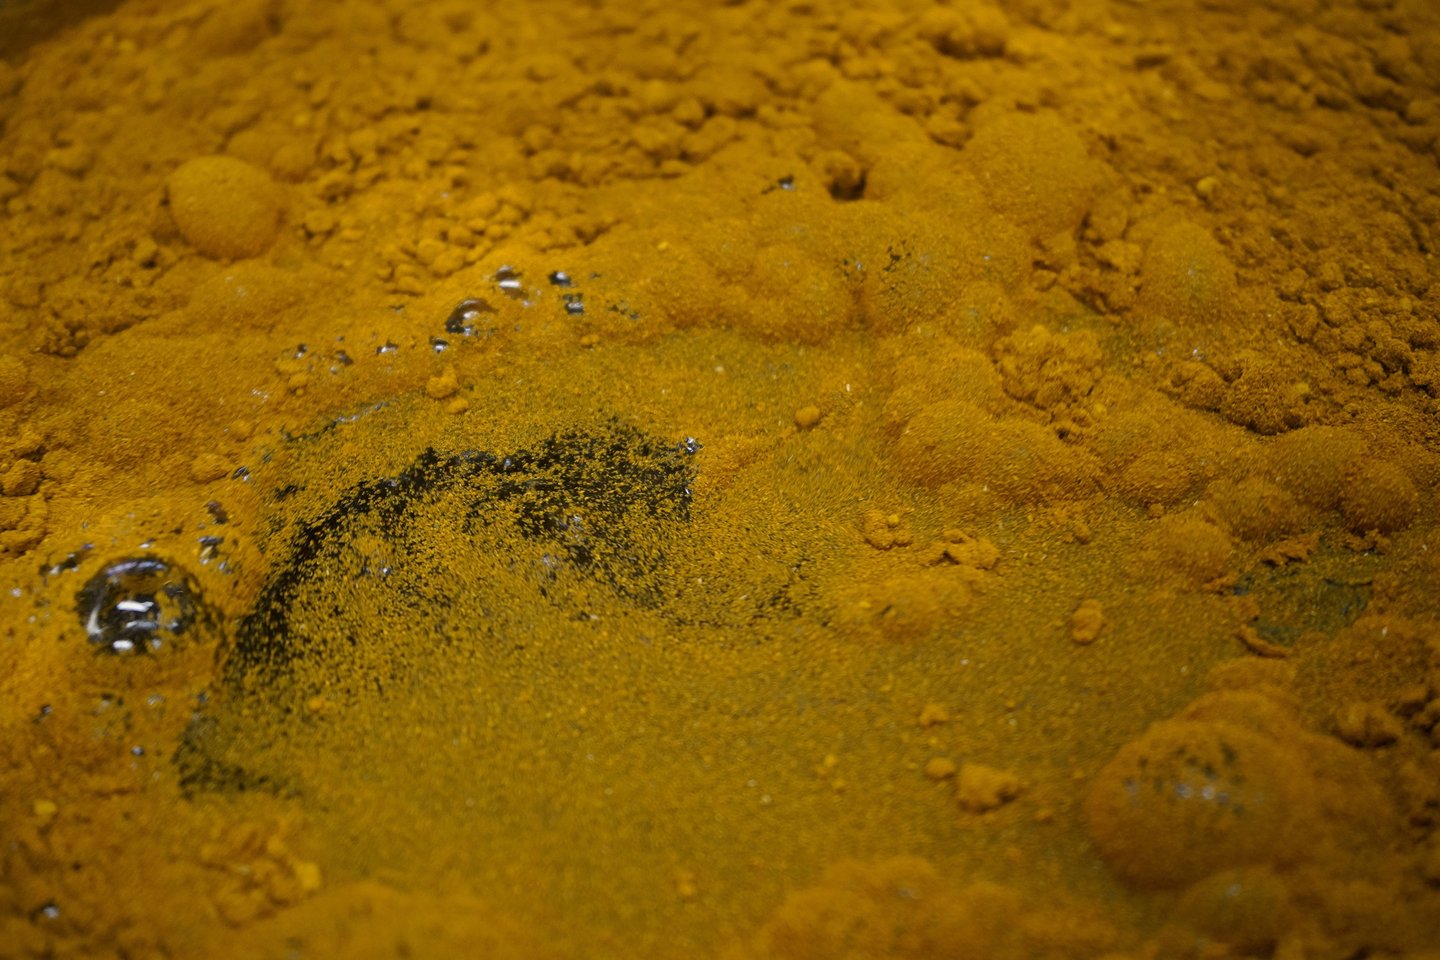
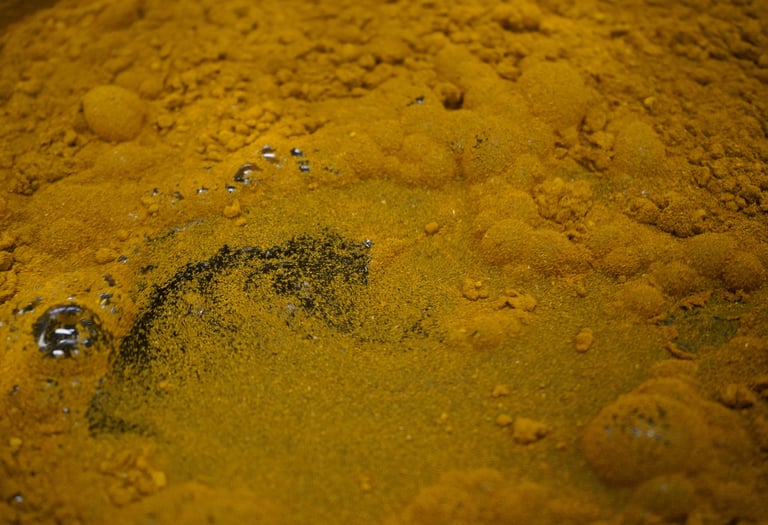
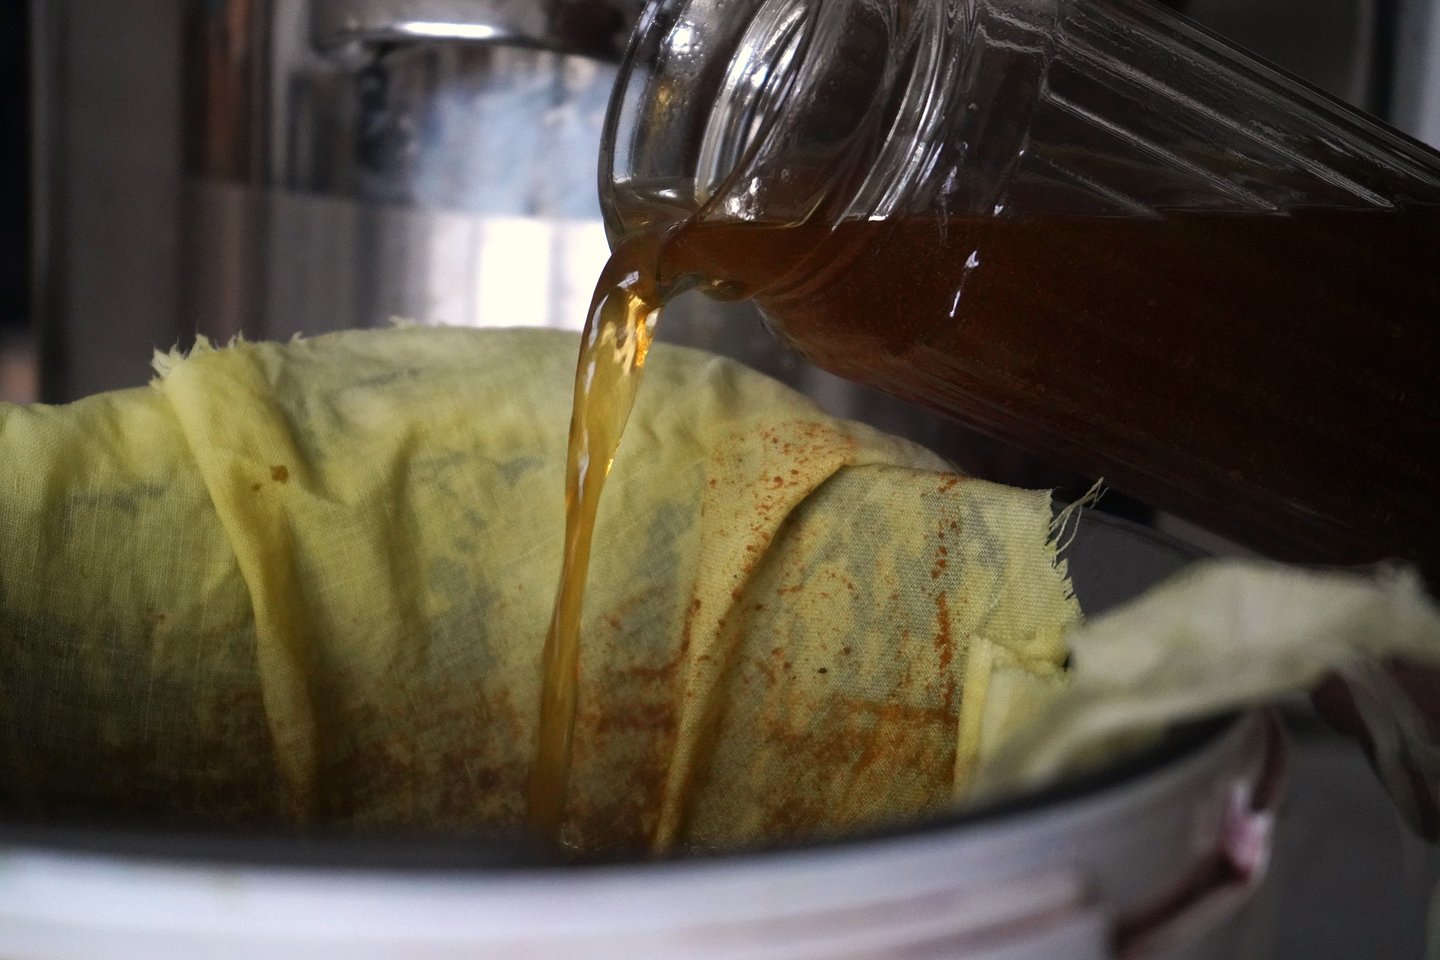
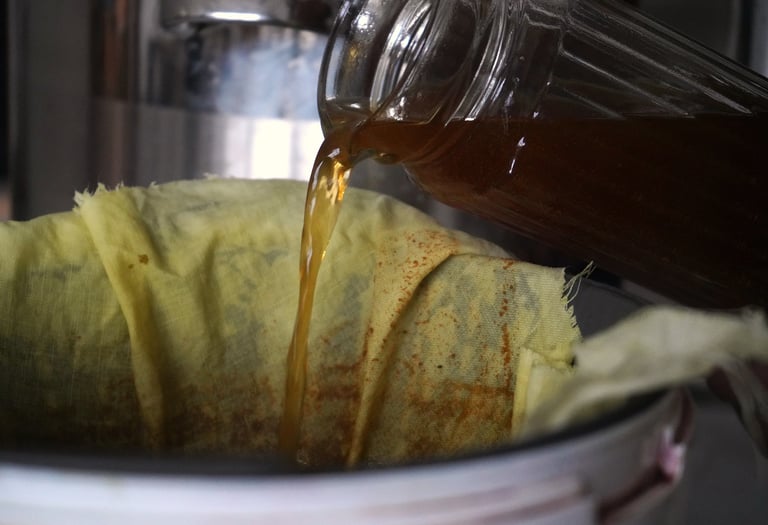
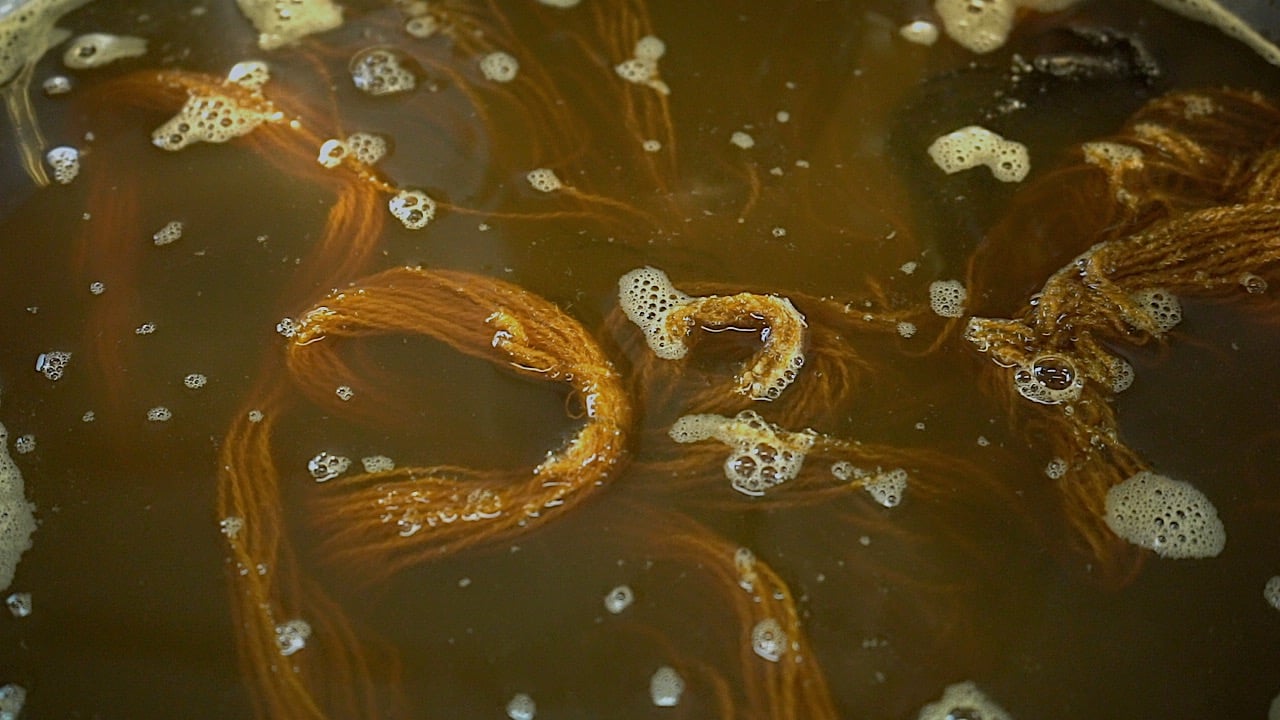
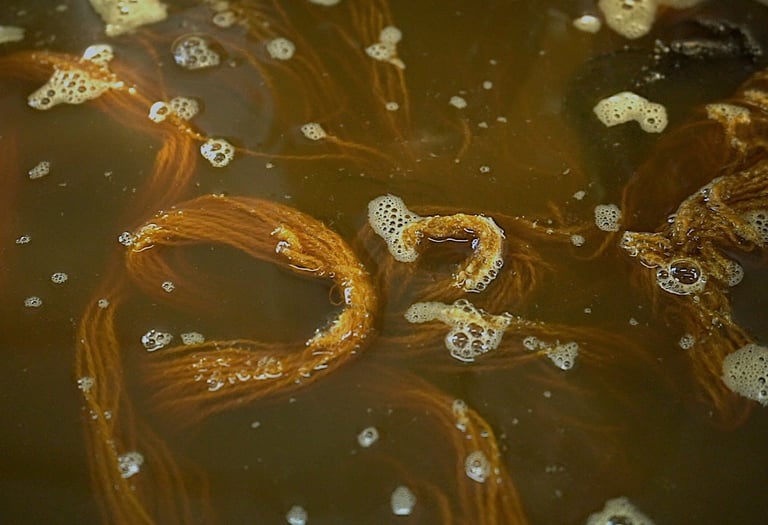
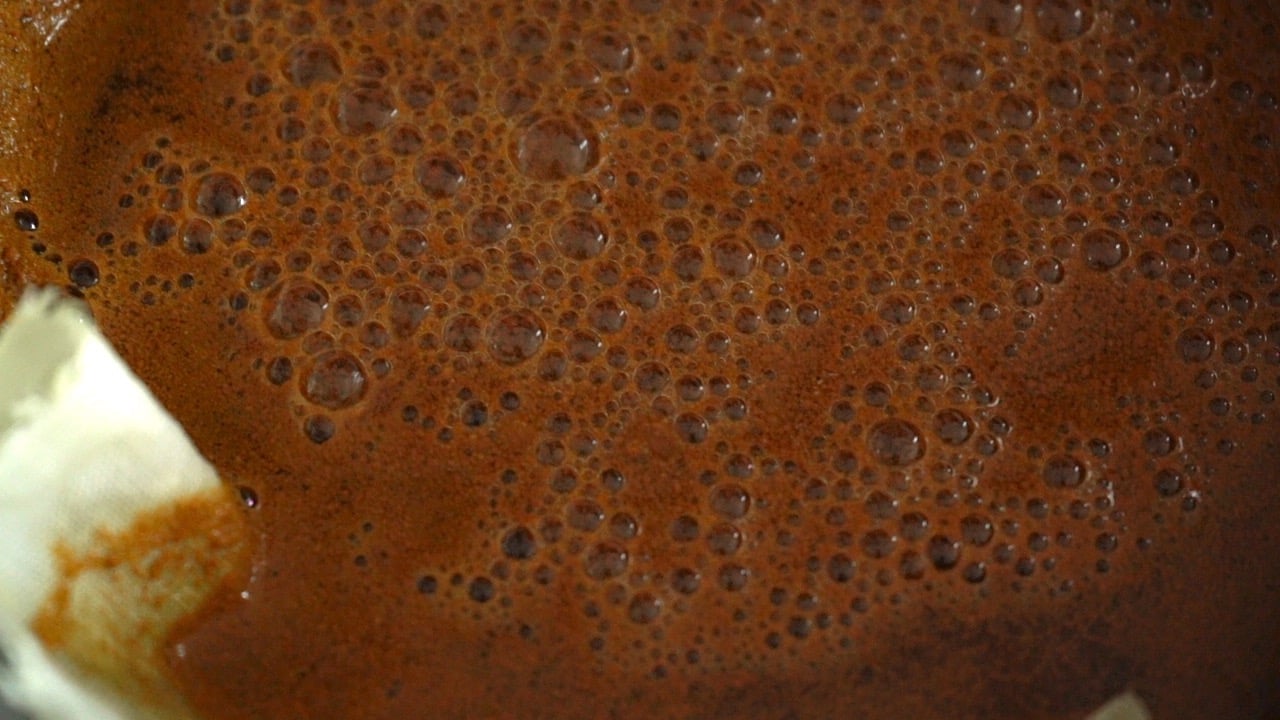
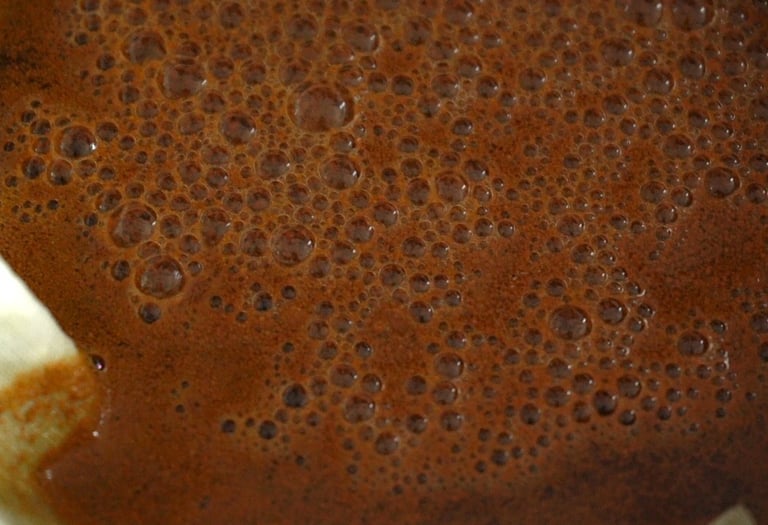
Illustrations of dyeing with marigold: adding to the hot water, simmering, straining through a cloth, dyeing fibers, and drying them.
ADDITIONAL NOTES AND TIPS
Reusing marigold solution:
After dyeing your initial batch of fibers, you can use a marigold solution to dye the second or even third batch, with each subsequent batch resulting in lighter colors.
Reuse the marigold solution after dyeing as a base (instead of water) for preparing other plant dyes. This adds a warm yellow undertone to different plants. For example, heating madder roots in a marigold solution yields colors ranging from soft apricots to fiery reds. Simmering various tree barks or twigs in a marigold solution enhances brown shades into deeper tones.
Broader color palette:
For a broader color palette, experiment with additional pH modifiers such as citric acid, cream of tartar, soda ash, or chalk. You can add them to your dye pot in small amounts before introducing fibers.
Modify colors after dyeing with marigold (before washing). Prepare a weak solution of your chosen additive (citric acid or soda ash), immerse wet fibers, and keep for 10-30 minutes. Observe color changes. Acidic water brings out brighter yellow or orange shades, while an alkaline solution may bring out orange or brown tones. After modification, wash fibers in water.
To expand your palette further, experiment with post-mordanting using iron sulfate. Make a 2% iron solution, immerse wet fibers, and keep for 2-20 minutes. Observe color changes. Iron can shift yellow tones to moss greens or switch orange tones to wonderful forest browns. After modification, wash fibers in water.
Different species of marigolds and gardening:
Several species of marigold can be used for dyeing, but the most common one is Tagetes erecta, known as Aztec marigold, Mexican marigold, or big marigold. Each species or subspecies can yield slightly different shades.
If you are using marigolds from your garden, use only petals for the purest yellows. Use whole flowers for more muted shades or if you want to achieve green tones when combined with iron sulfate.
This recipe is for dried marigold petals. If you have fresh flowers, you may increase the quantity 2-3 times.
Tip for beginner gardeners: sow marigolds in and around your garden. They attract various insects and increase biodiversity, helping prevent pests from damaging your vegetables.
RESULTS
For the purpose of this article, I've taken various fibers and different wools treated with various mordants and dyed them all together in the same solution. I prefer doing this when testing new plants or recipes because it's an excellent way to explore the diverse possibilities one recipe can produce and observe how different fibers or mordants react. I'm particularly excited to share these results with you!
One change I would consider is dividing the solution into two parts, using one for wool and another for cellulose. Through my experiences, I've noticed that wool tends to come out brighter than cellulose. Cellulose, being more challenging to dye, often requires longer simmering and soaking times to develop vibrant colors so I feel that wool fibers take up colorants faster and therefore there's less dye left for cellulose. I've primarily worked with wool, so I hadn't considered separating fibers before, but I'm planning to do this in the future to showcase even better results.
Below are the photos of my results with descriptions of fibers and mordants. Everything was dyed in the same solution of marigold at 40% WOF, the same way as described in the instructions above.
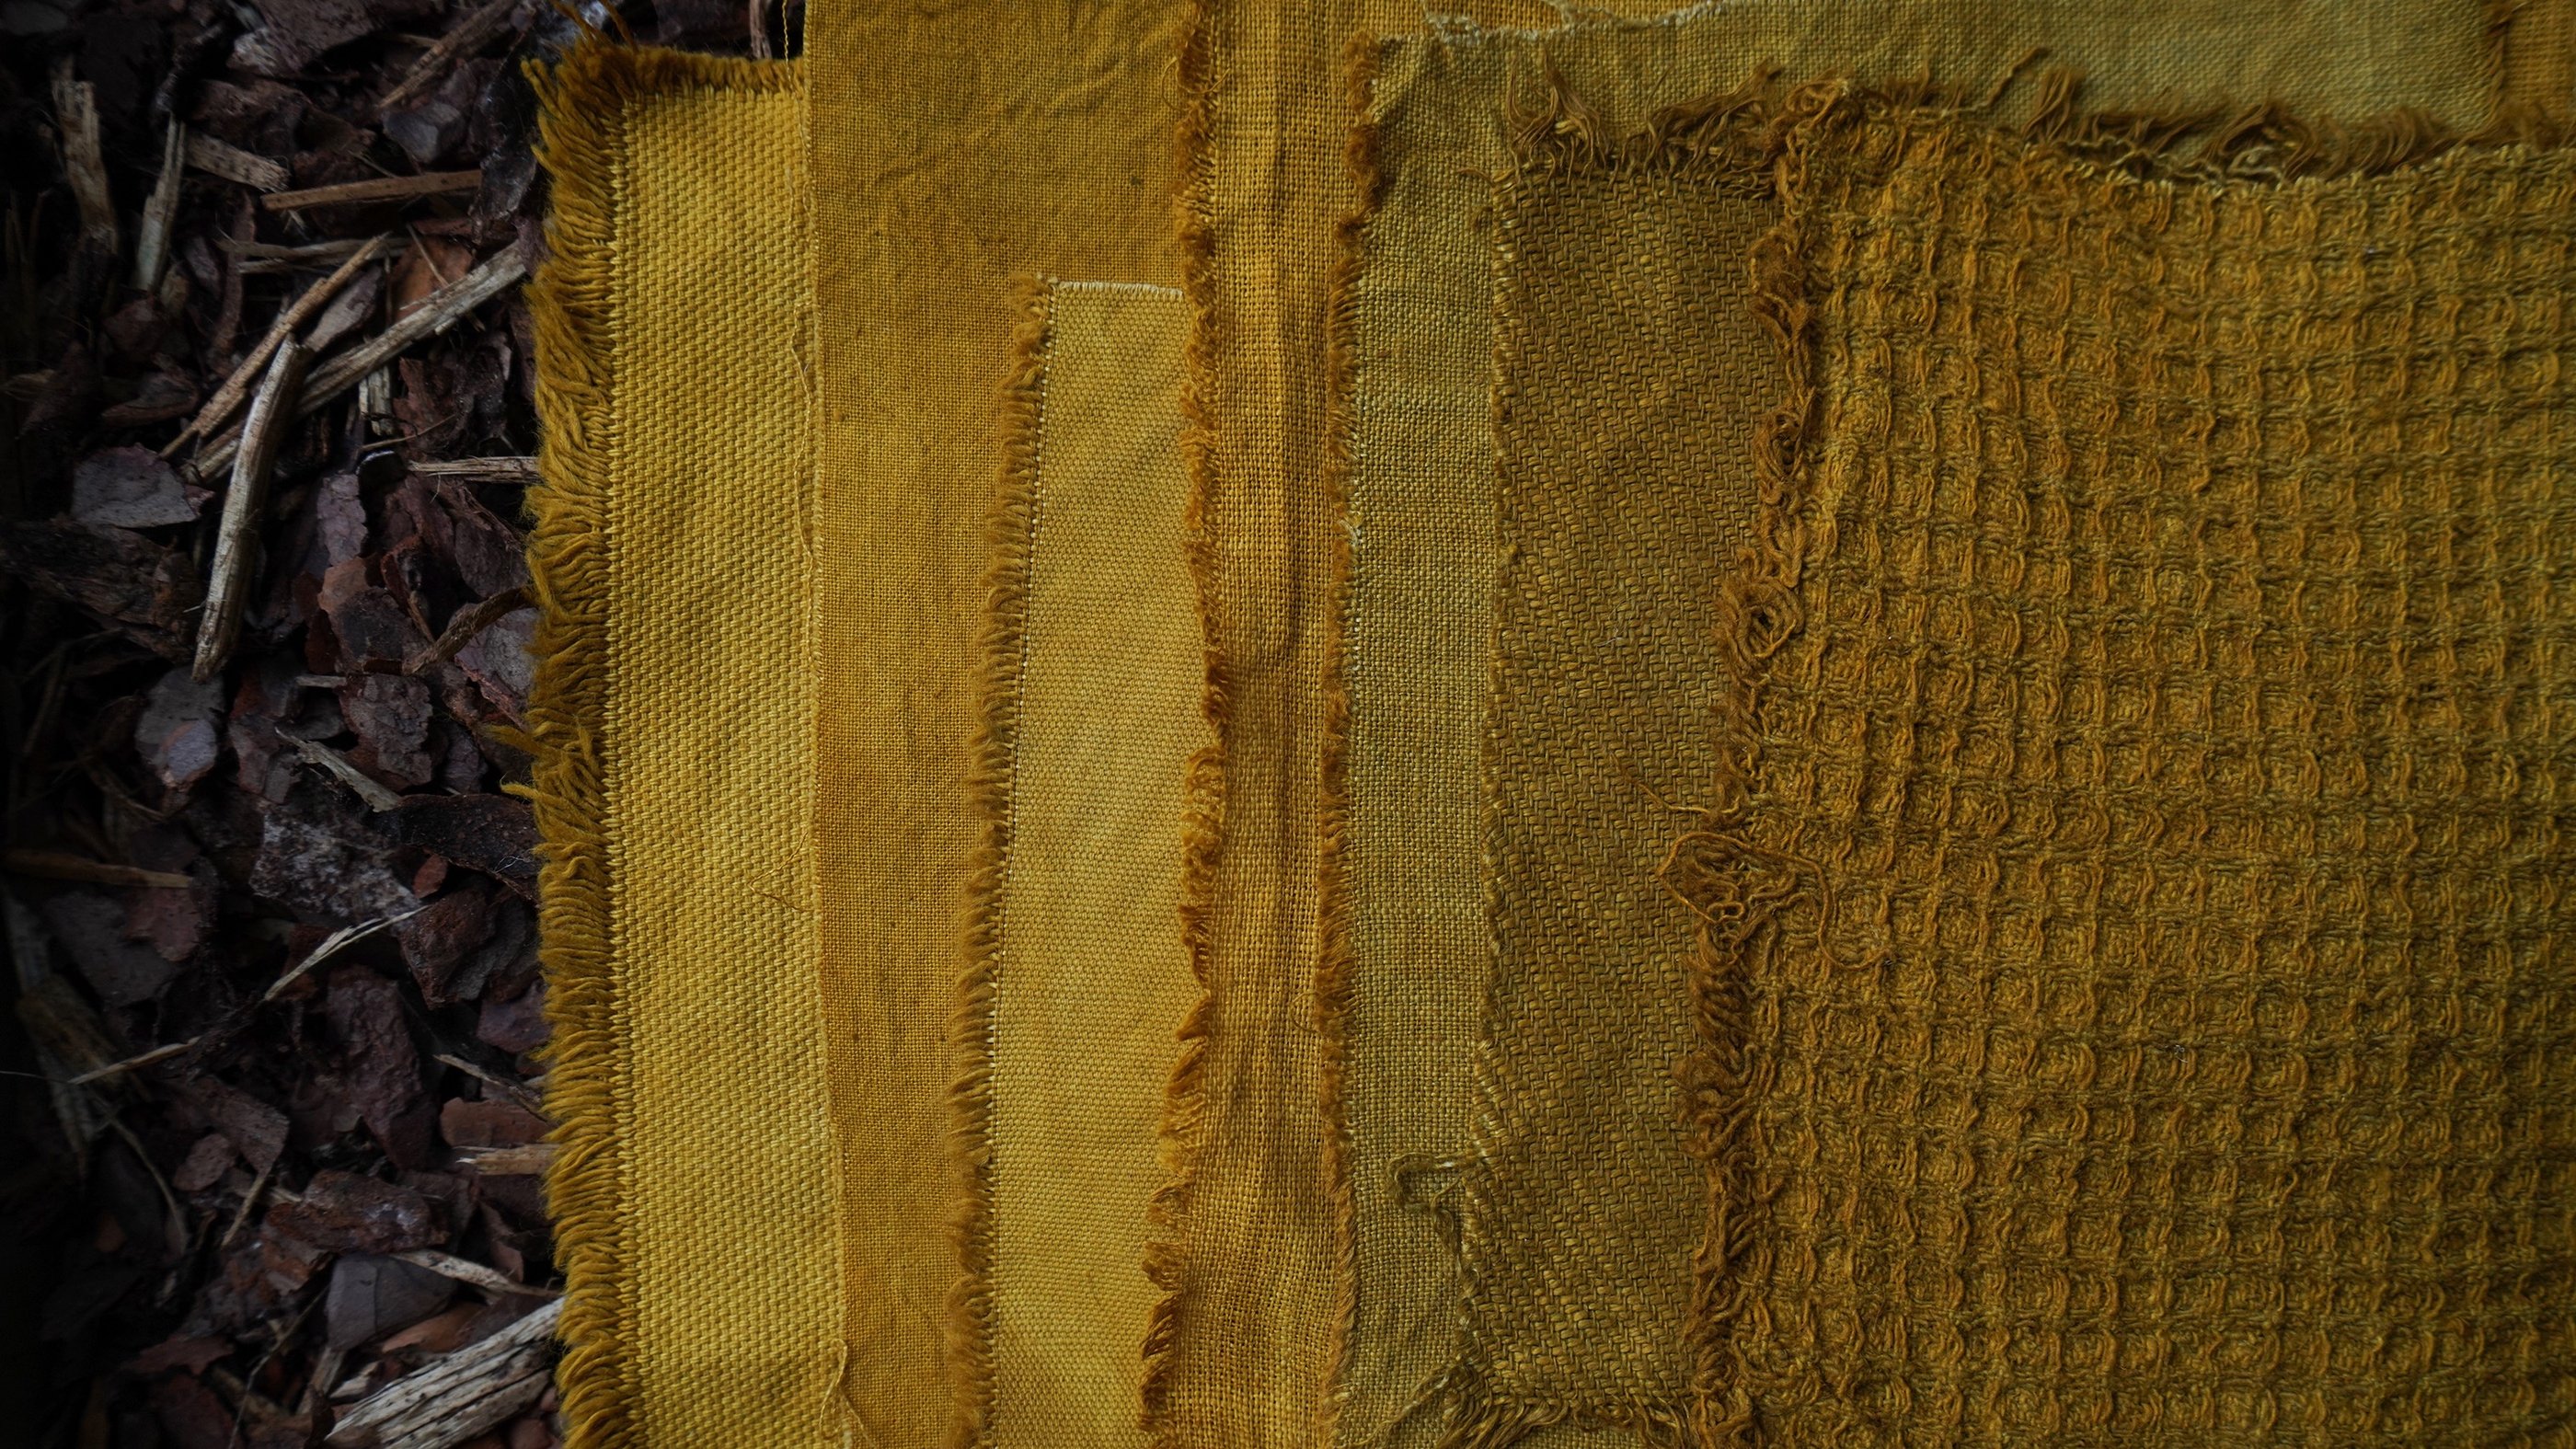
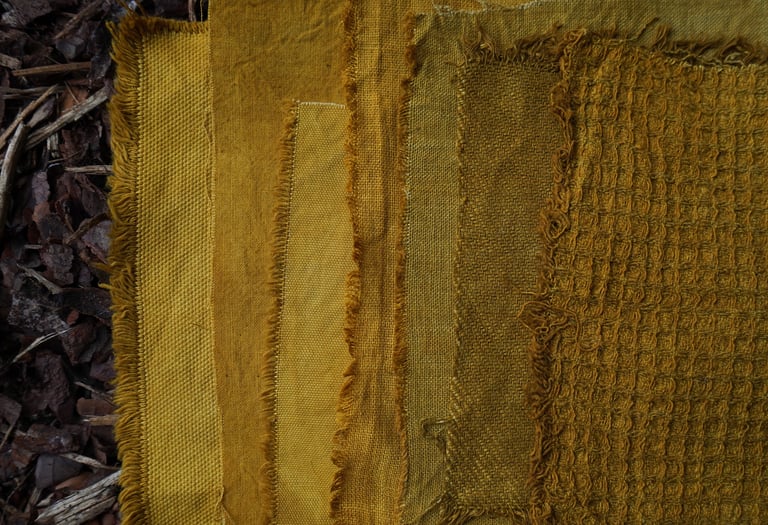
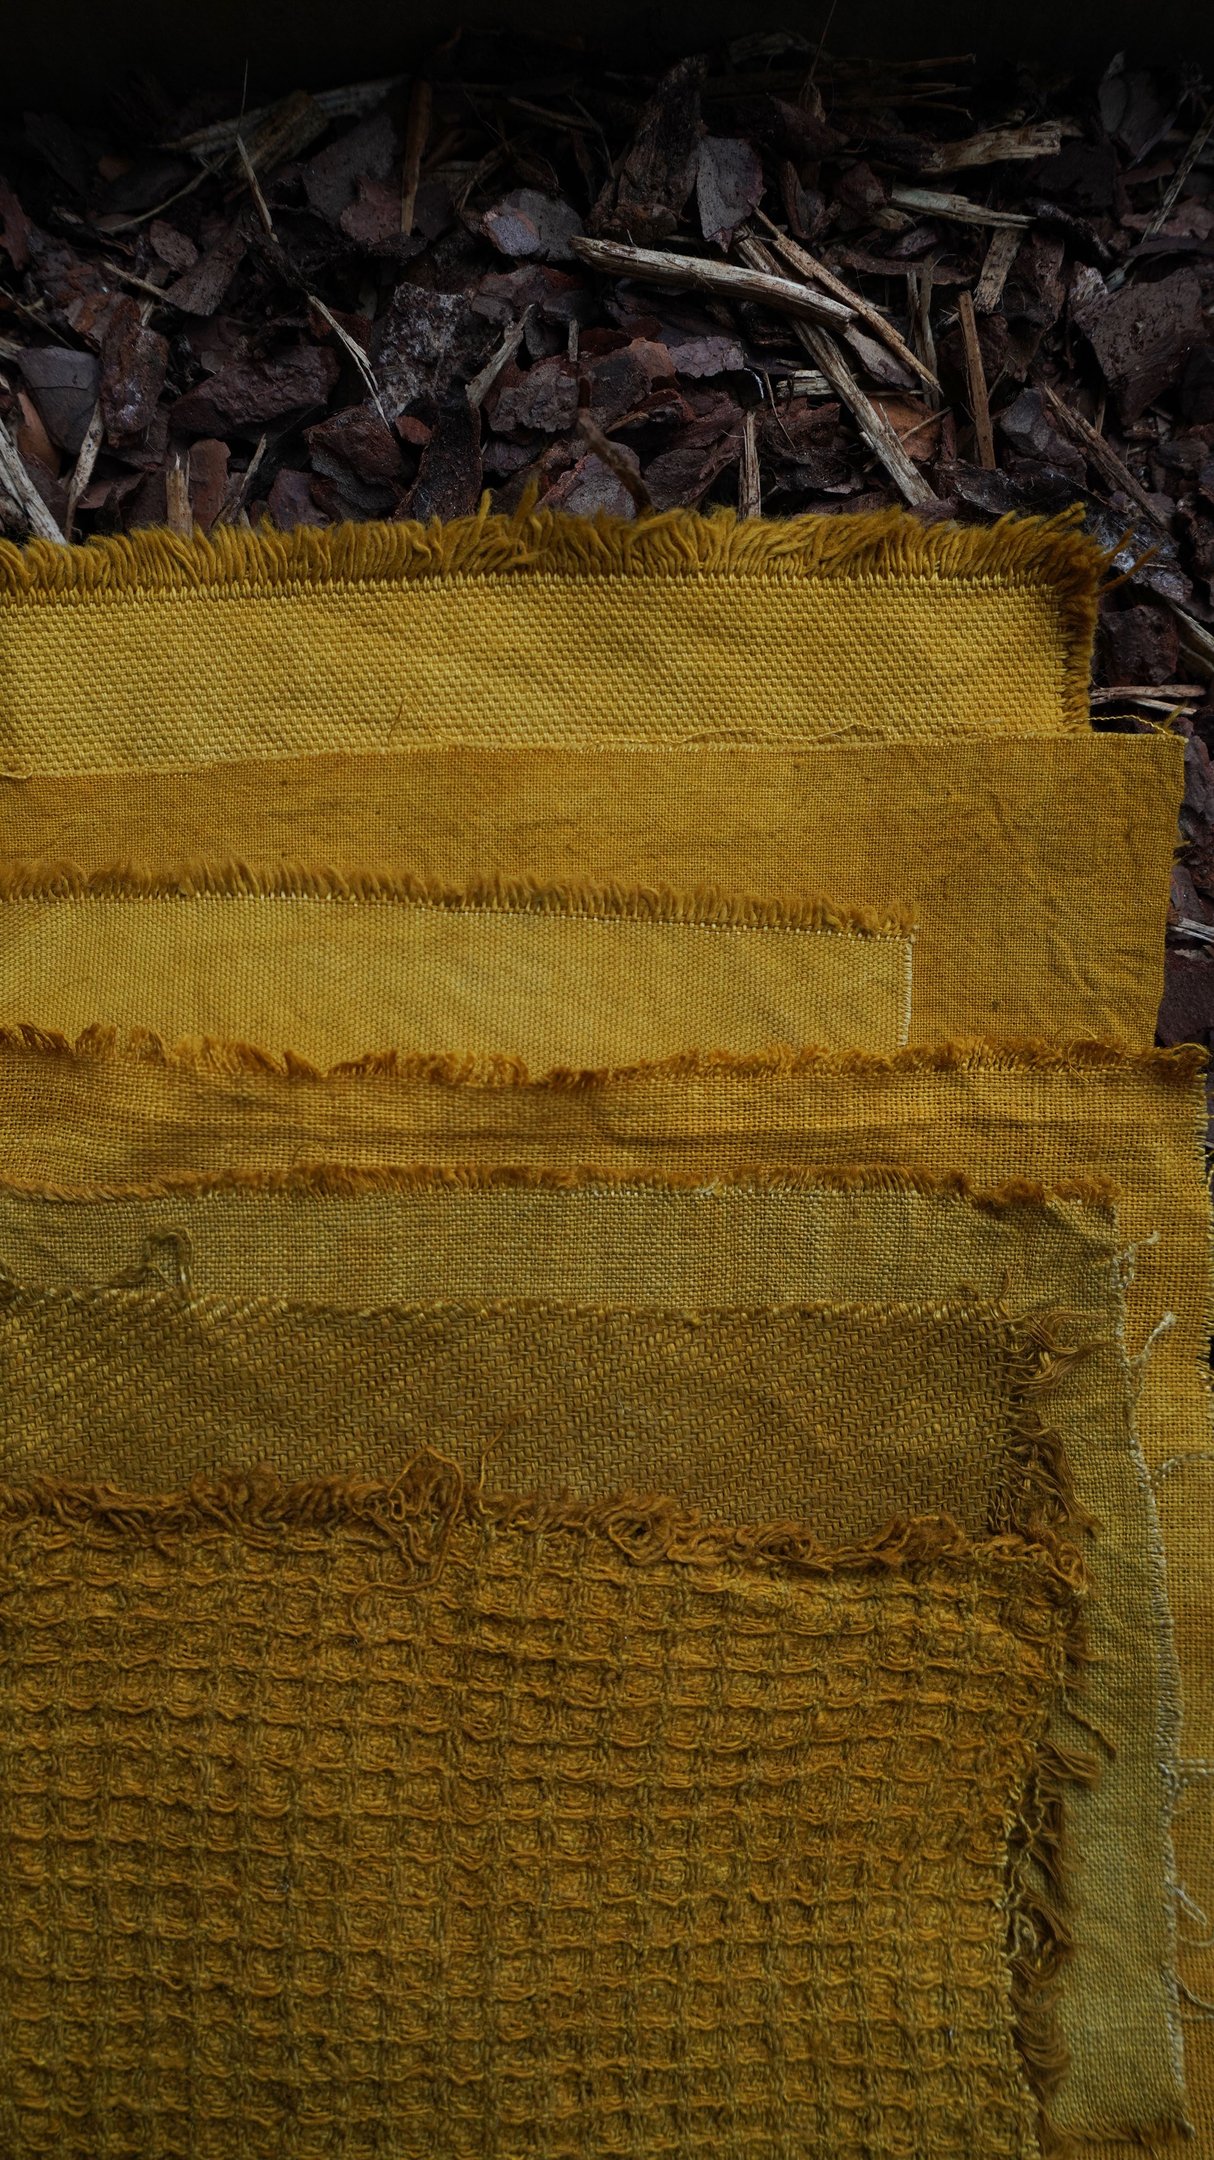
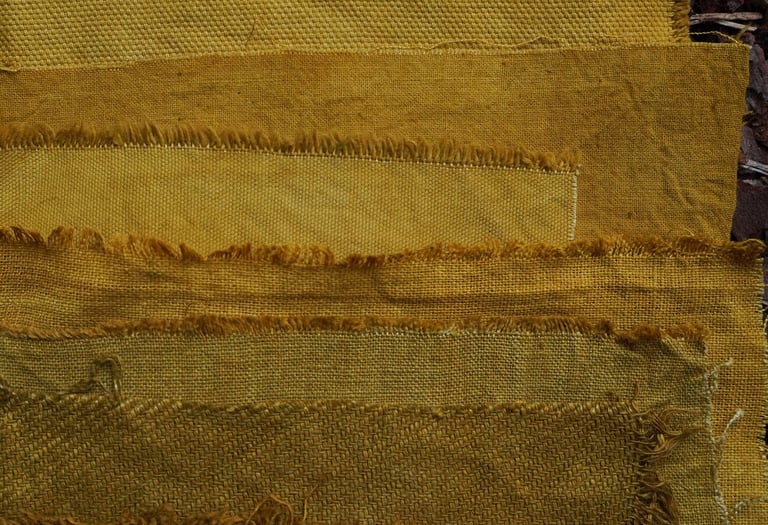
All fabrics were mordanted together with 10% myrobalan extract and 5% aluminum acetate. From left to right: 100% white heavy cotton, 100% white lightweight cotton, 100% white medium weight cotton, 100% white linen, 100% natural grey linen, 100% natural grey twill linen, probably 100% linen - a mix of two natural grey shades.
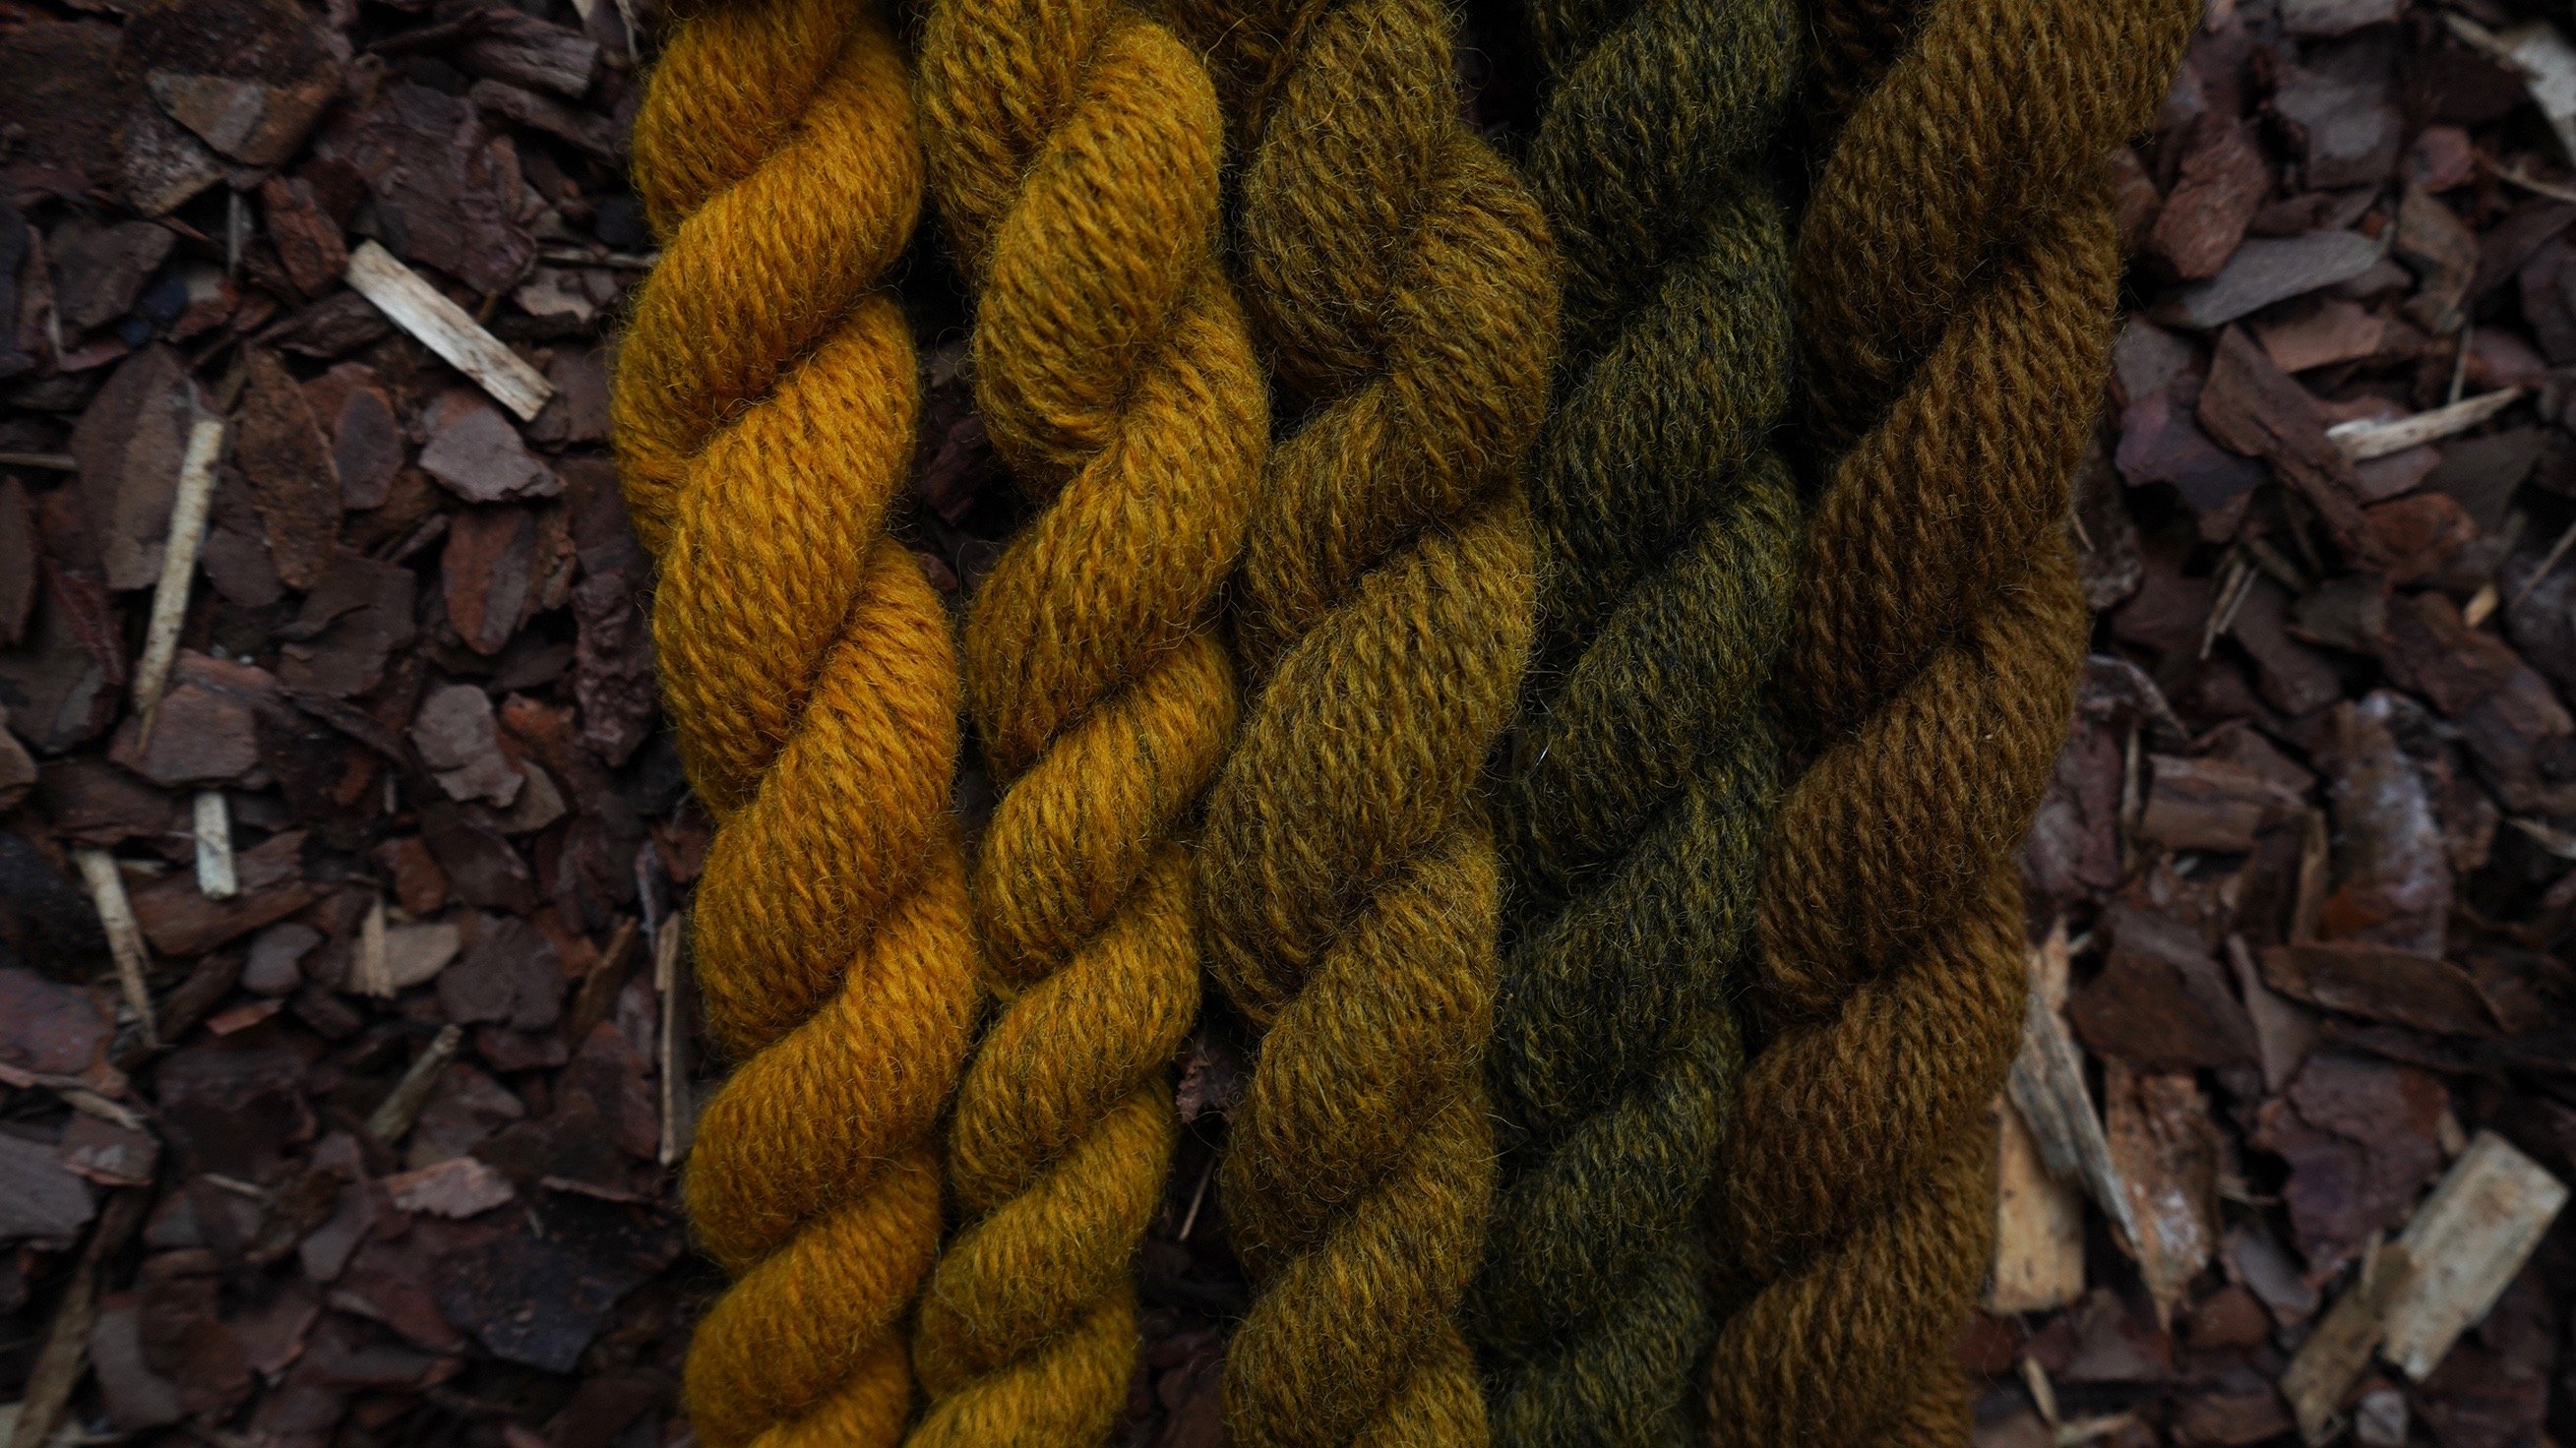
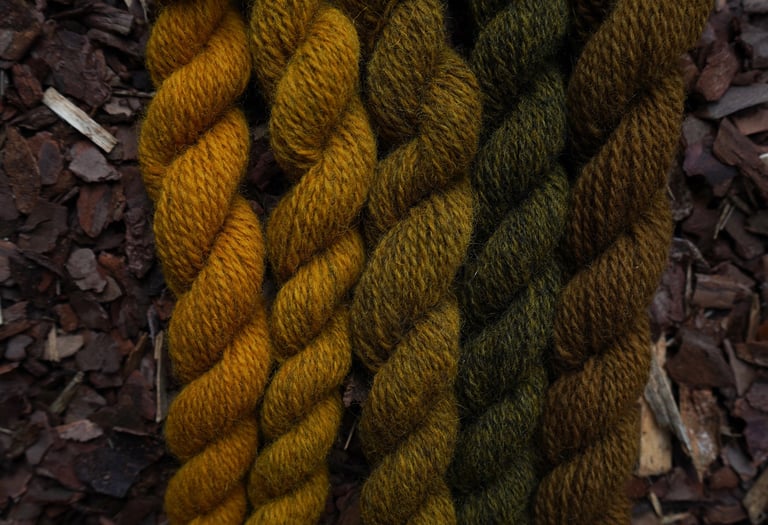
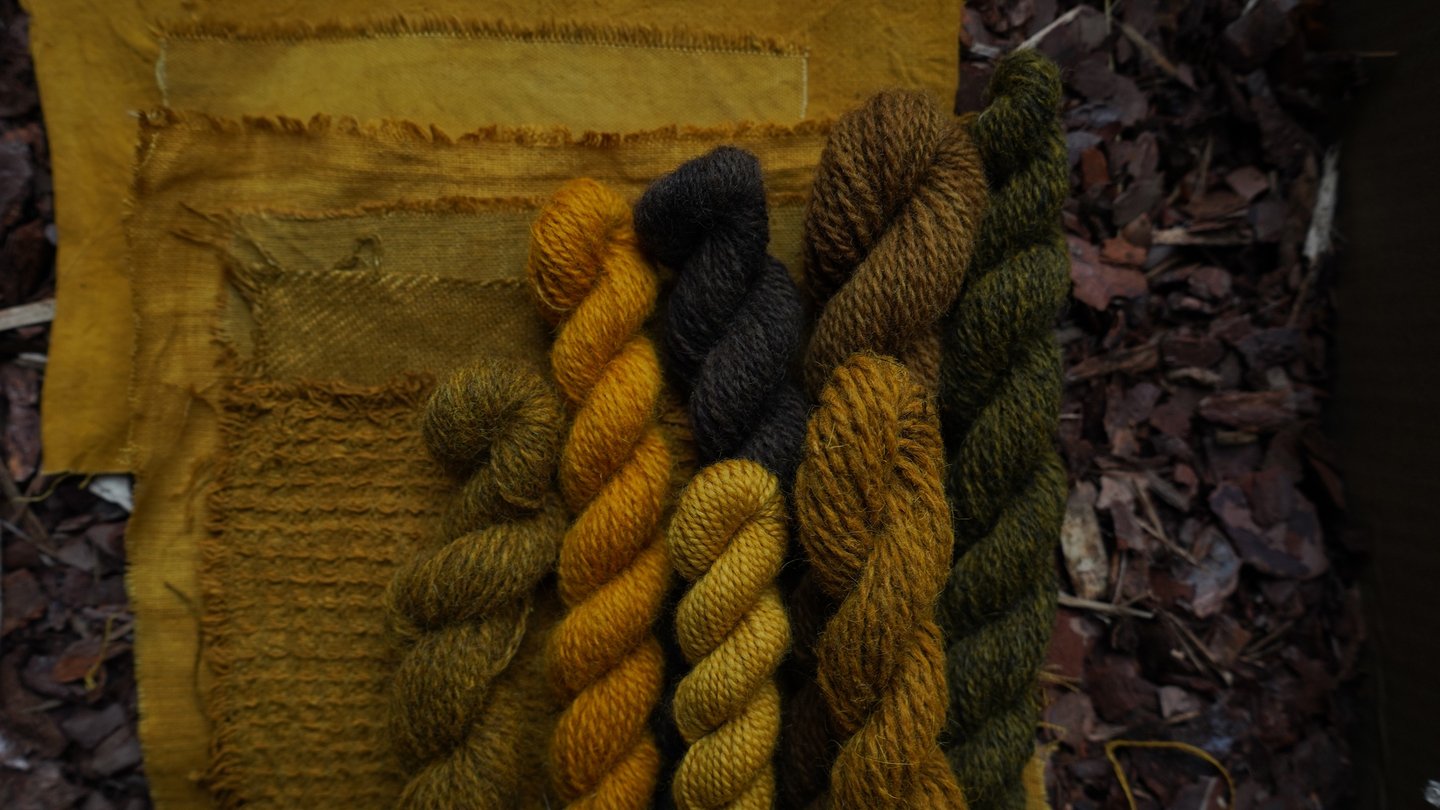
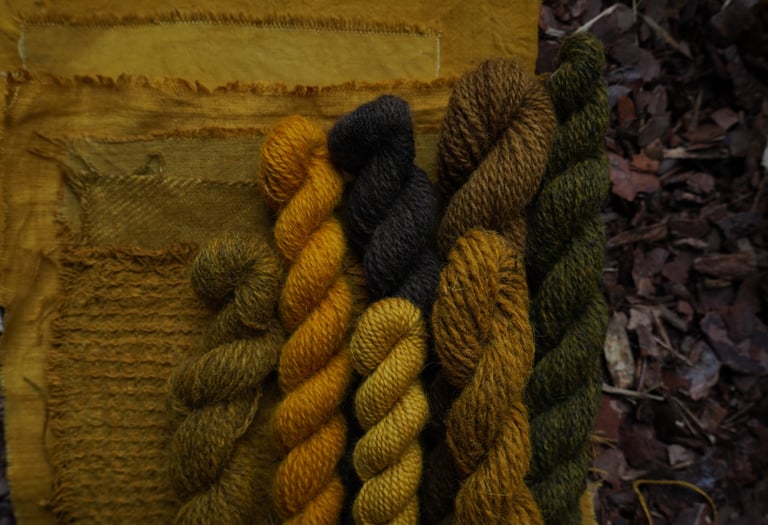
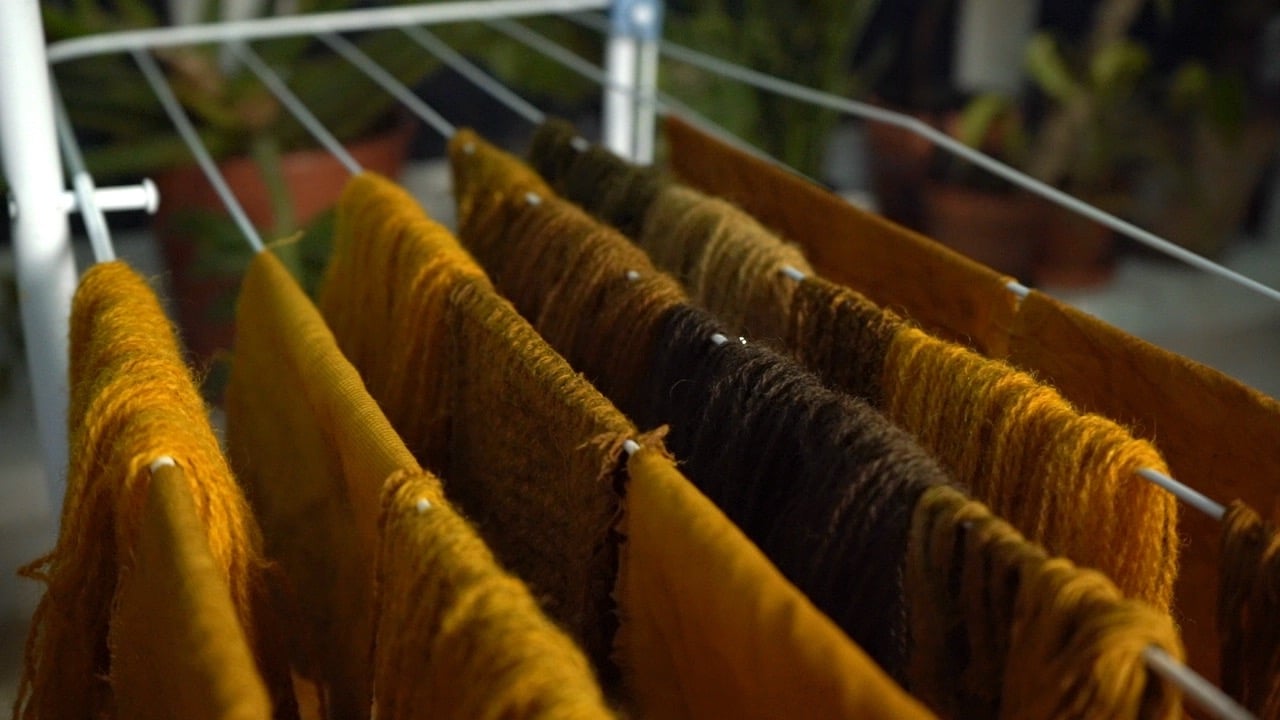
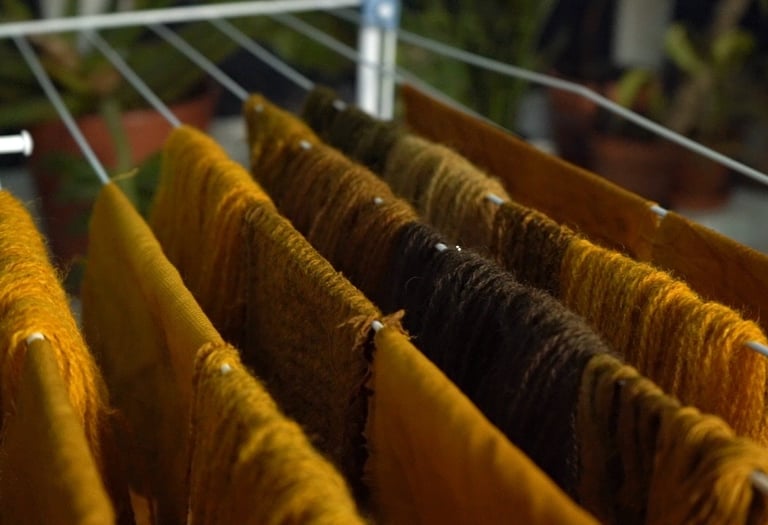
All yarn is the same type of 100% wool, all mordanted with 12% alum. From left to right: white wool light grey wool, medium grey wool, dark grey wool, greyish brown wool. So there is a wonderful possibility to achieve various wonderful colors simply by using different naturally colored wool.
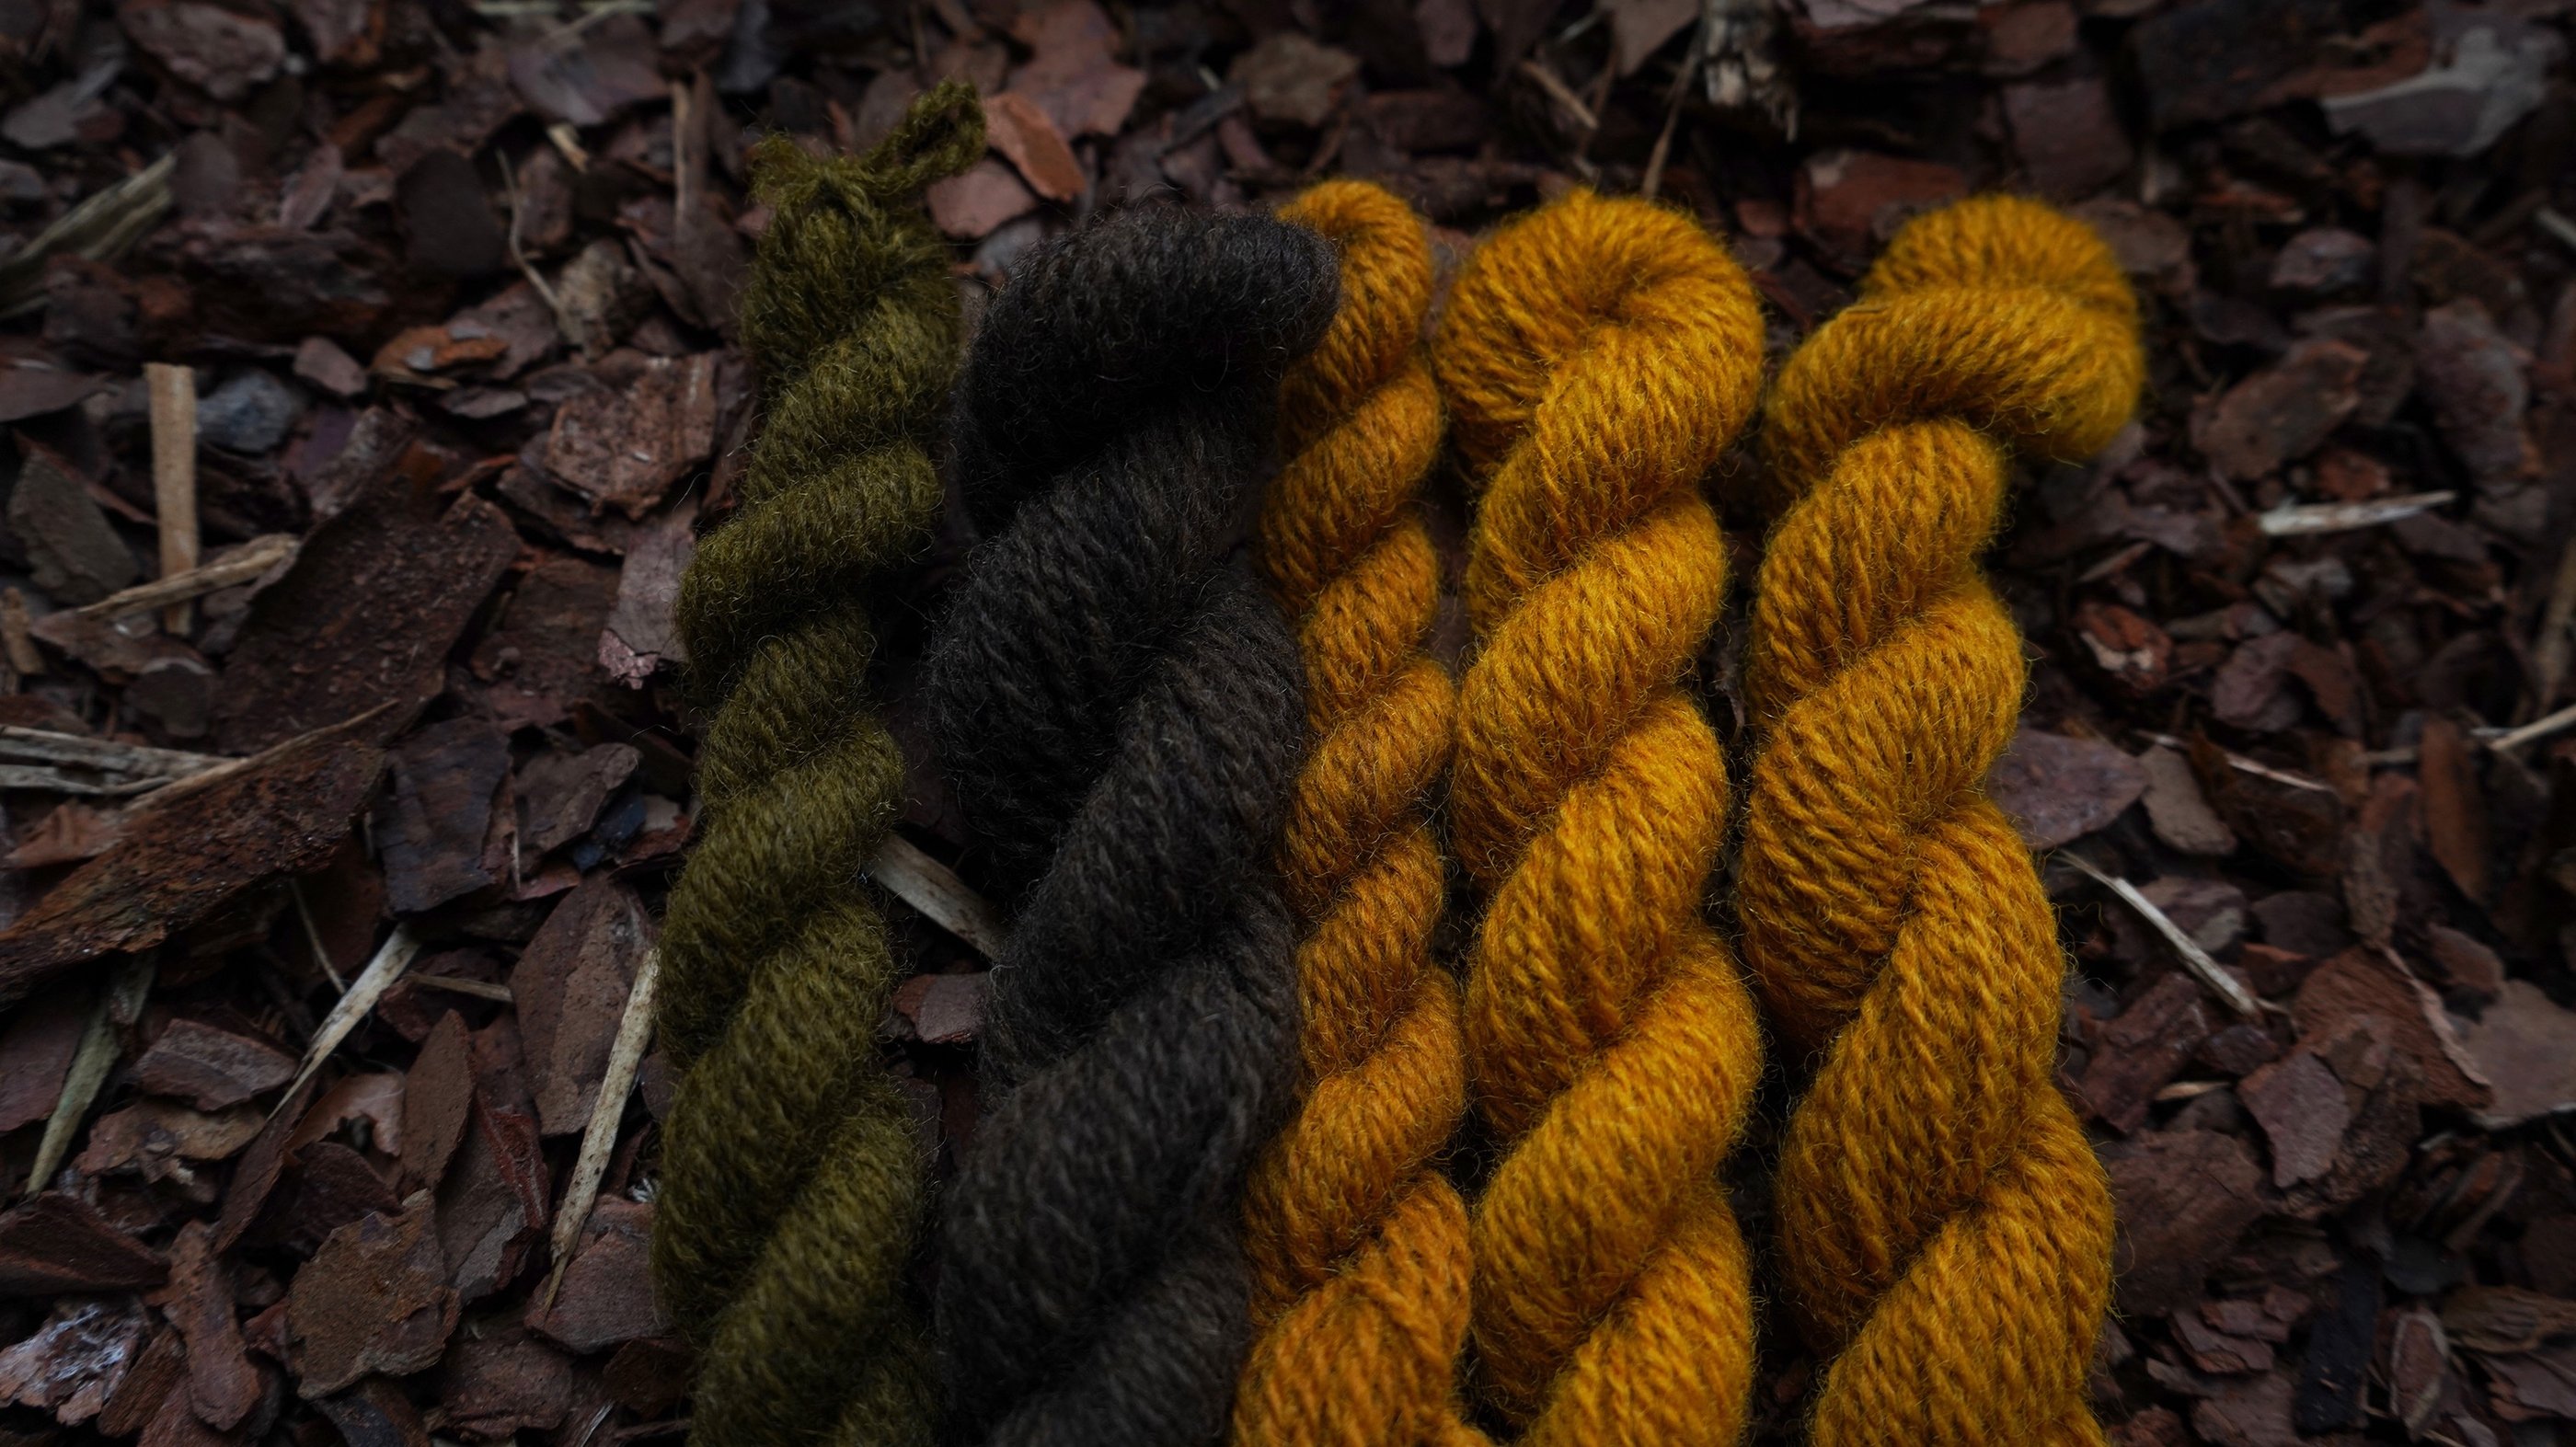
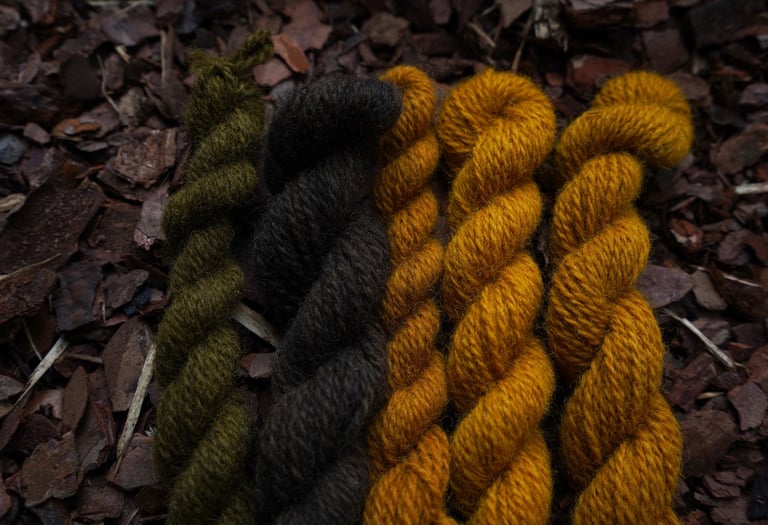
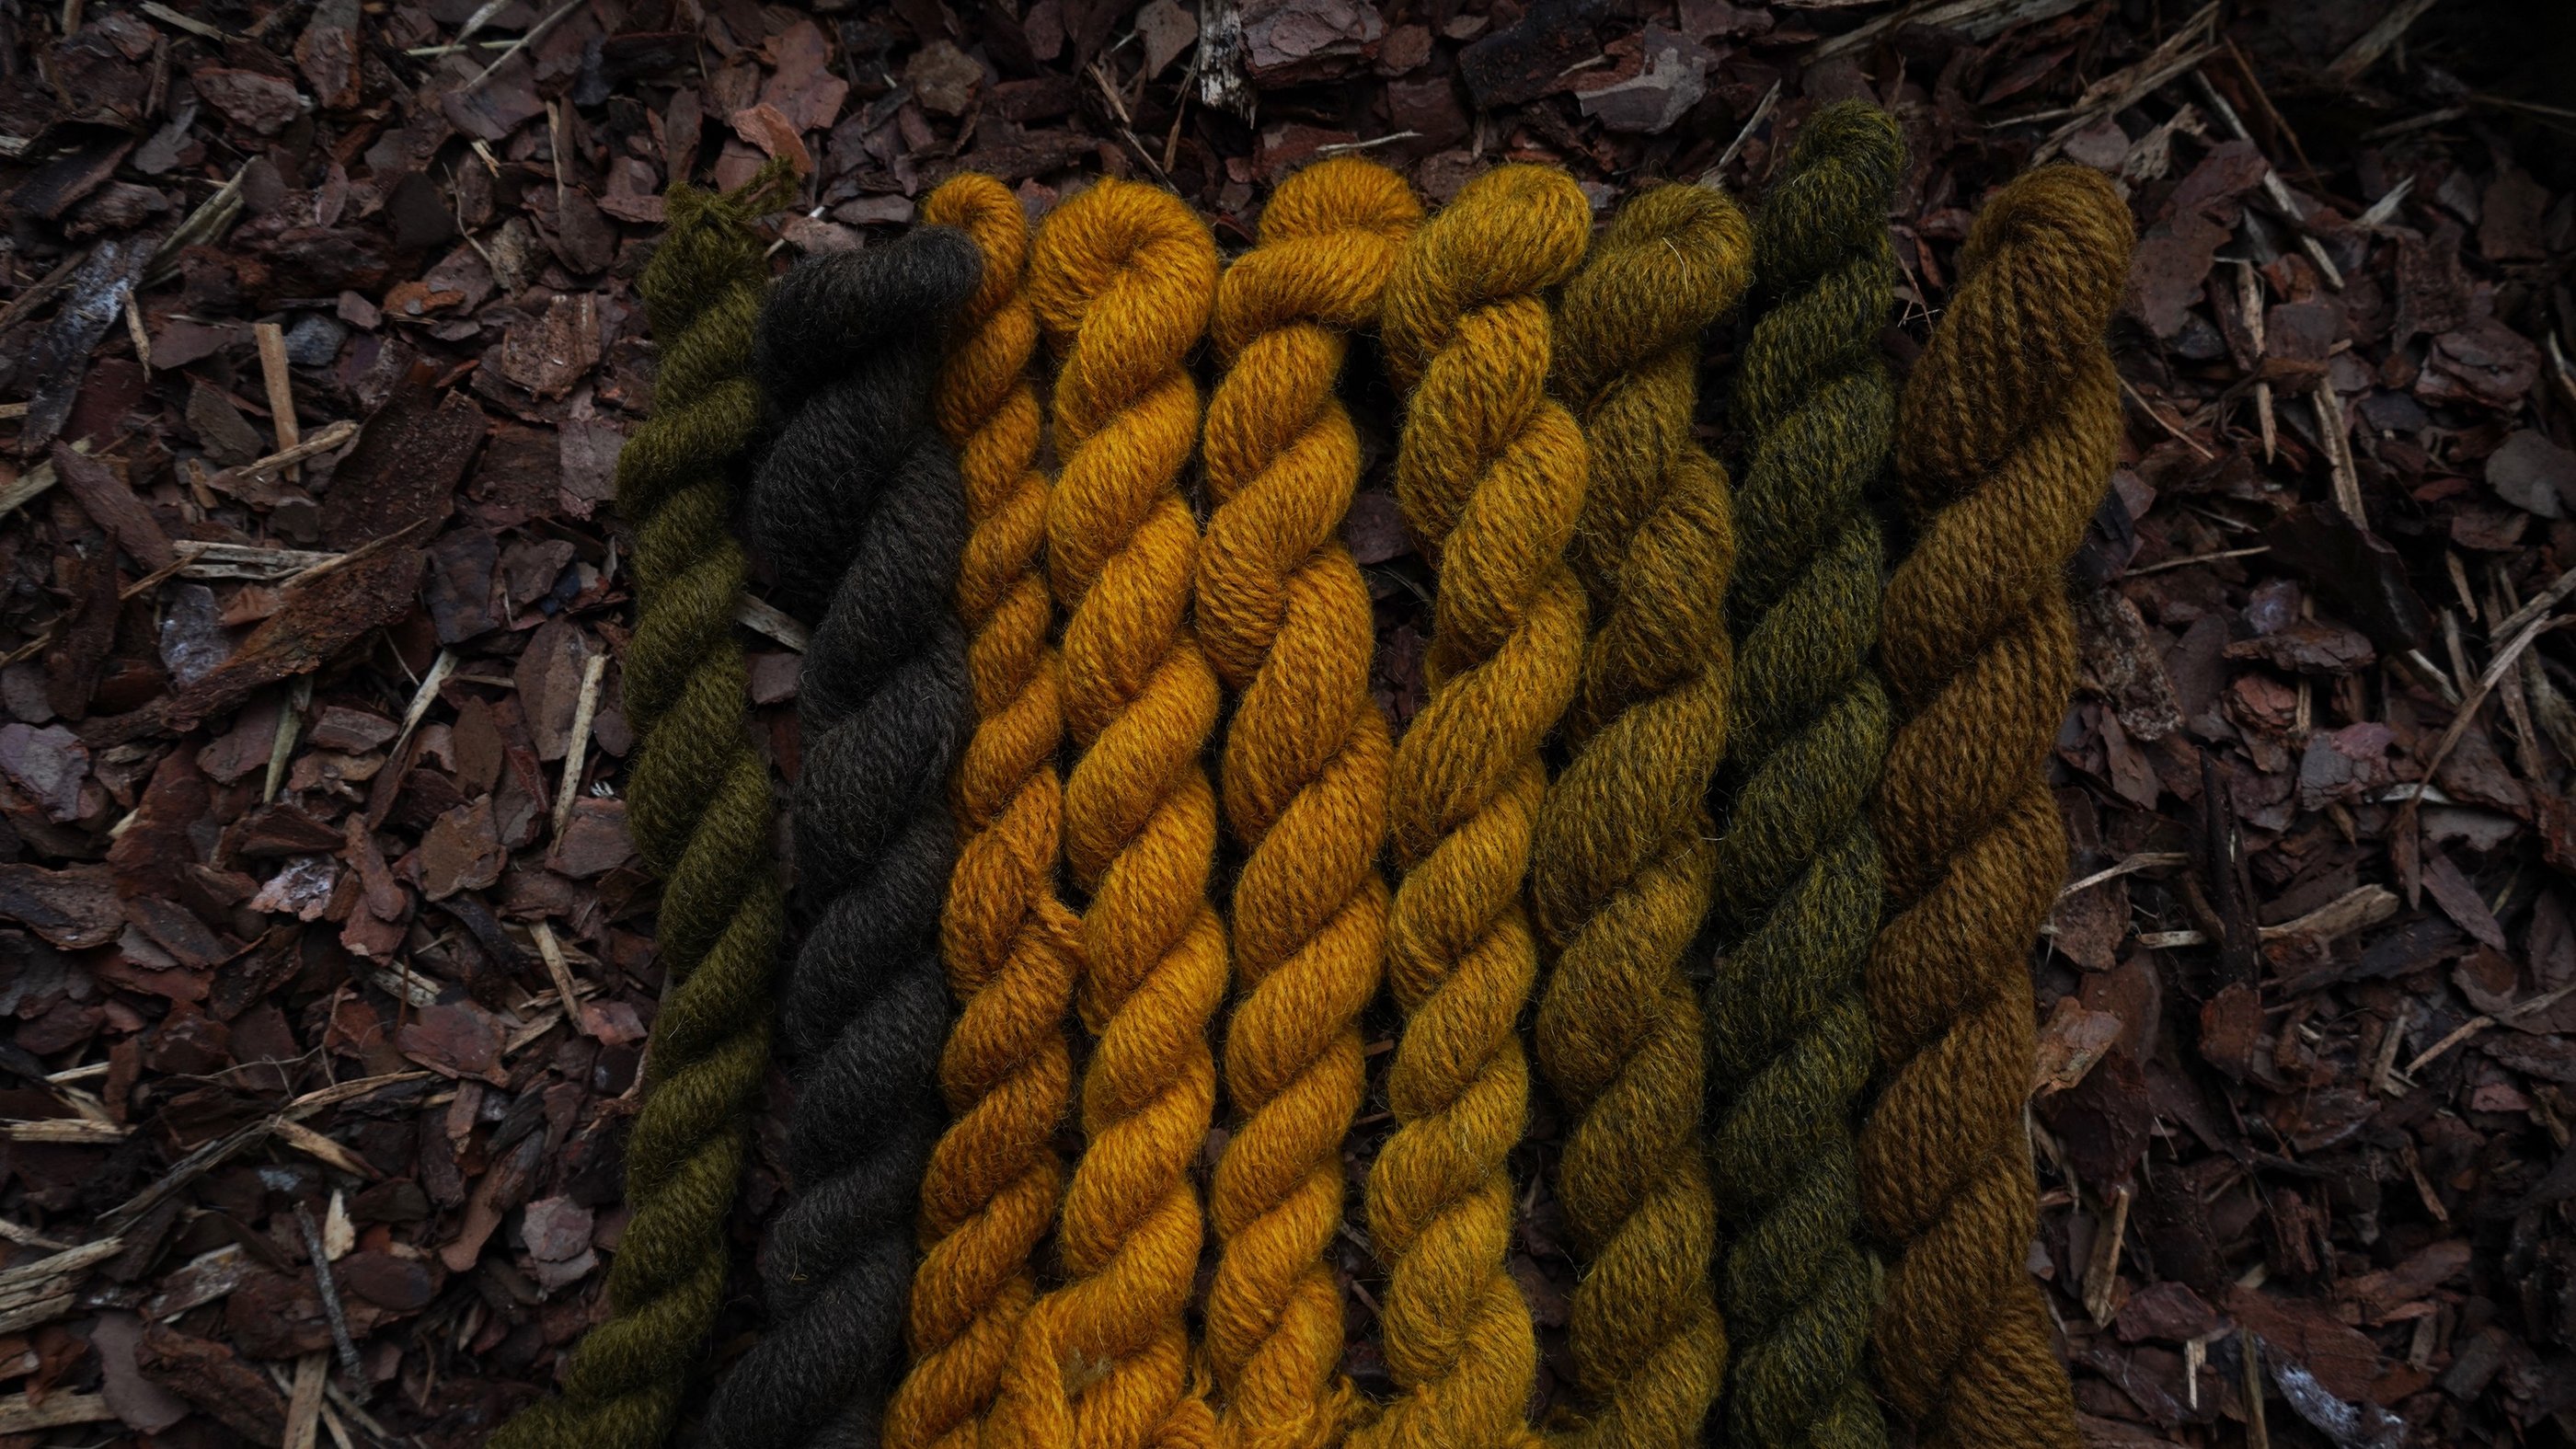
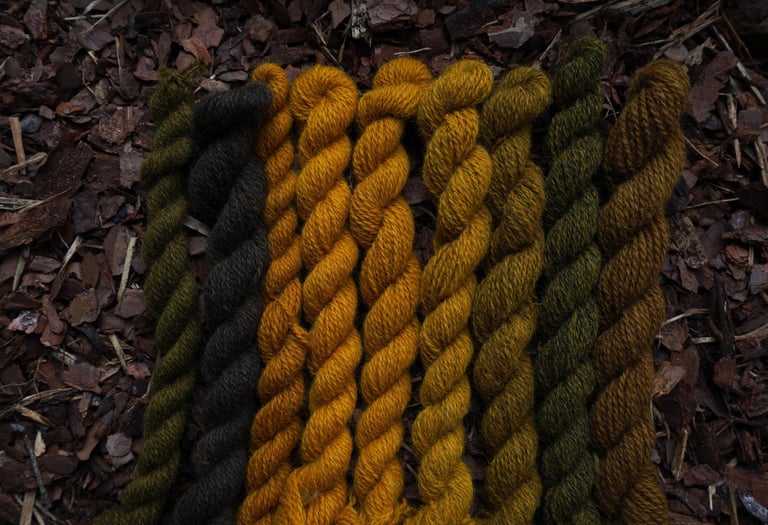
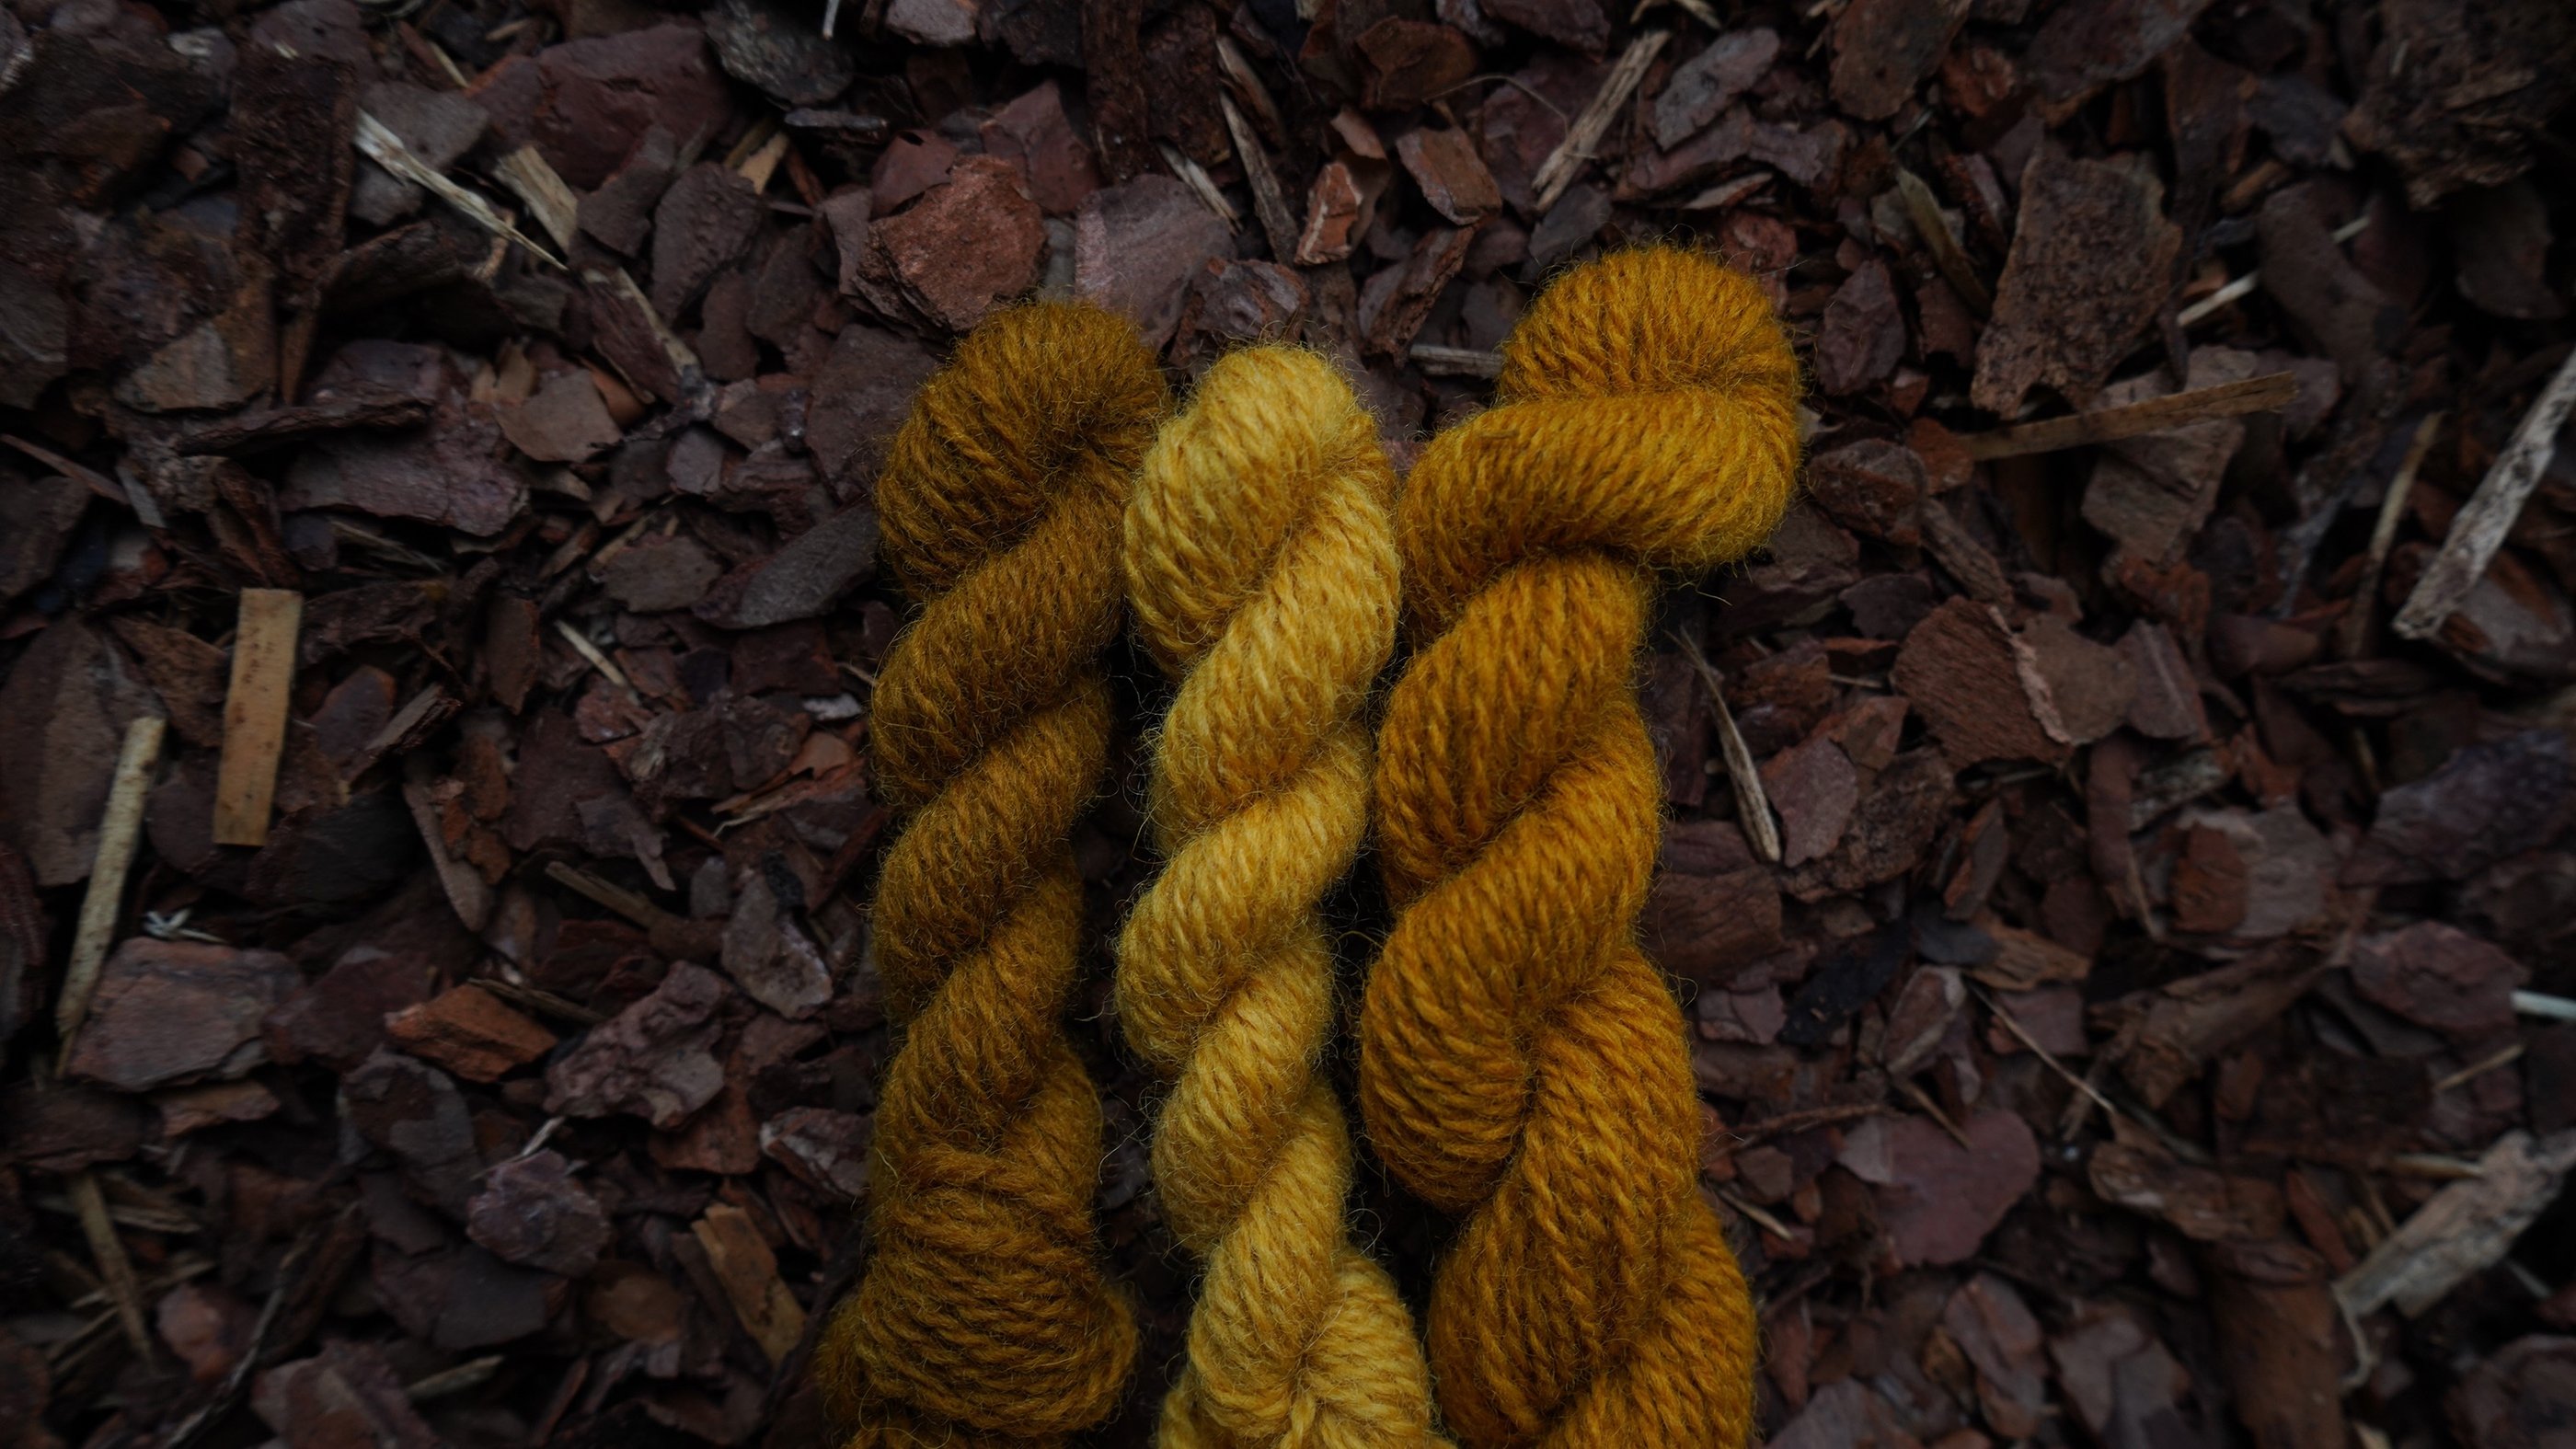
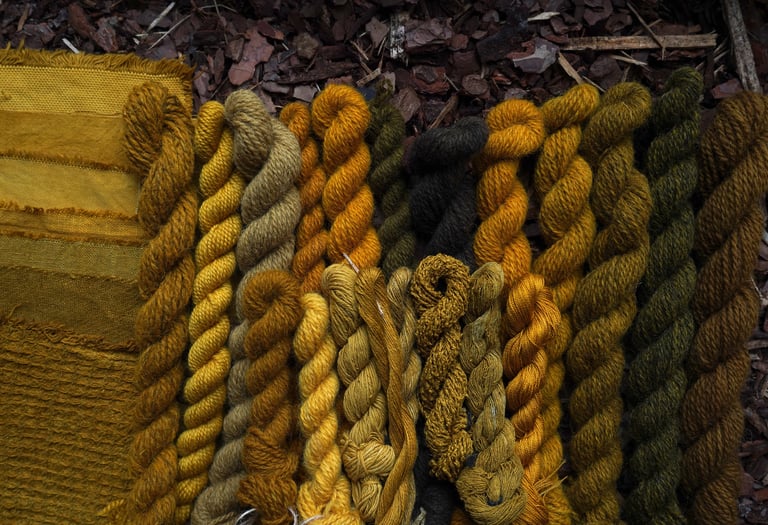
All yarn is the same type of 100% wool. From left to right: white wool mordanted with 12% alum and after dyeing modified with iron, white wool mordanted with 3% iron, white wool mordanted with 12% alum and after dyeing modified with copper, white wool mordanted with 4% copper sulfate + 3% cream of tartar, and white wool mordanted with 12% alum. So basically 1st and 3rd skeins were the same as the last one before modifying and they all were dyed together in the same marigold solution.
Here I wanted to show the difference between using iron and copper as mordants before dyeing and as modificators after dyeing. There is not much going on with copper but a very significant difference when it comes to iron - it's a wonderful deep deep brown when dyeing iron-mordanted wool with marigolds and then it's gorgeous moss green when modifying marigold-dyed wool with iron.
It's quite weird that the skein mordanted with copper and cream of tartar is a bit lighter than the one mordanted with alum - usually, it's the other way around. Maybe it's because of the cream of tartar?
All yarns from the two photos above for comparison.
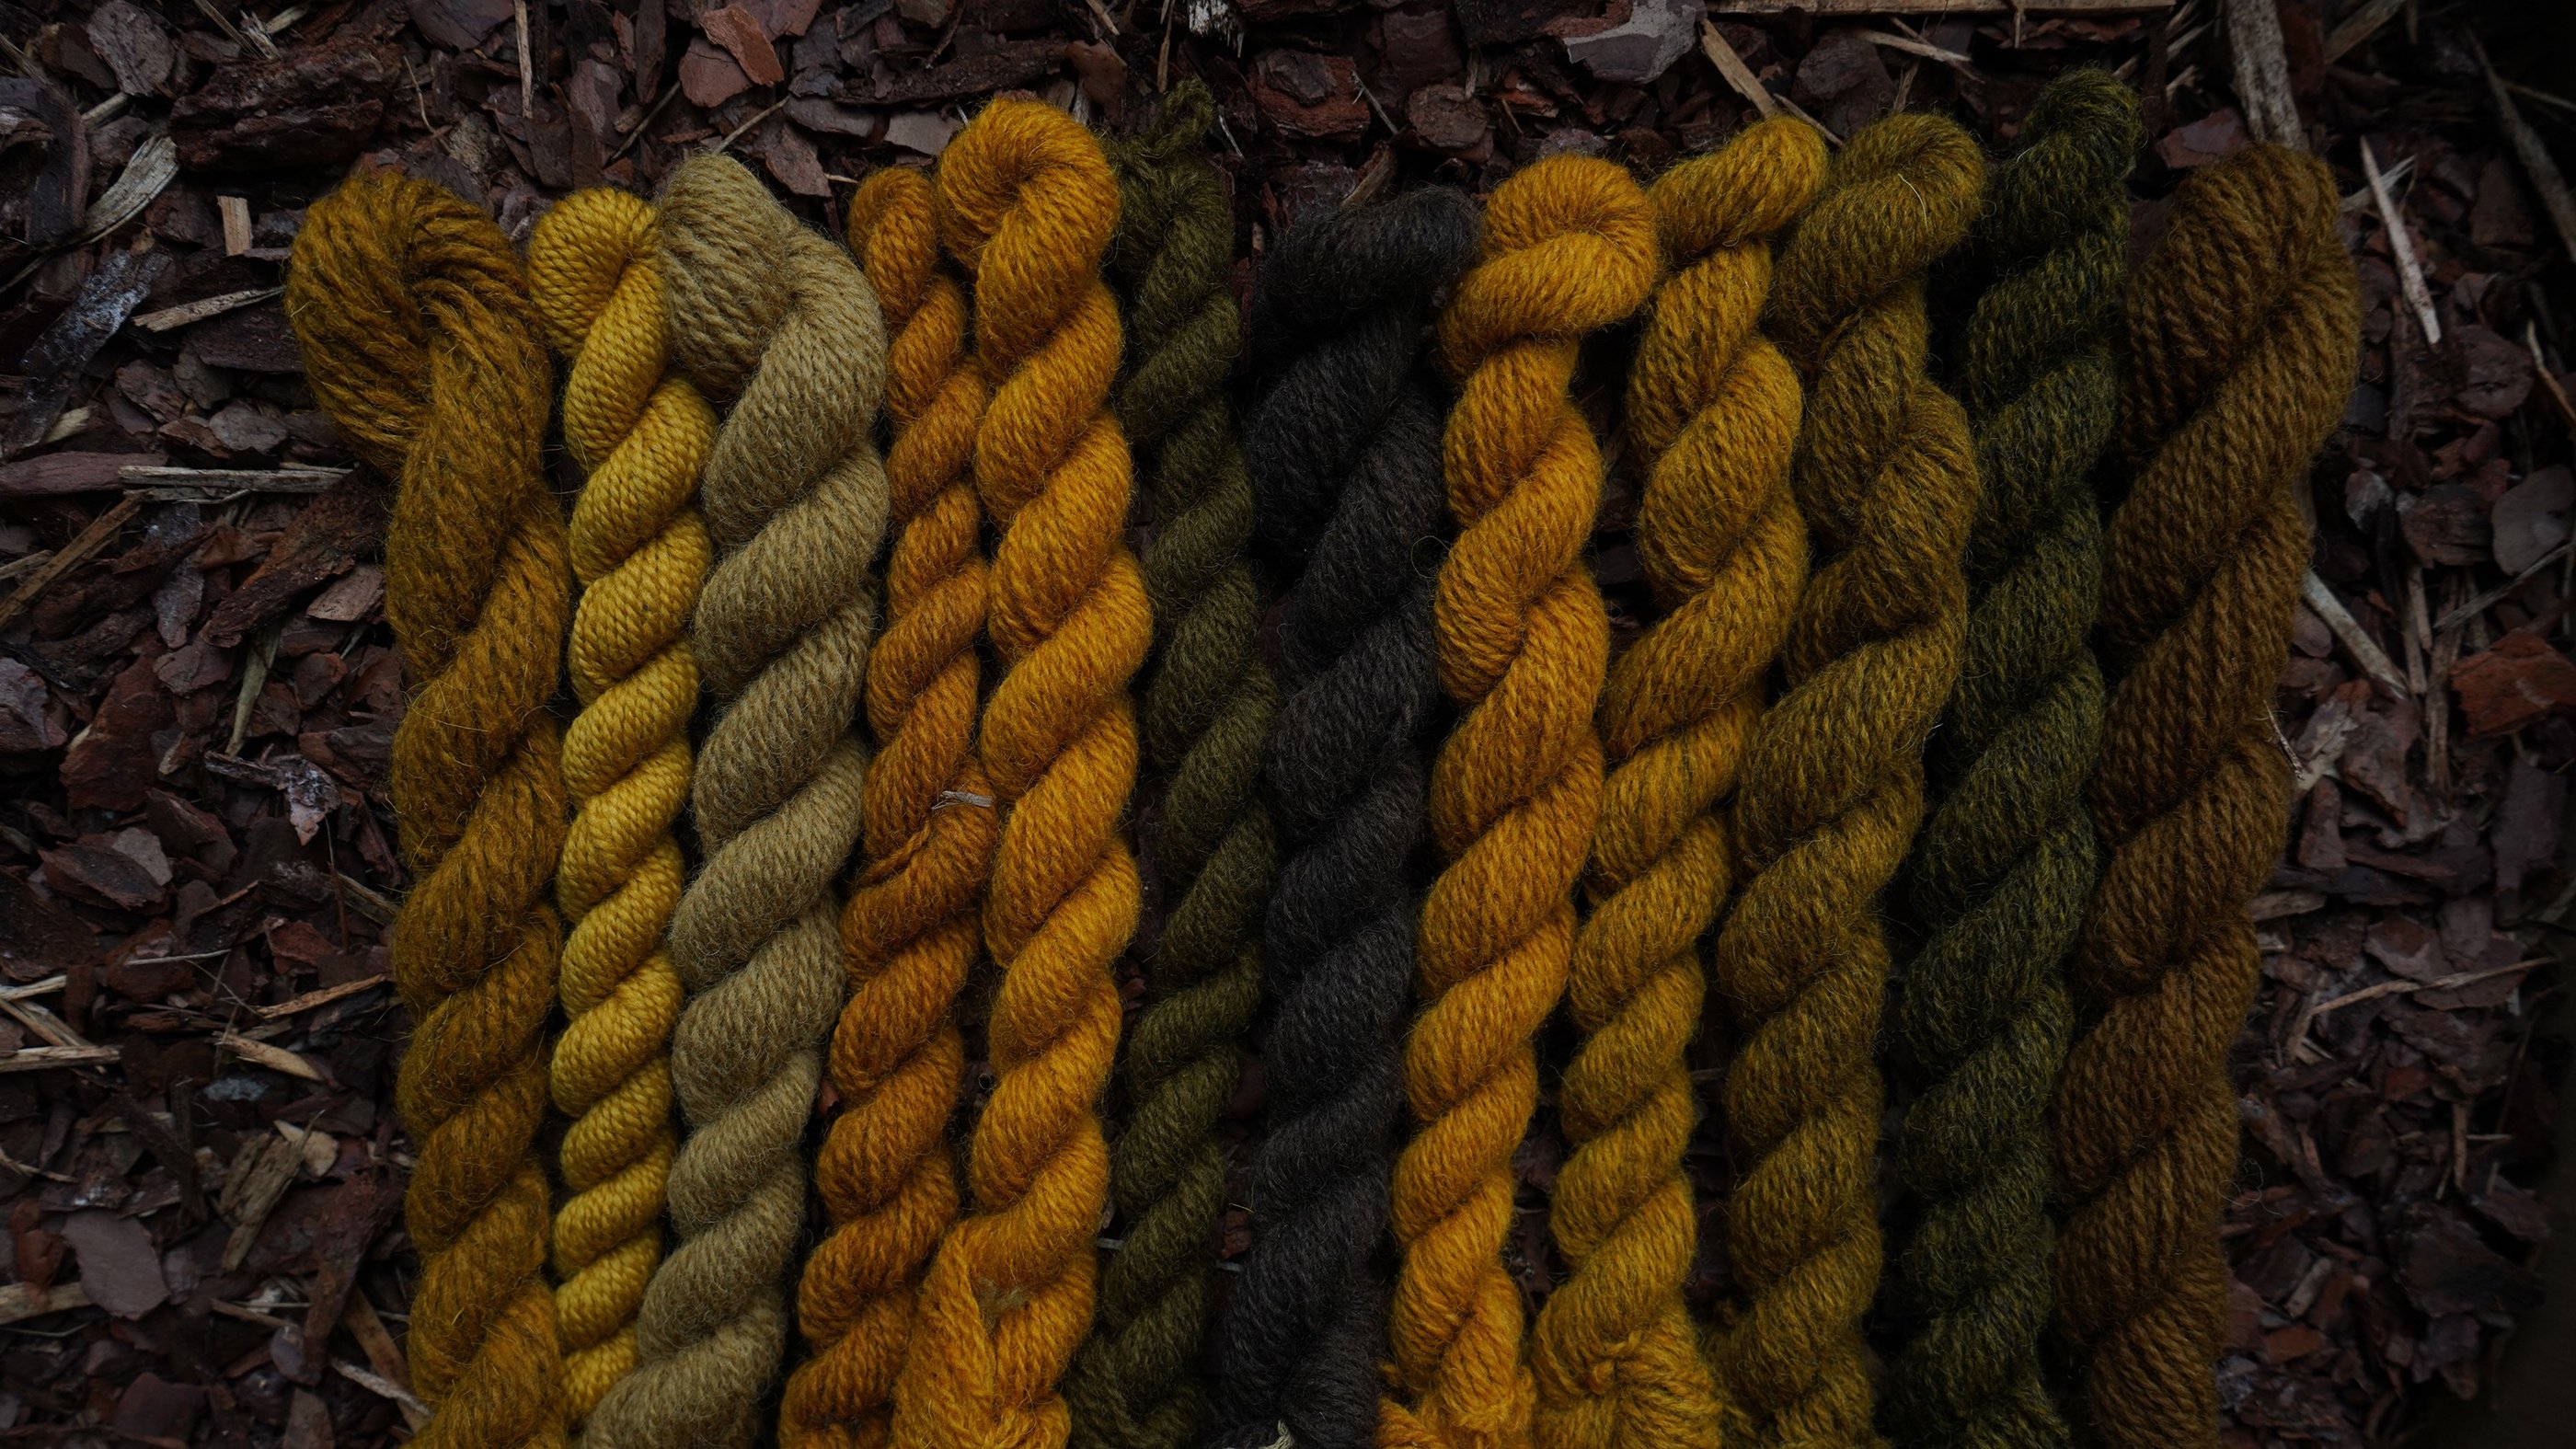
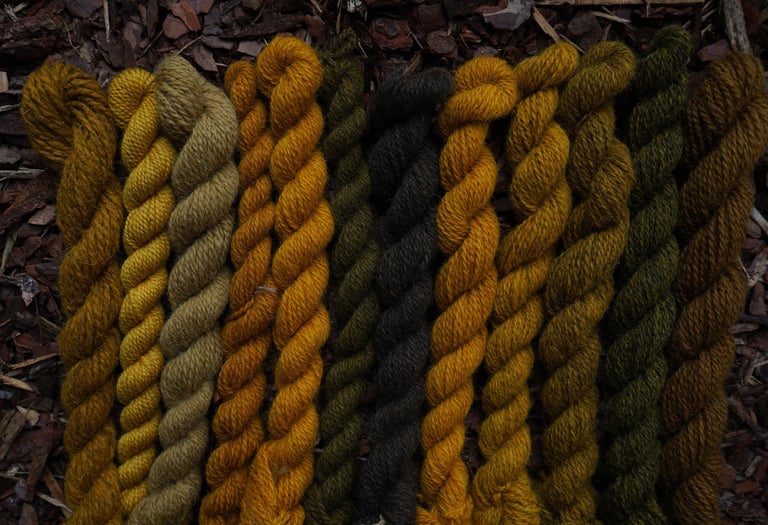
From left to right: a blend of wool and hemp mordanted with 12% alum, 100% white merino wool mordanted with 12% alum, 100% white wool mordanted with 10% myrobalan extract. The rest of the yarn is the same as in the photo above, only the ones with iron and copper are switched in the queue.

All yarn is the same white wool mordanted with 12% alum, dyed with marigolds. From left to right: yarn modified with soda ash after dyeing, yarn modified with citric acid after dyeing, and not modified yarn.
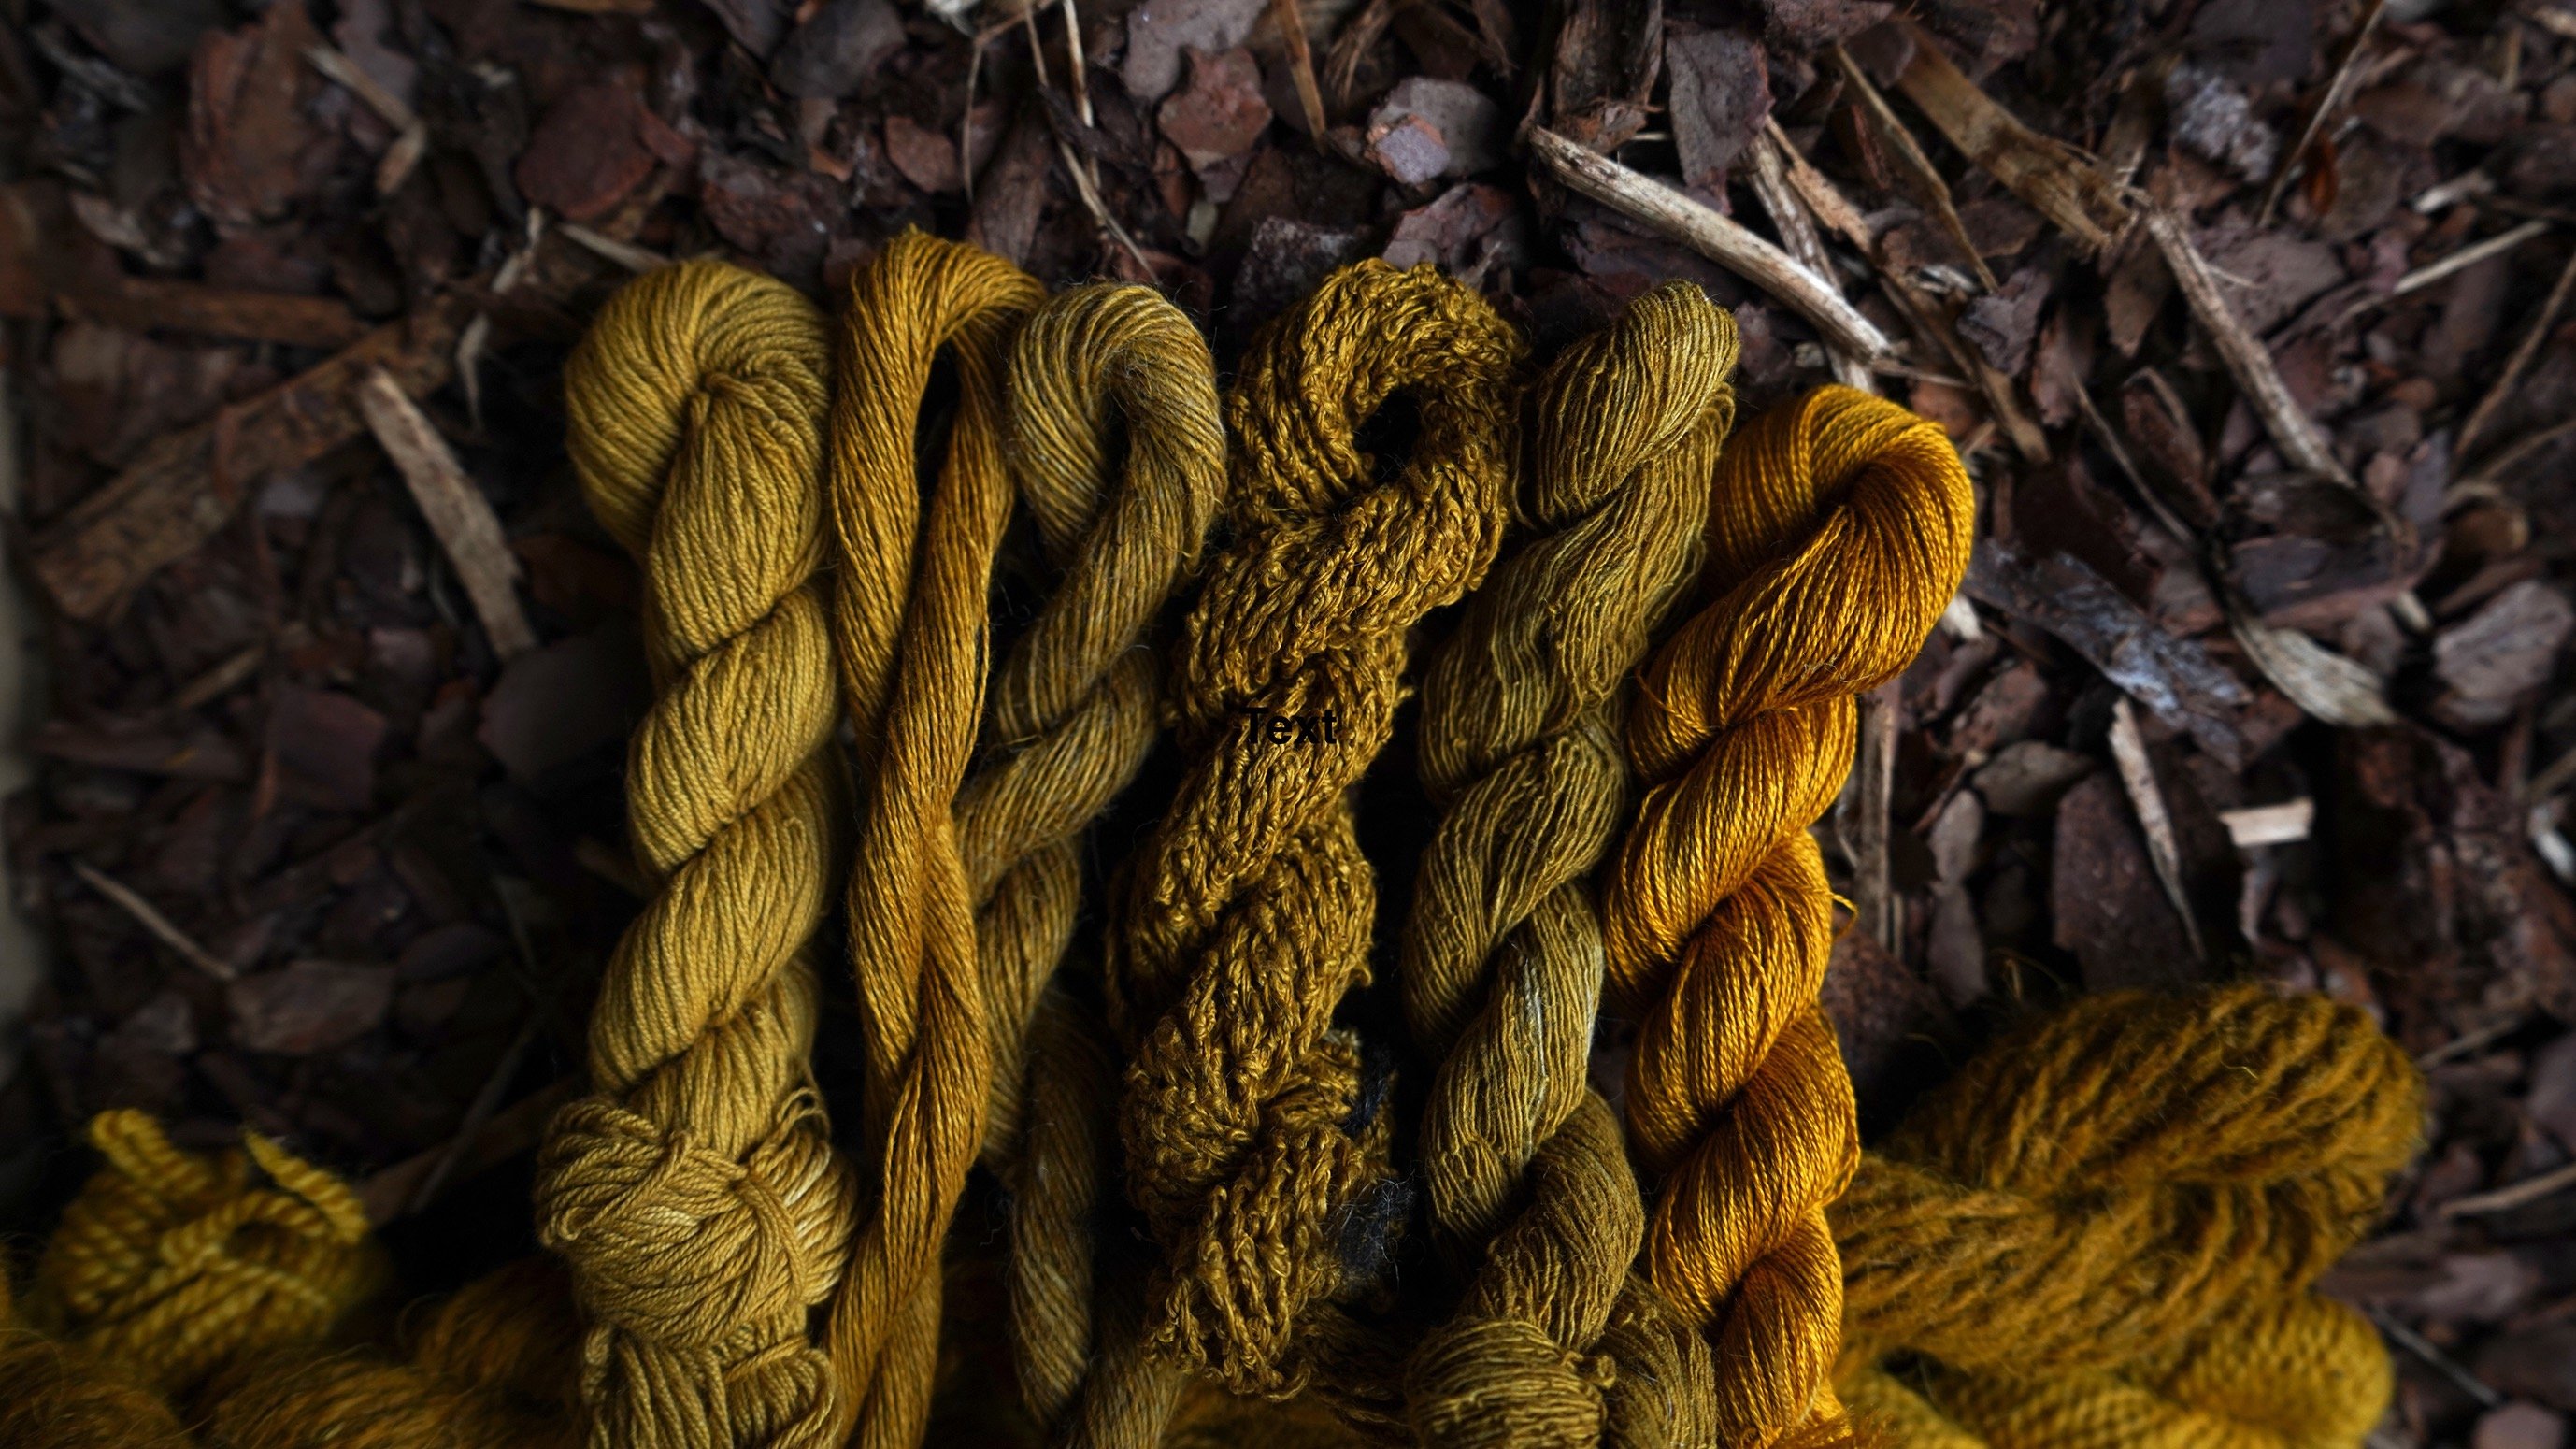
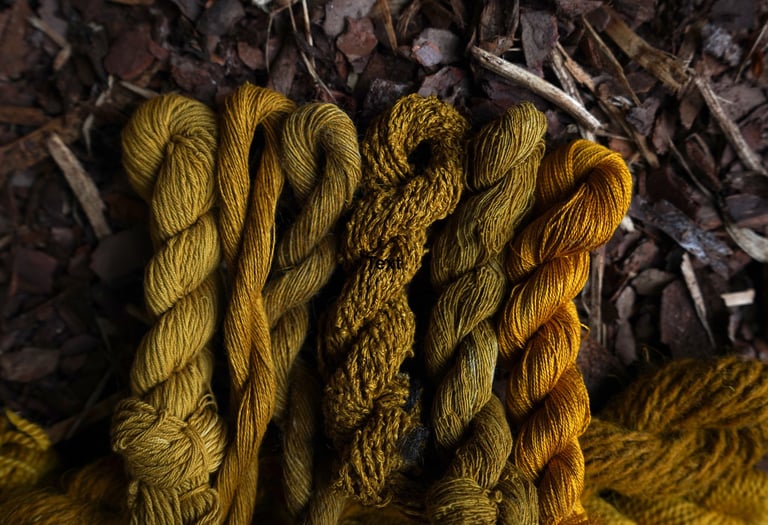
From left to right: 100% white cotton, 100% white linen, 100% natural grey vintage linen, possibly handspun, 100% natural grey boucle linen, a blend of cotton and hemp, all mordanted together with 10% myrobalan extract, and 5% aluminum acetate. The last skein is 100% silk mordanted with 15% alum.
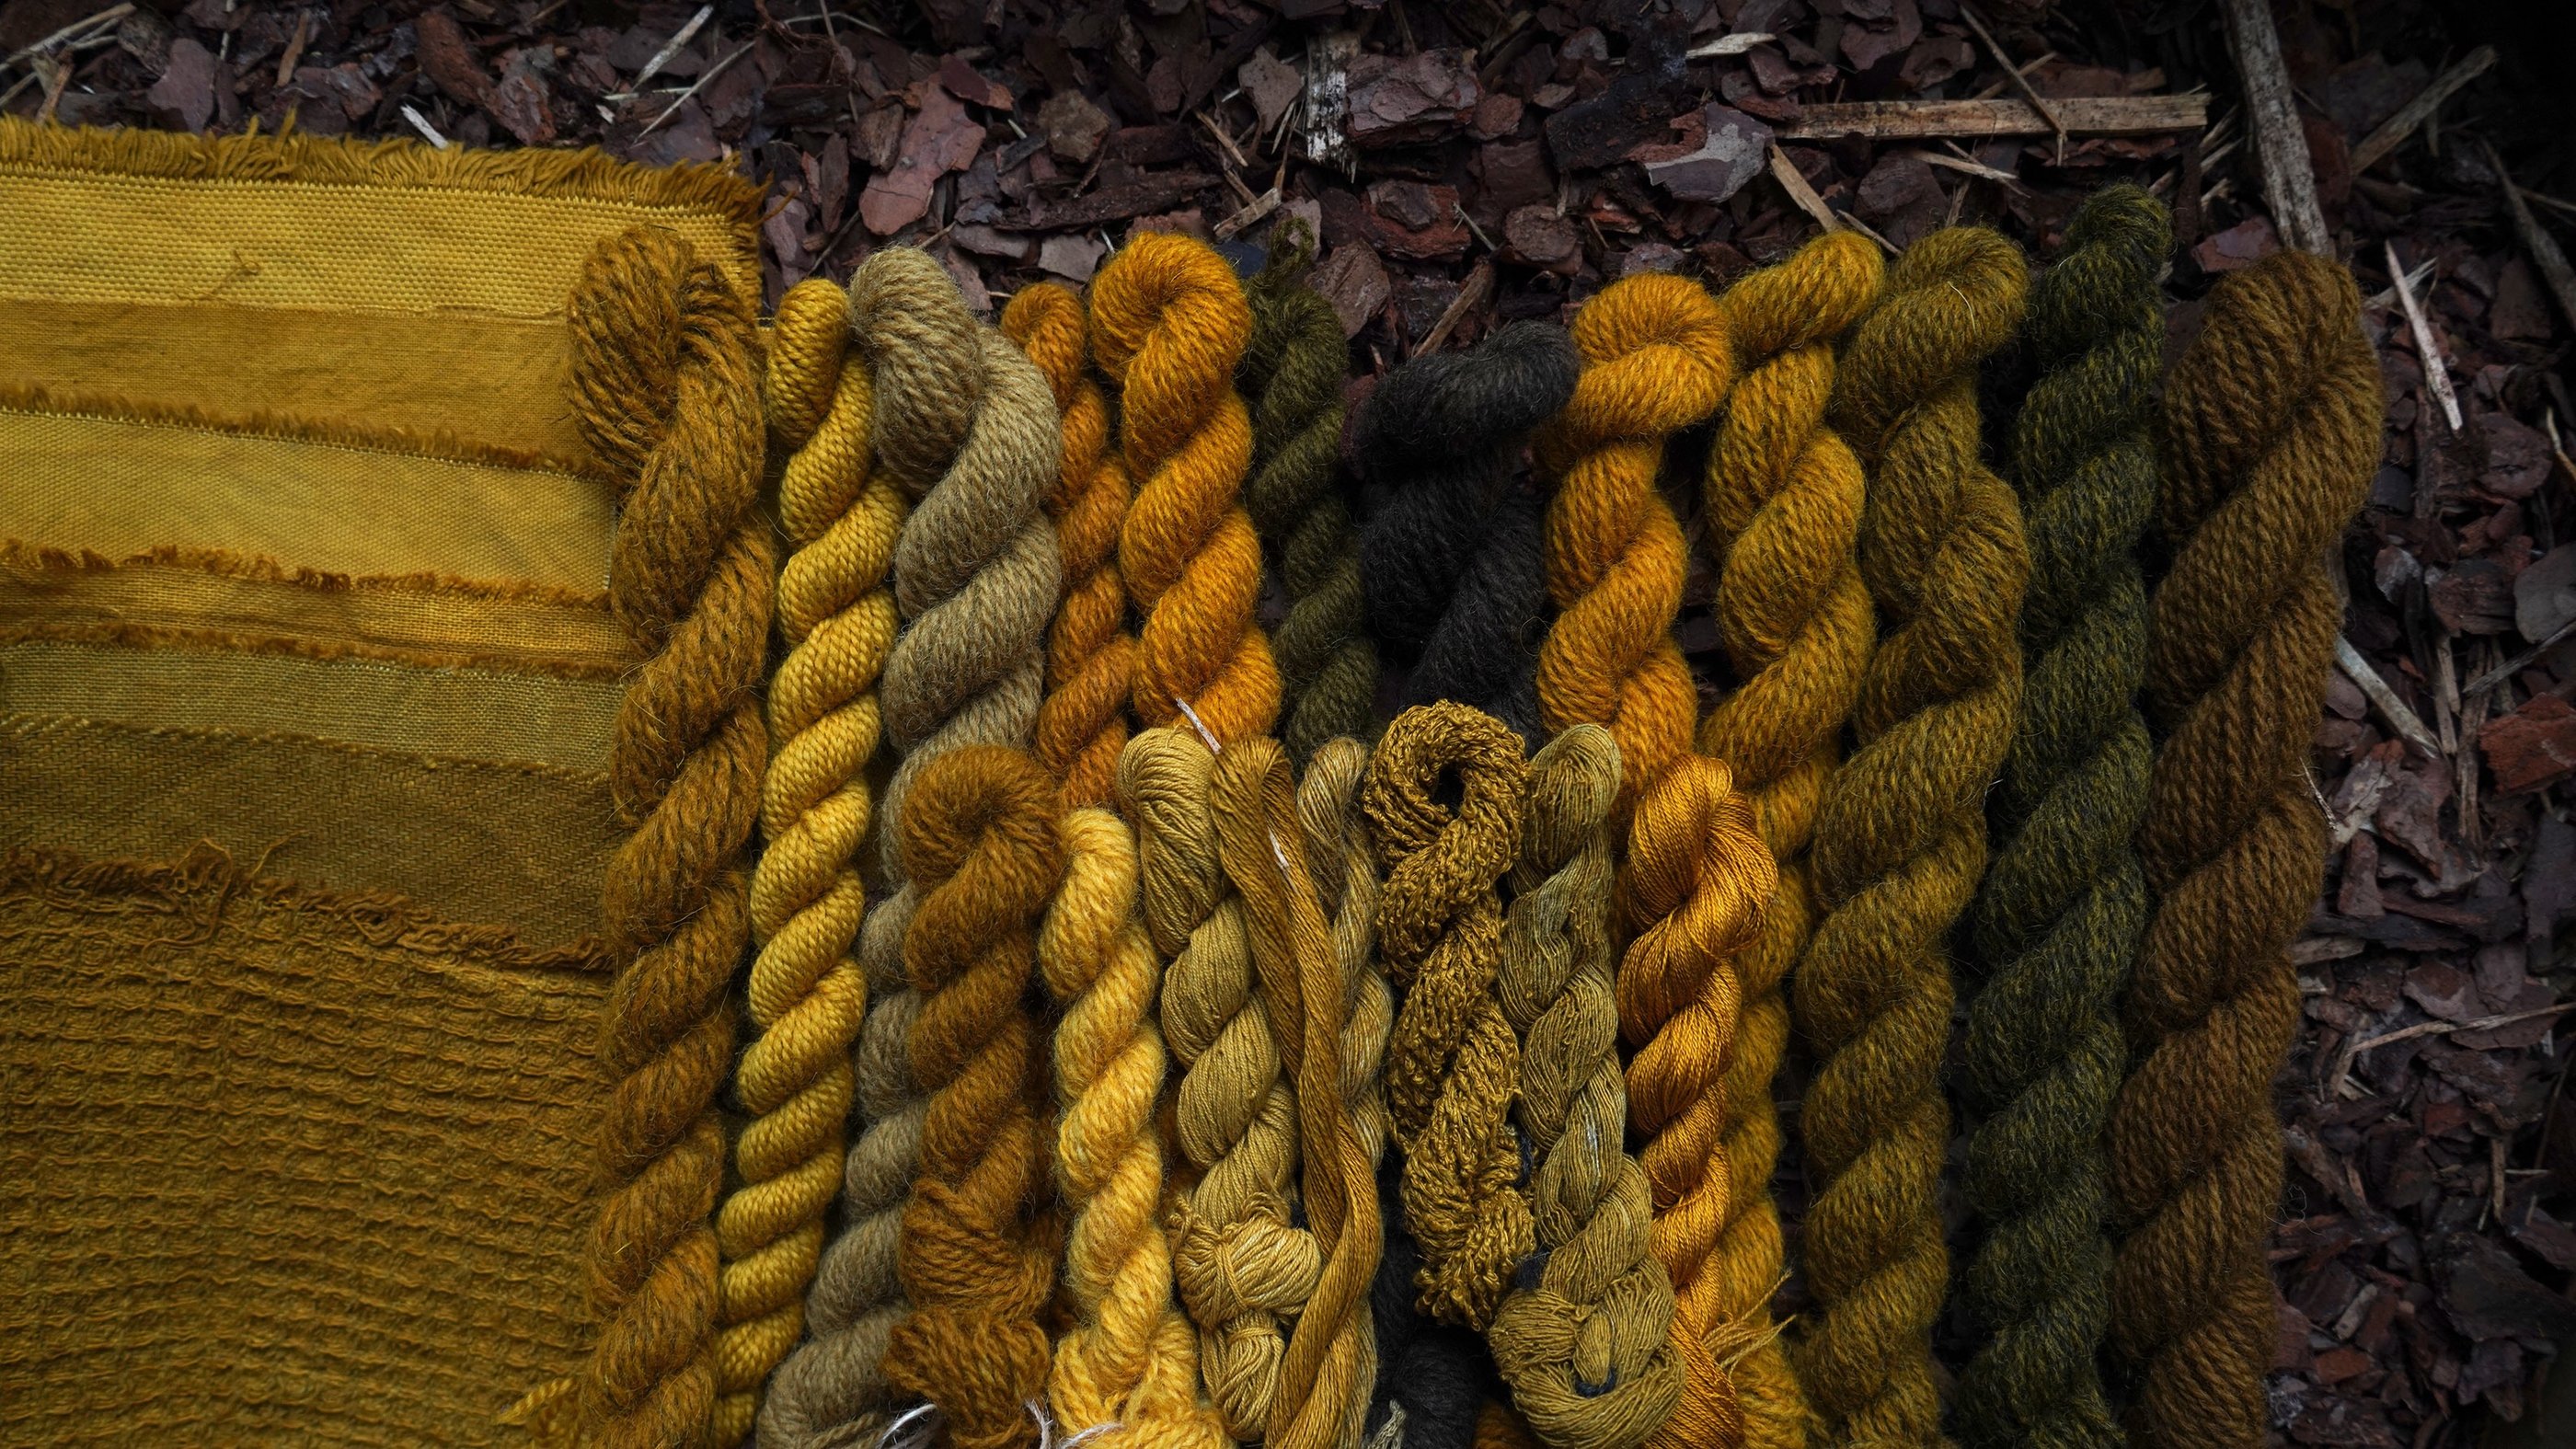
All yarns and fabrics from the photos above for comparison.
© Forests & Meadows 2024
Vilnius, Lithuania
LT-08200
hello@forestsandmeadows.com